The Making of a Farm Store, Part 3

The process of turning an old well house into a farm store was longer than we would have liked. That seems to be the way with most projects here on the farm. It’s a good lesson in patience, if we have the willingness to learn.

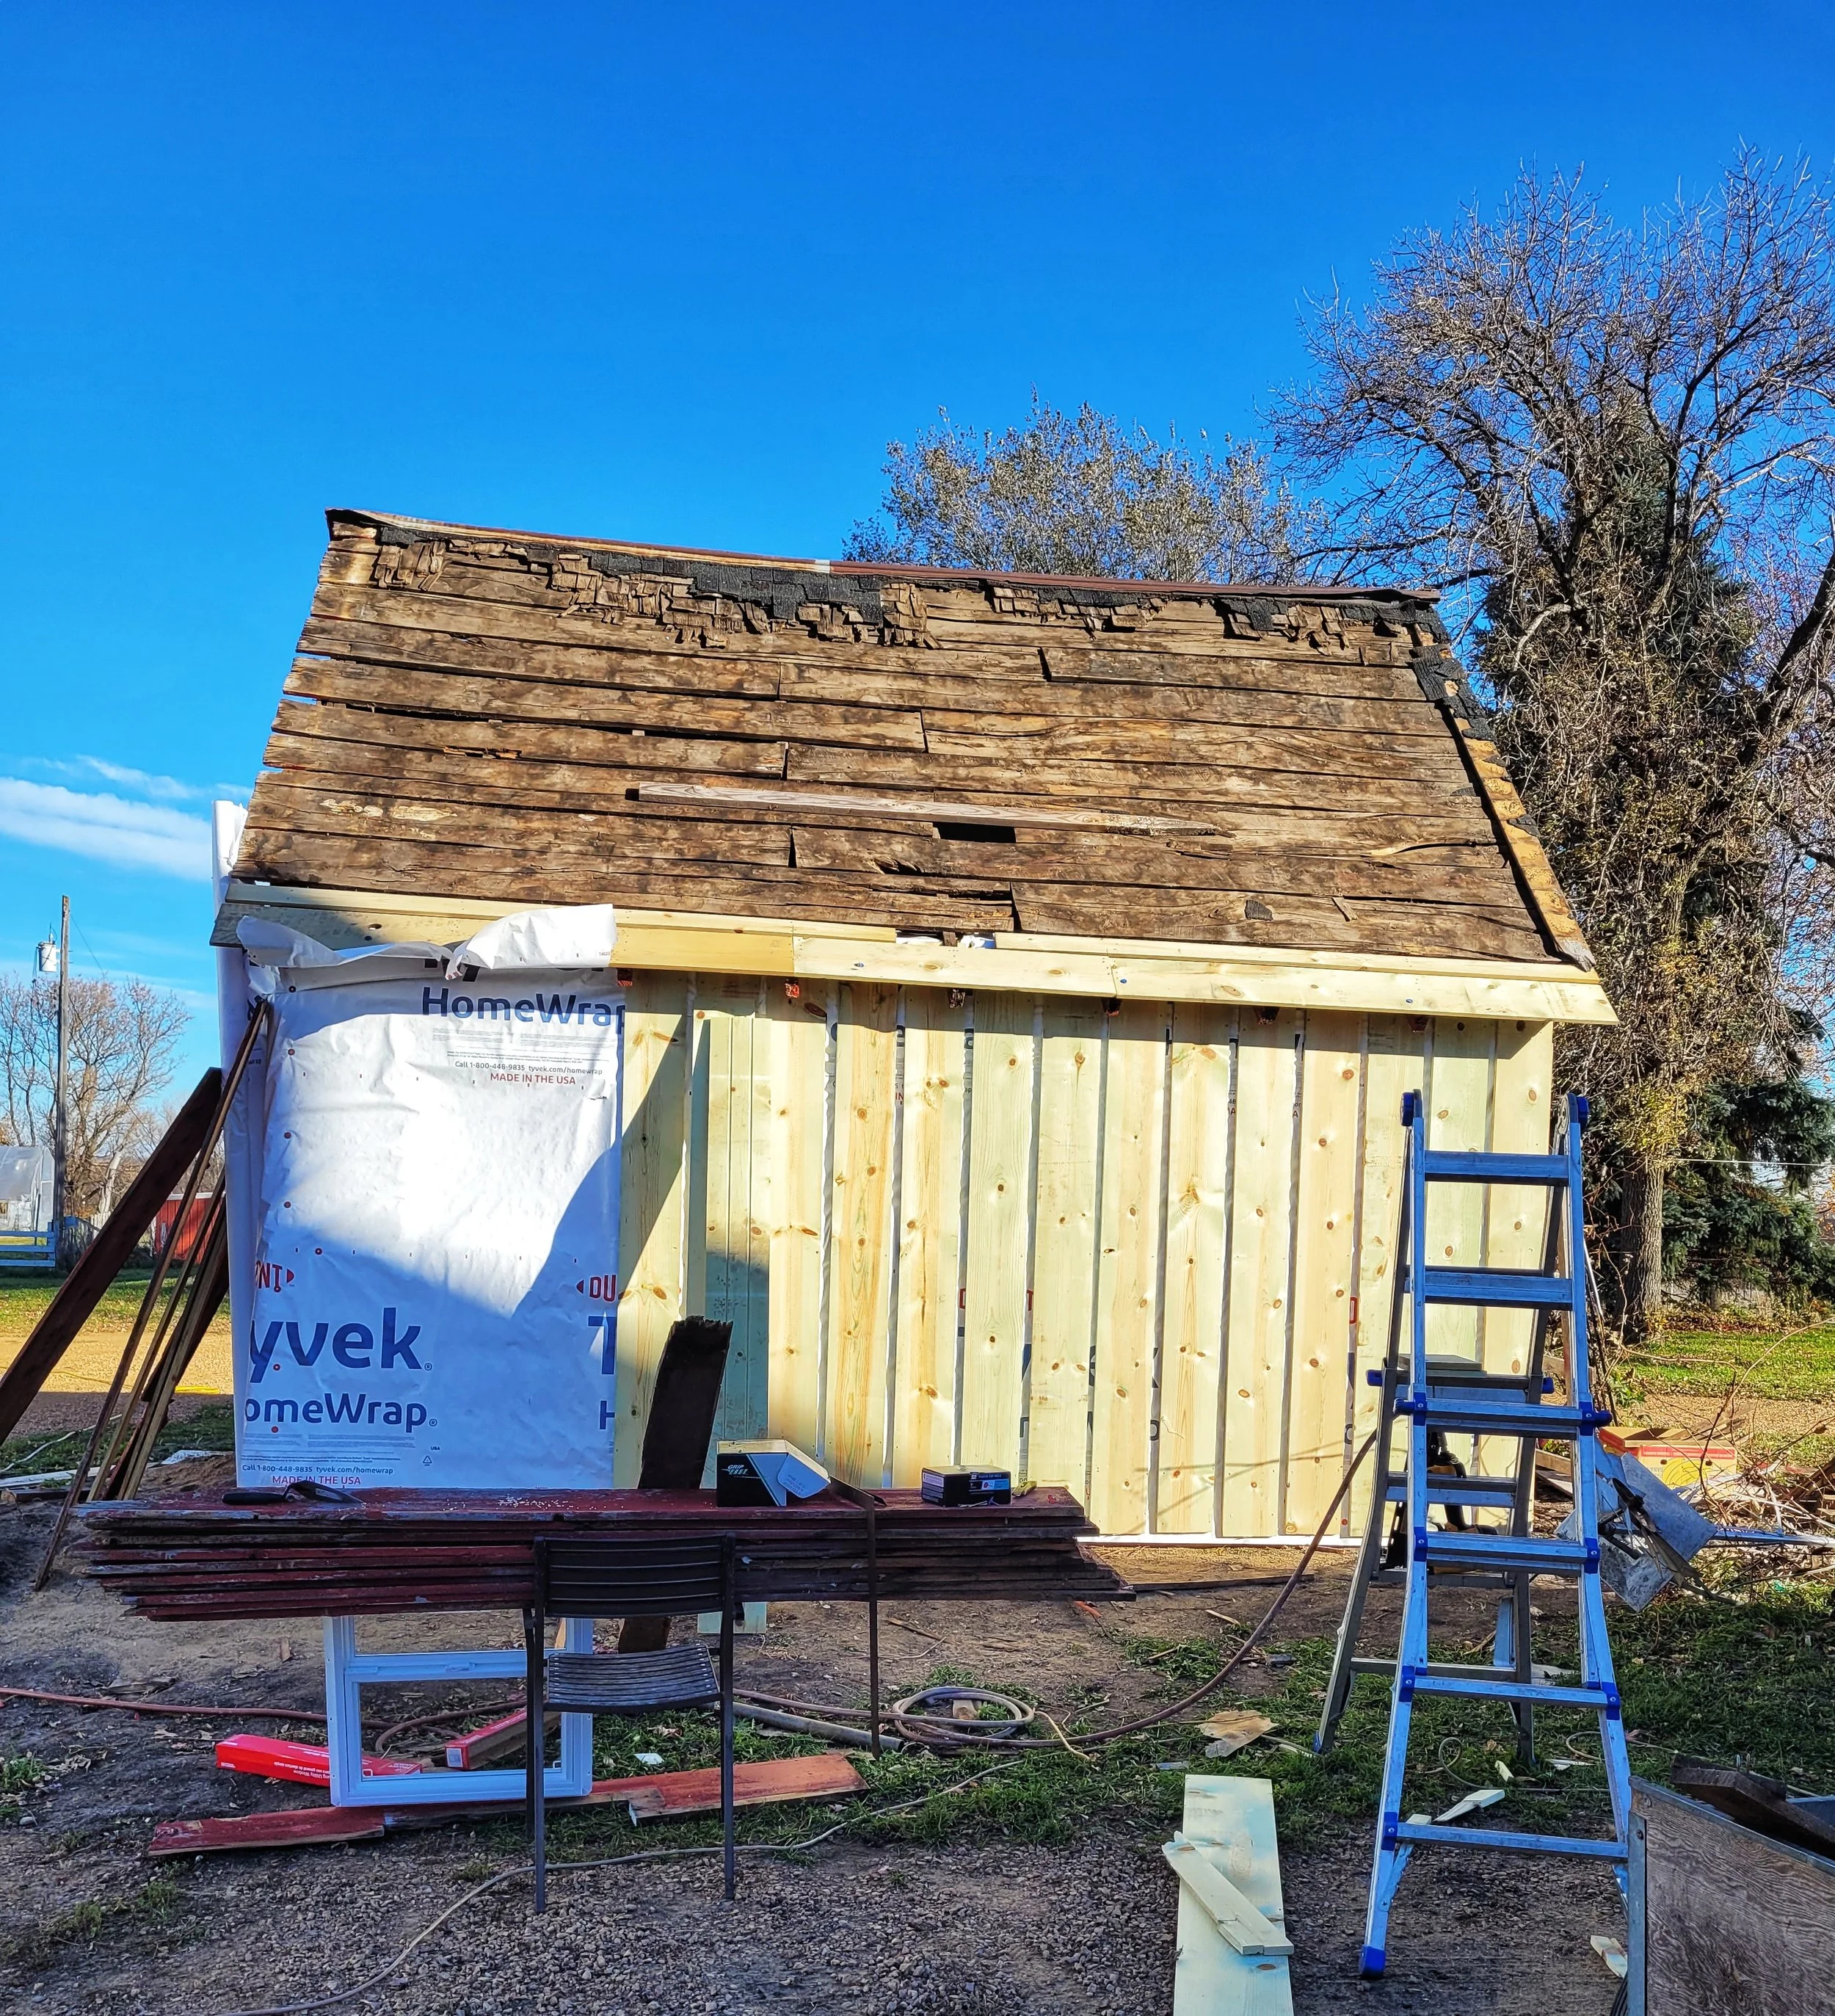
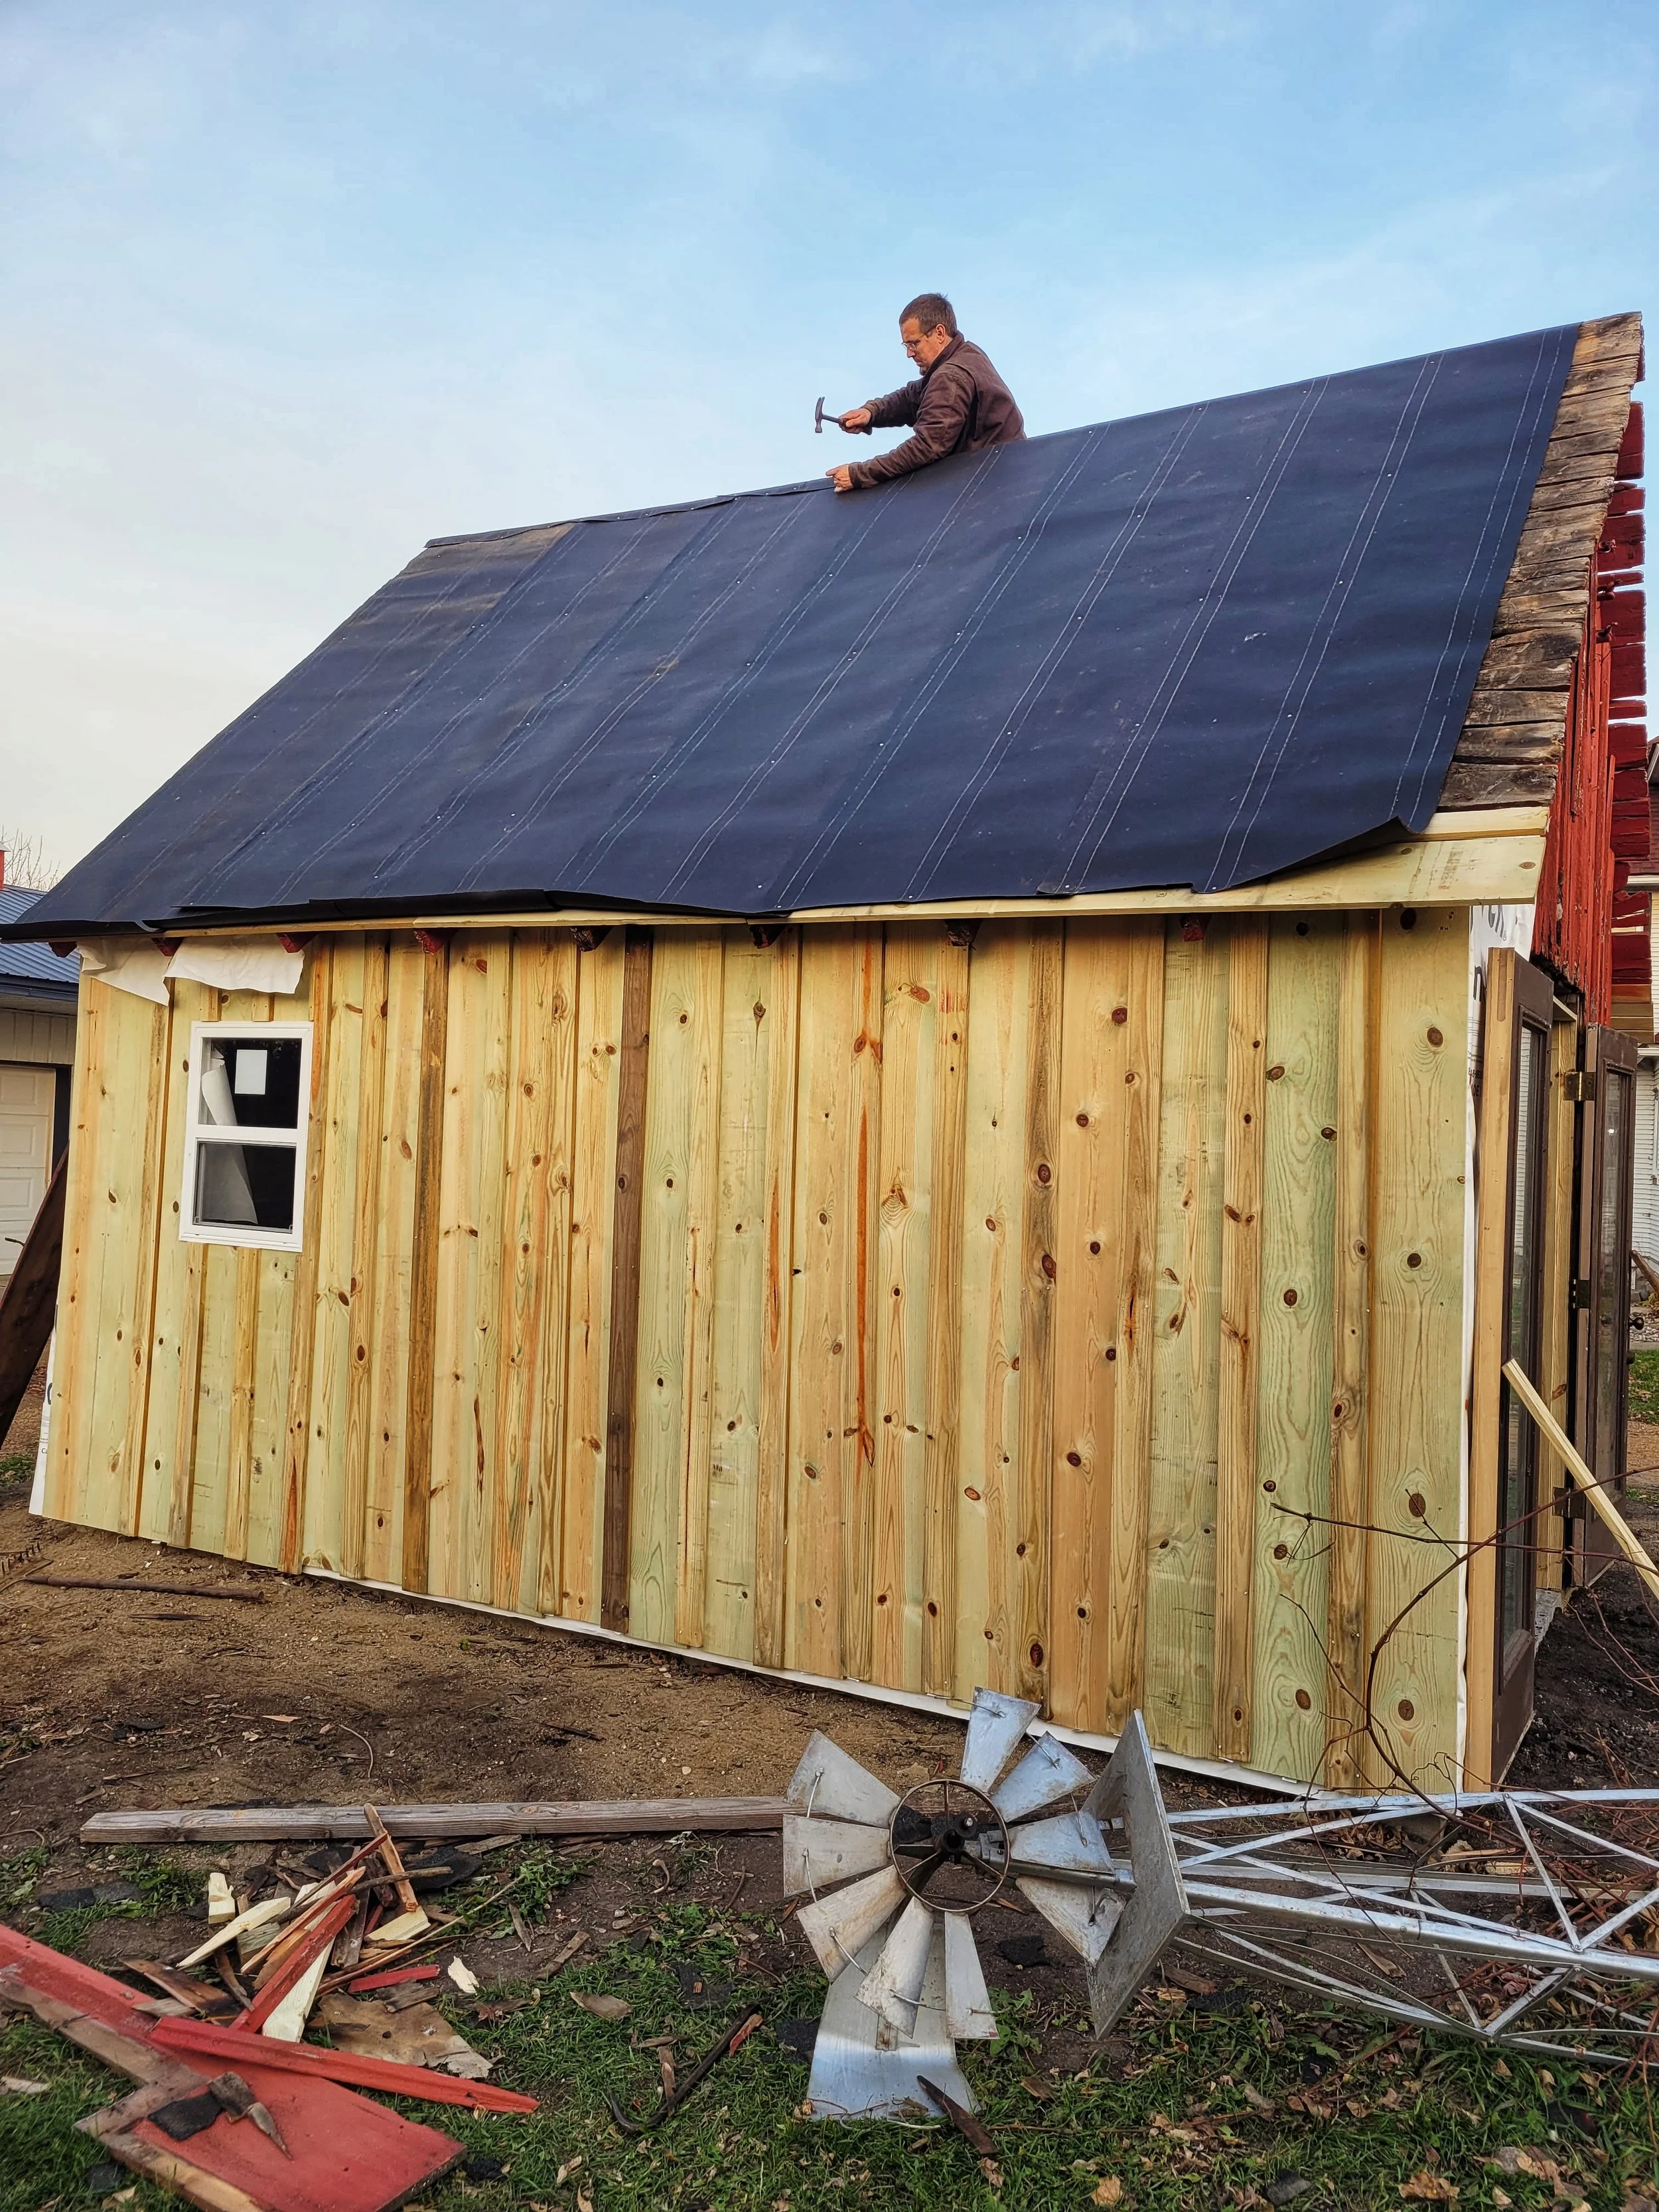
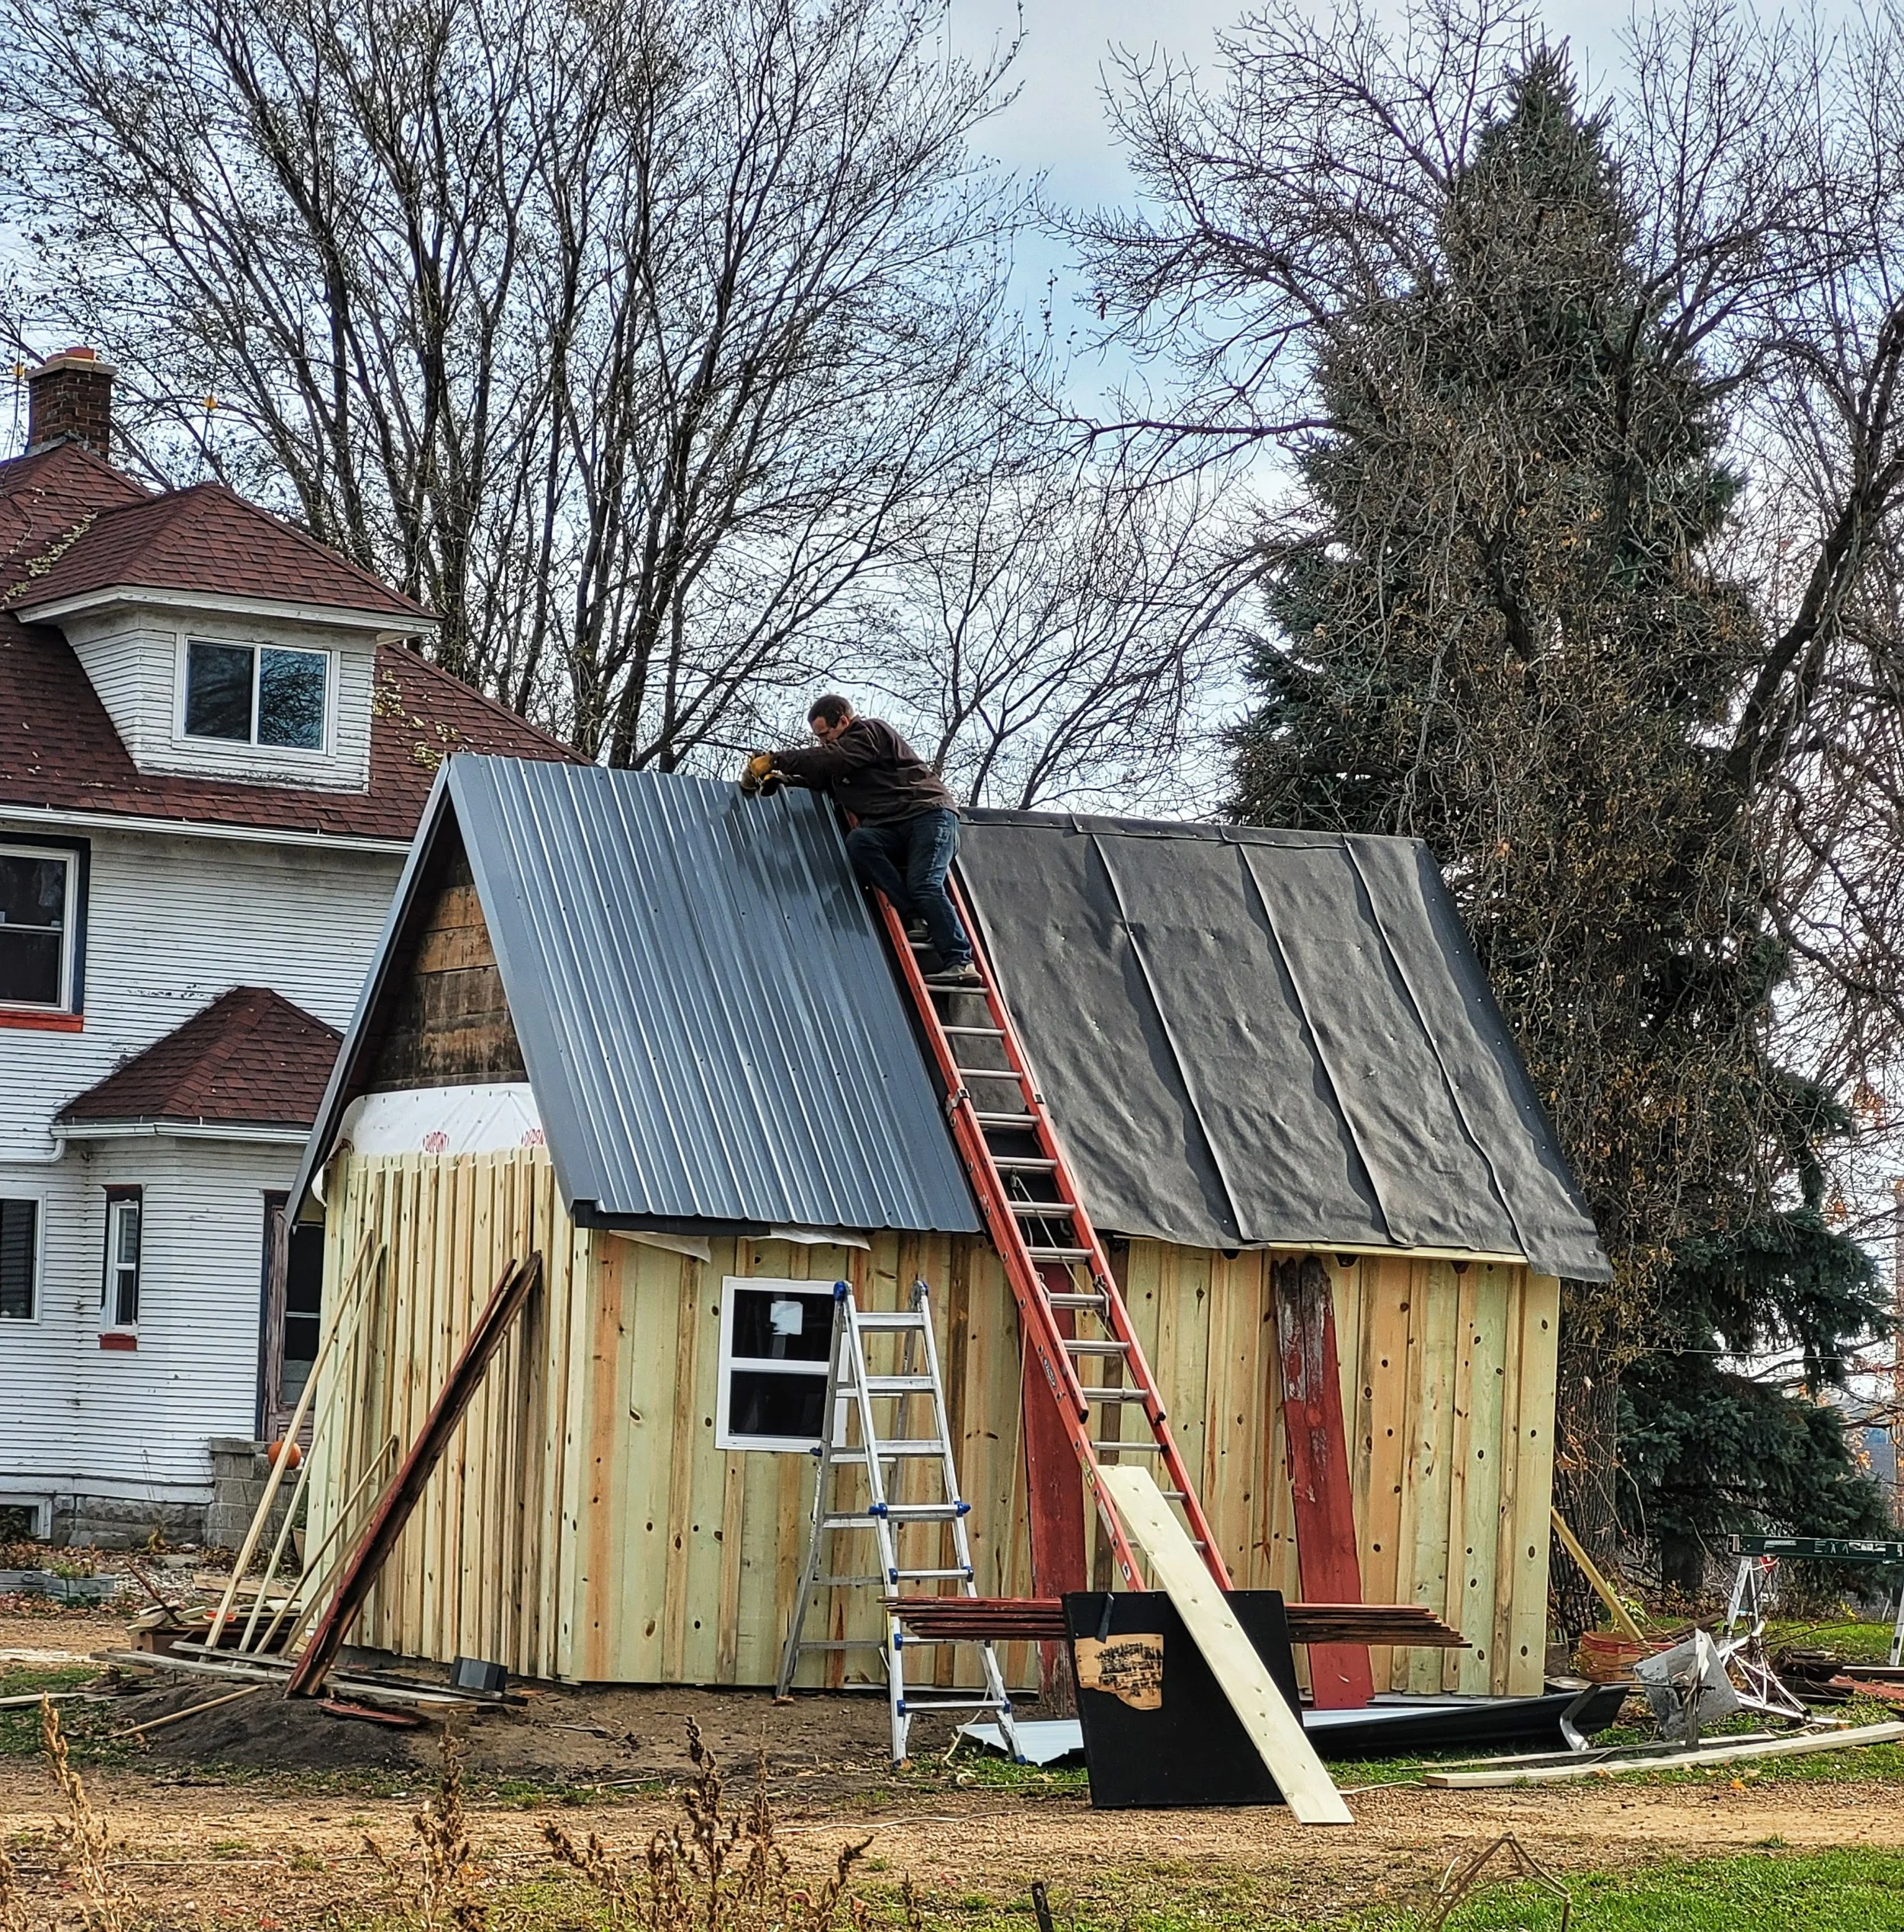
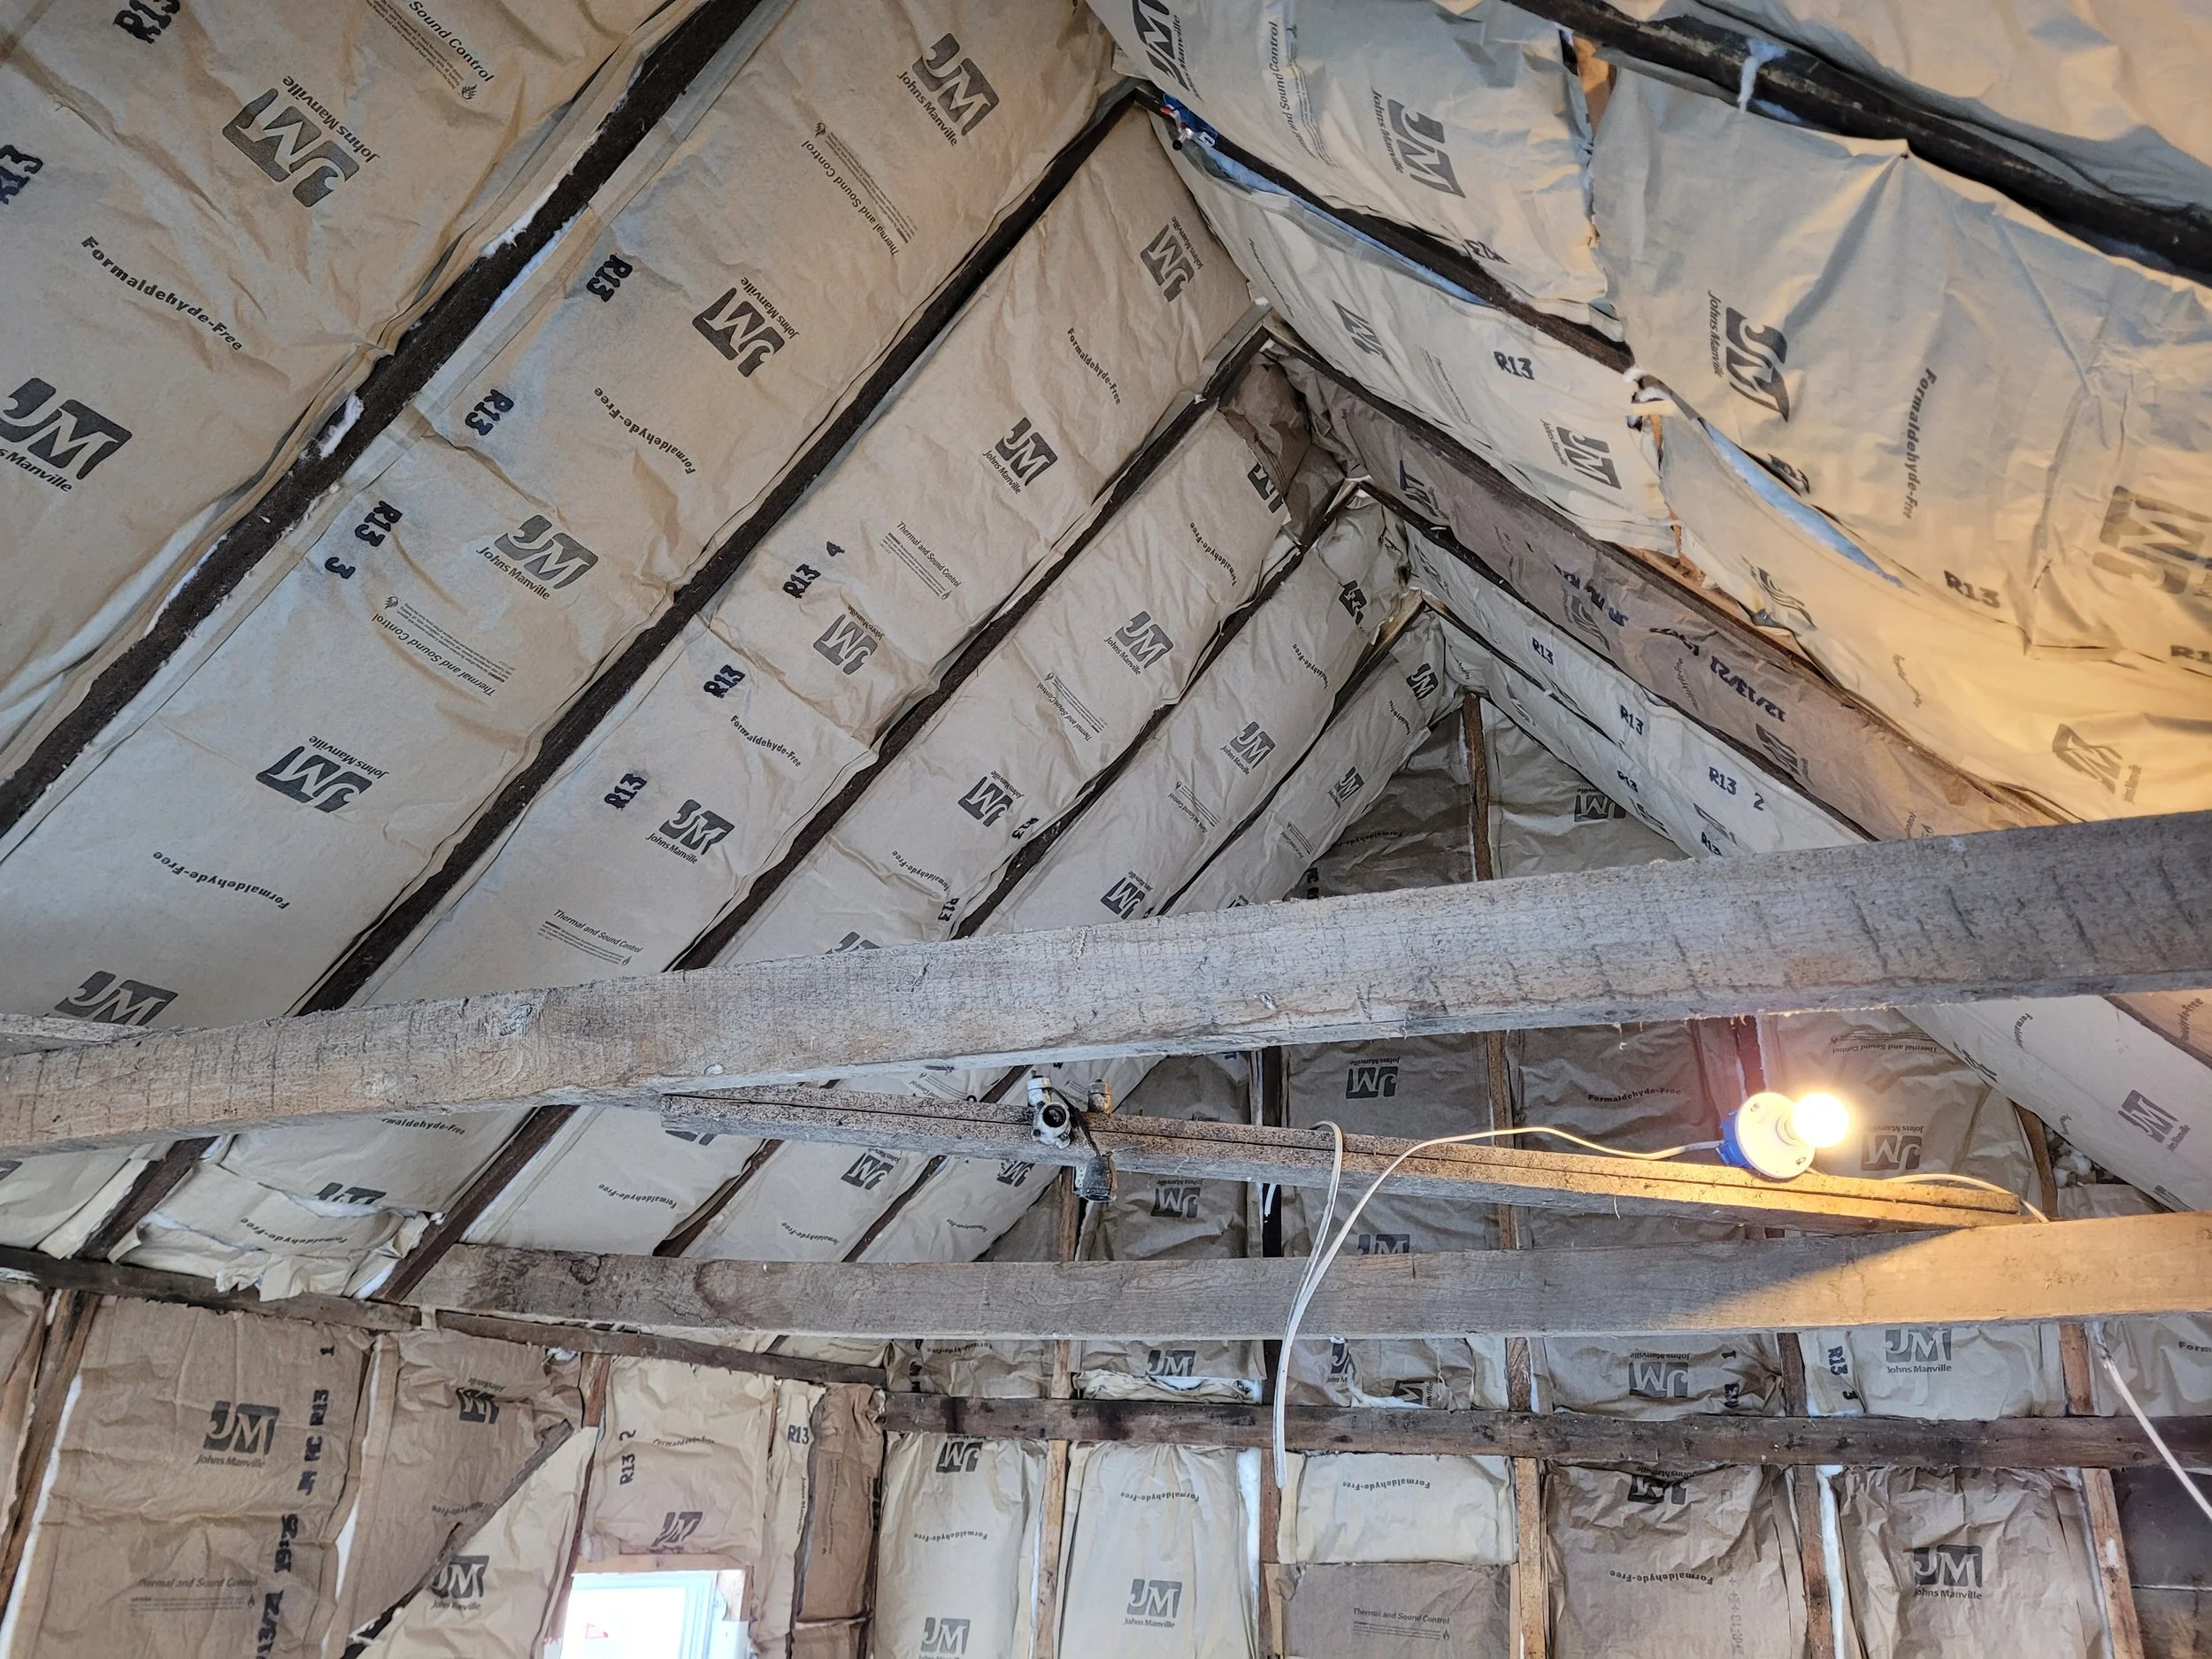
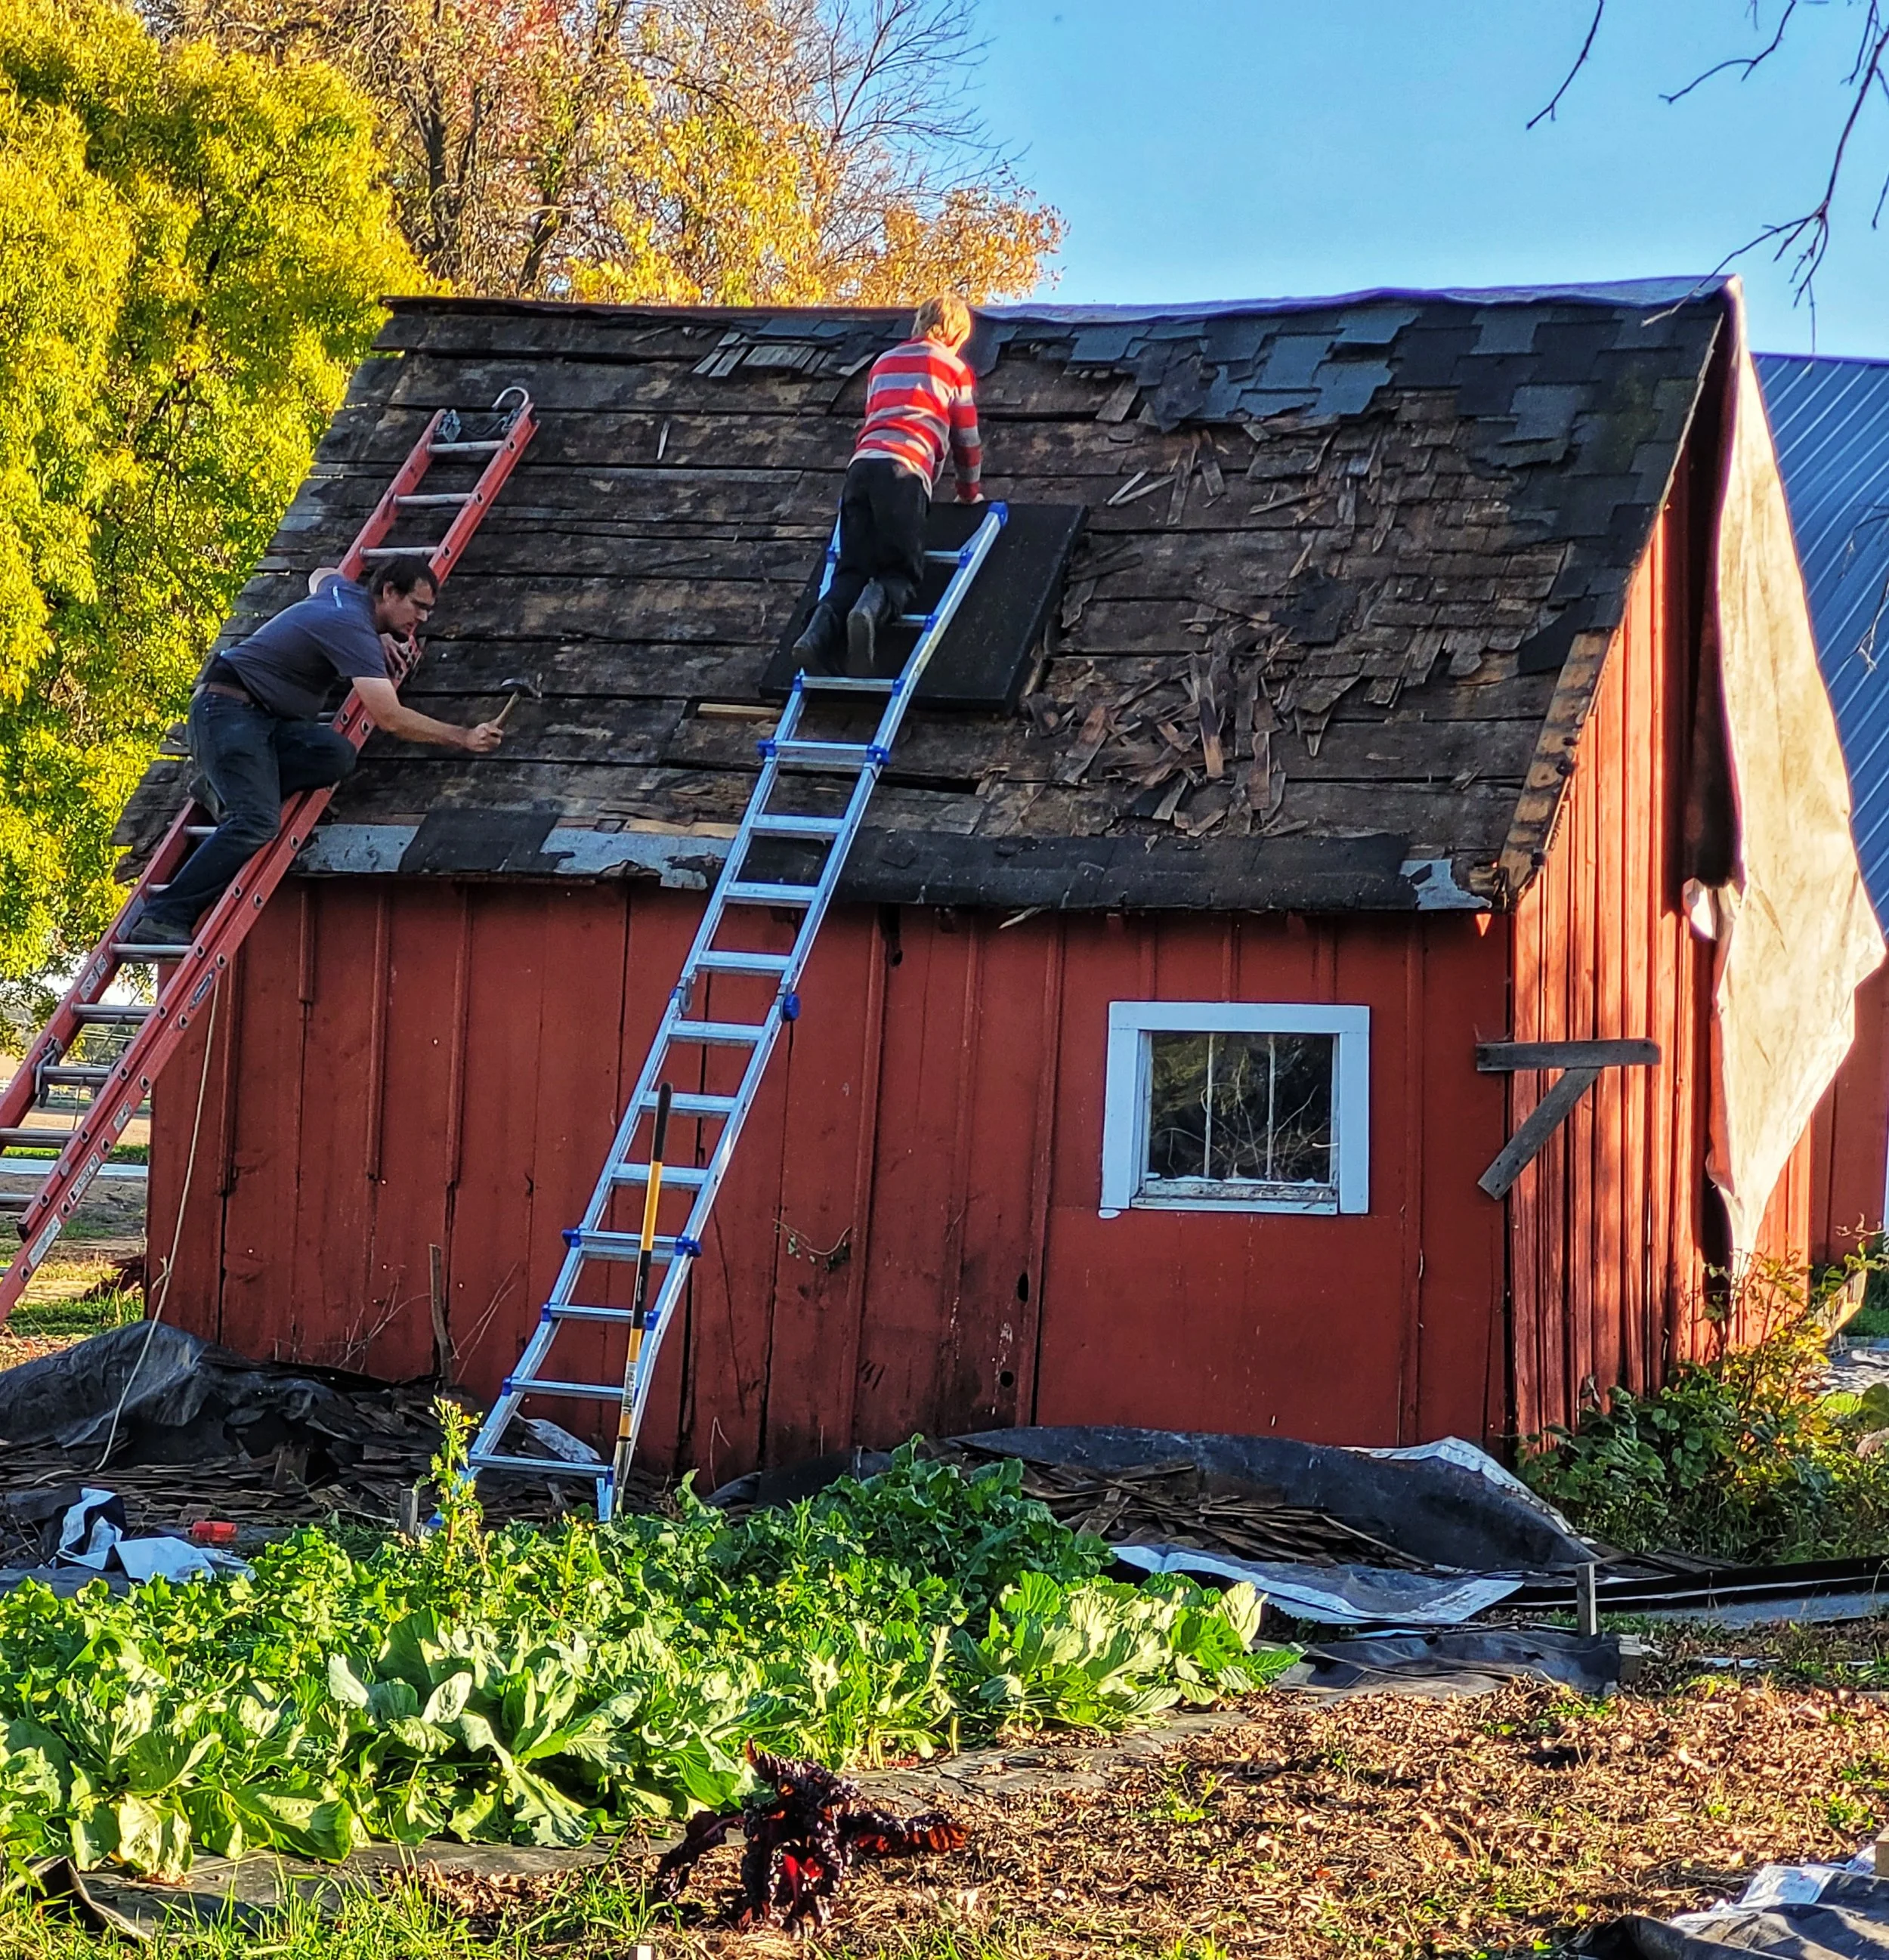
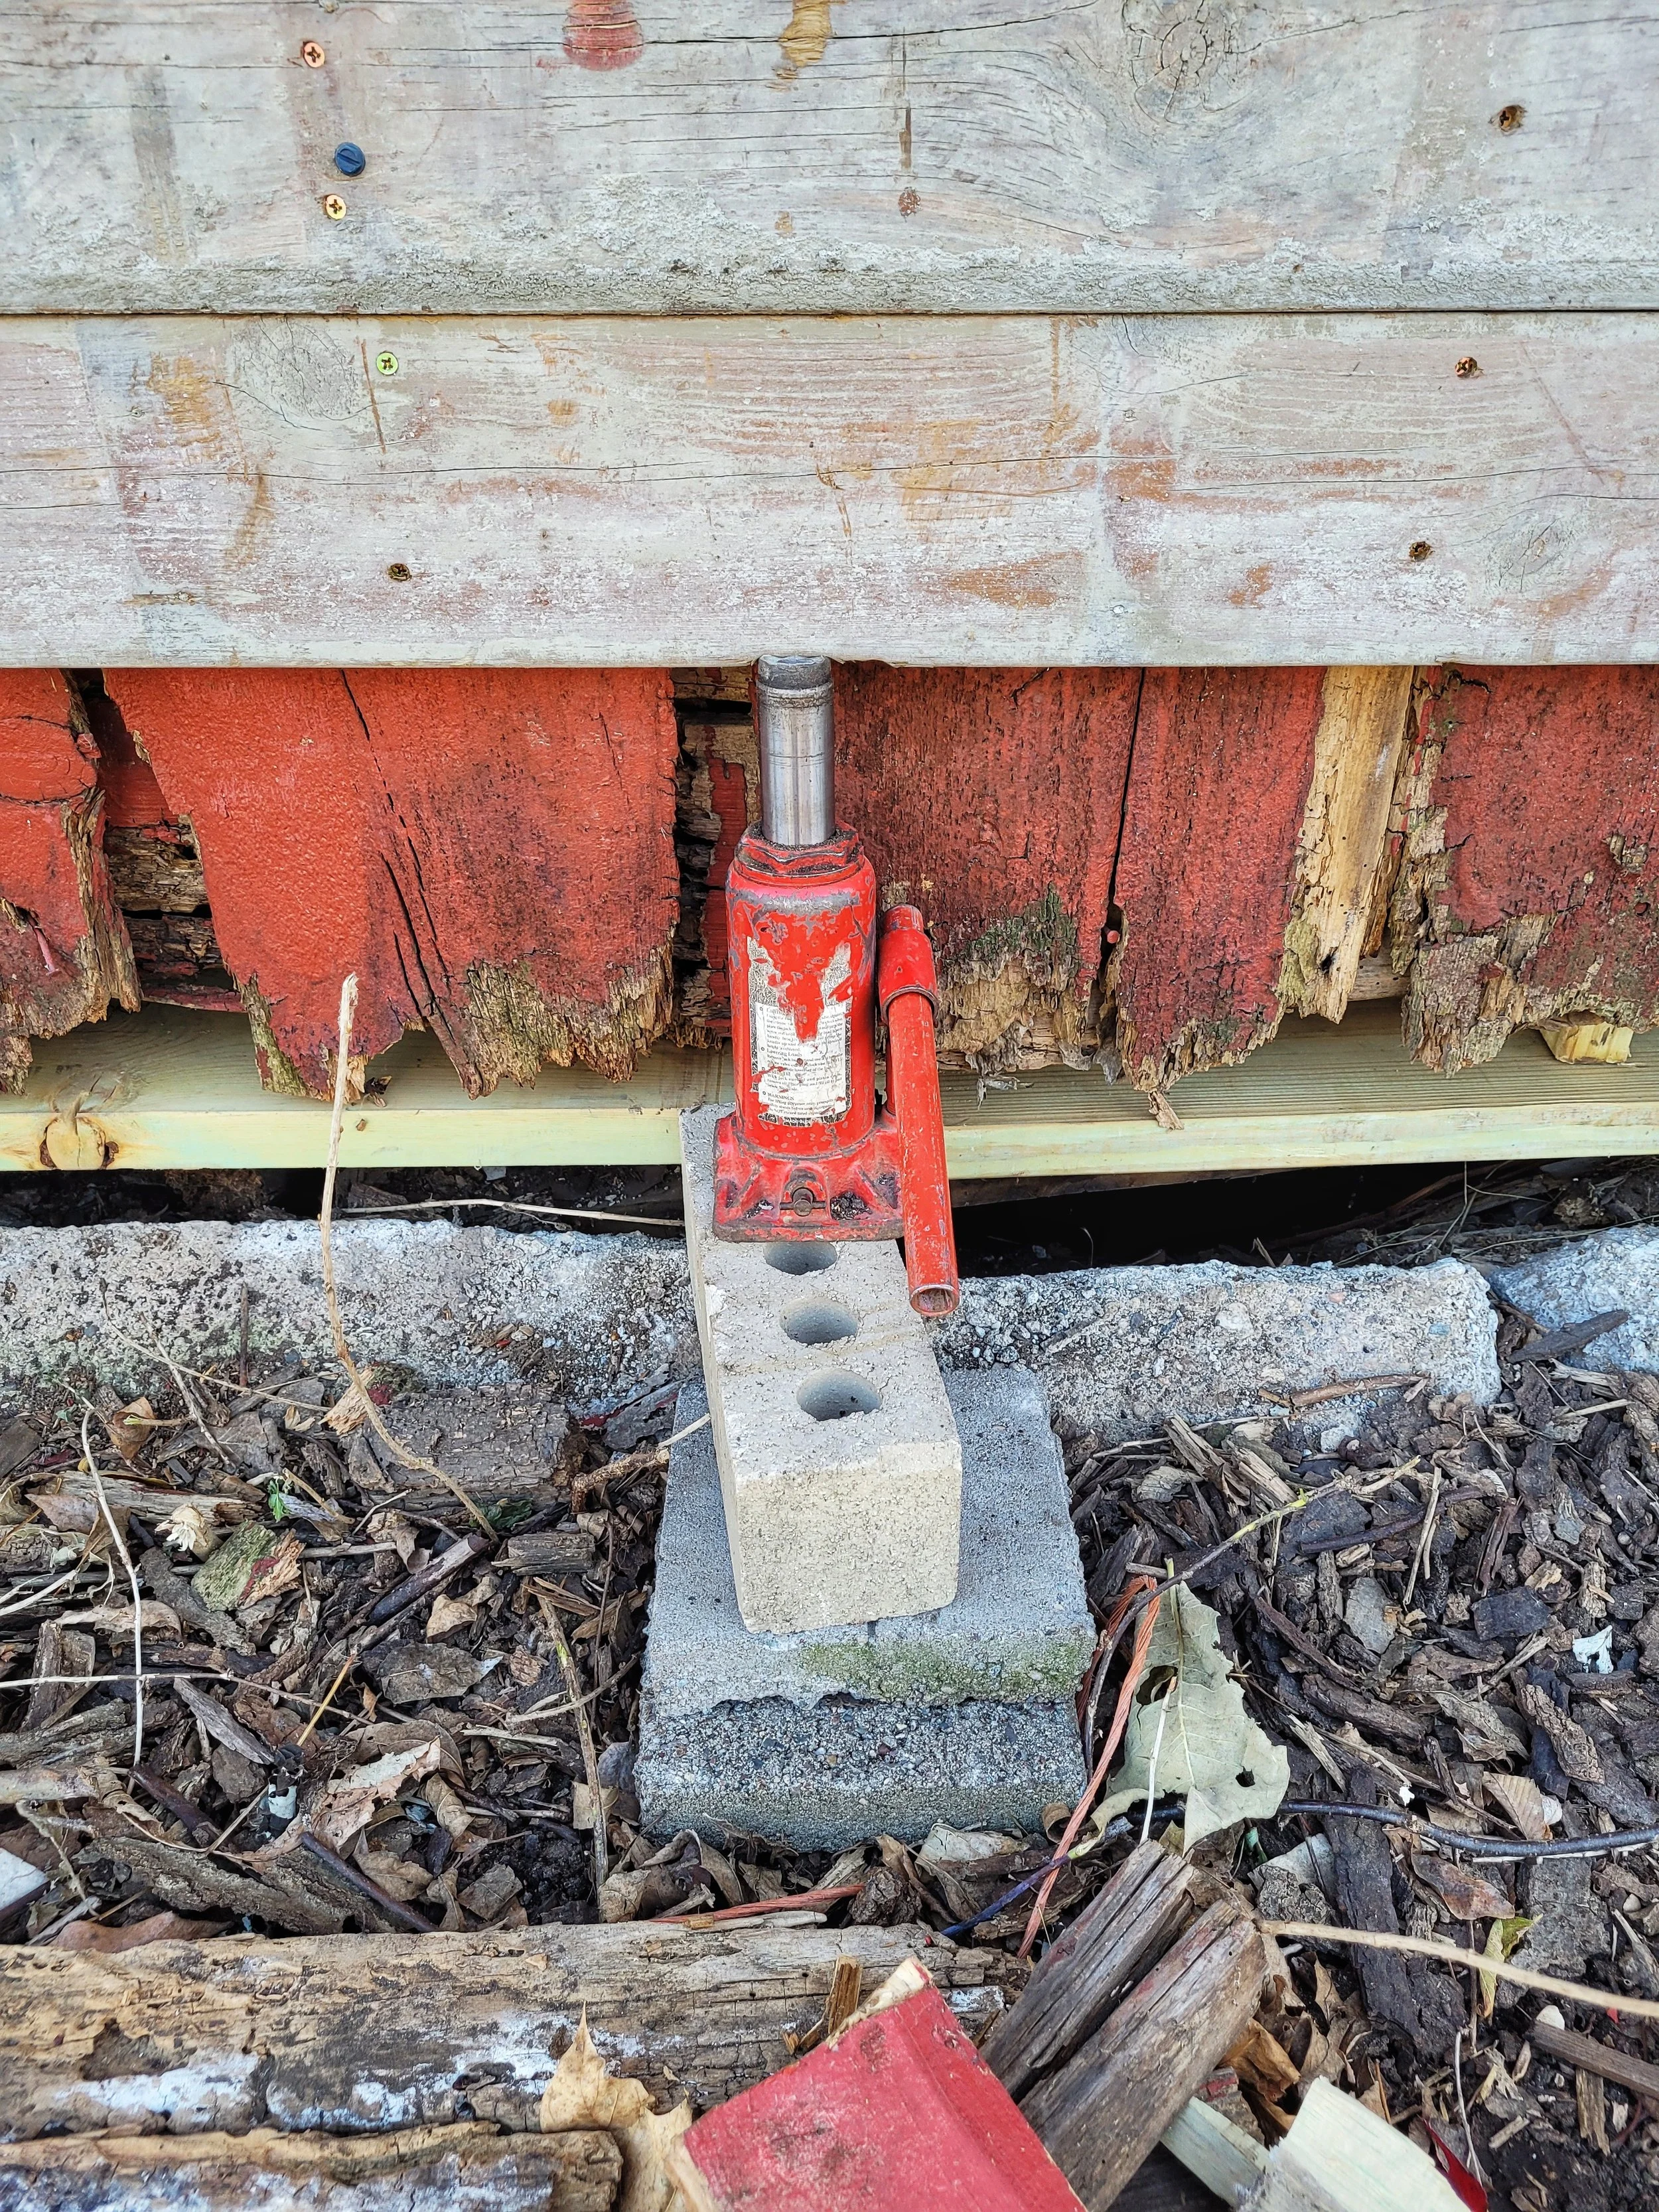
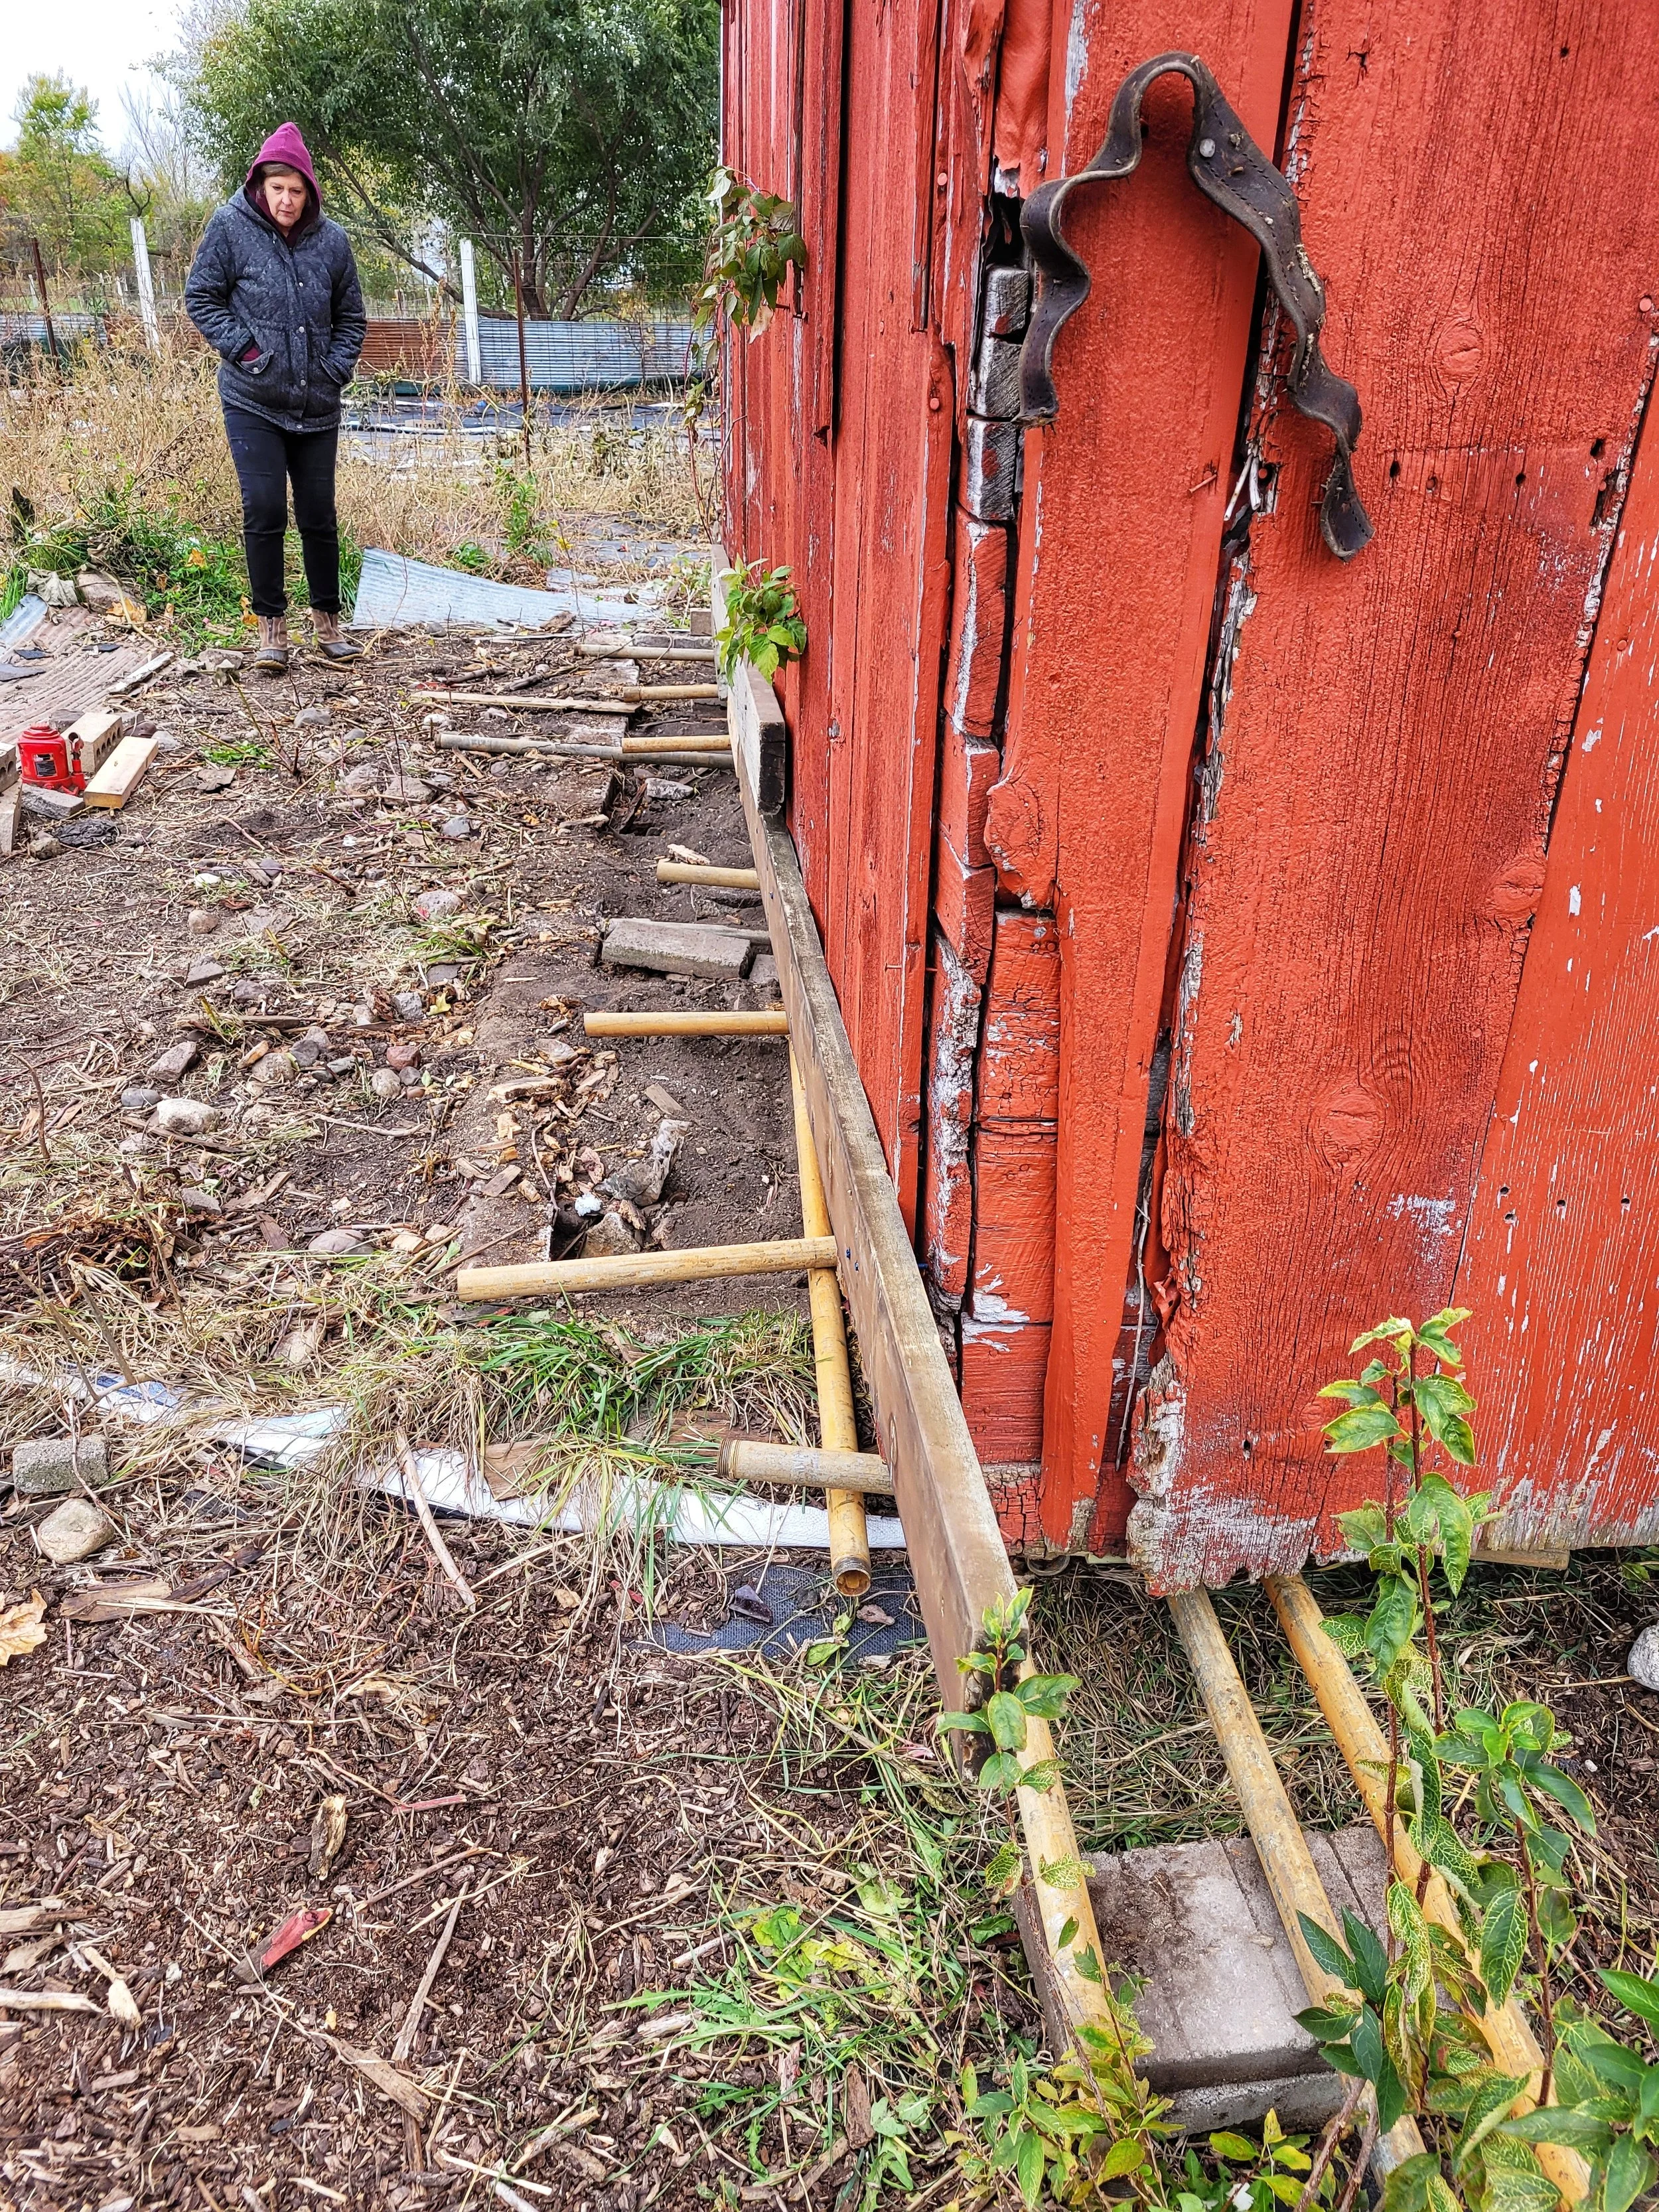
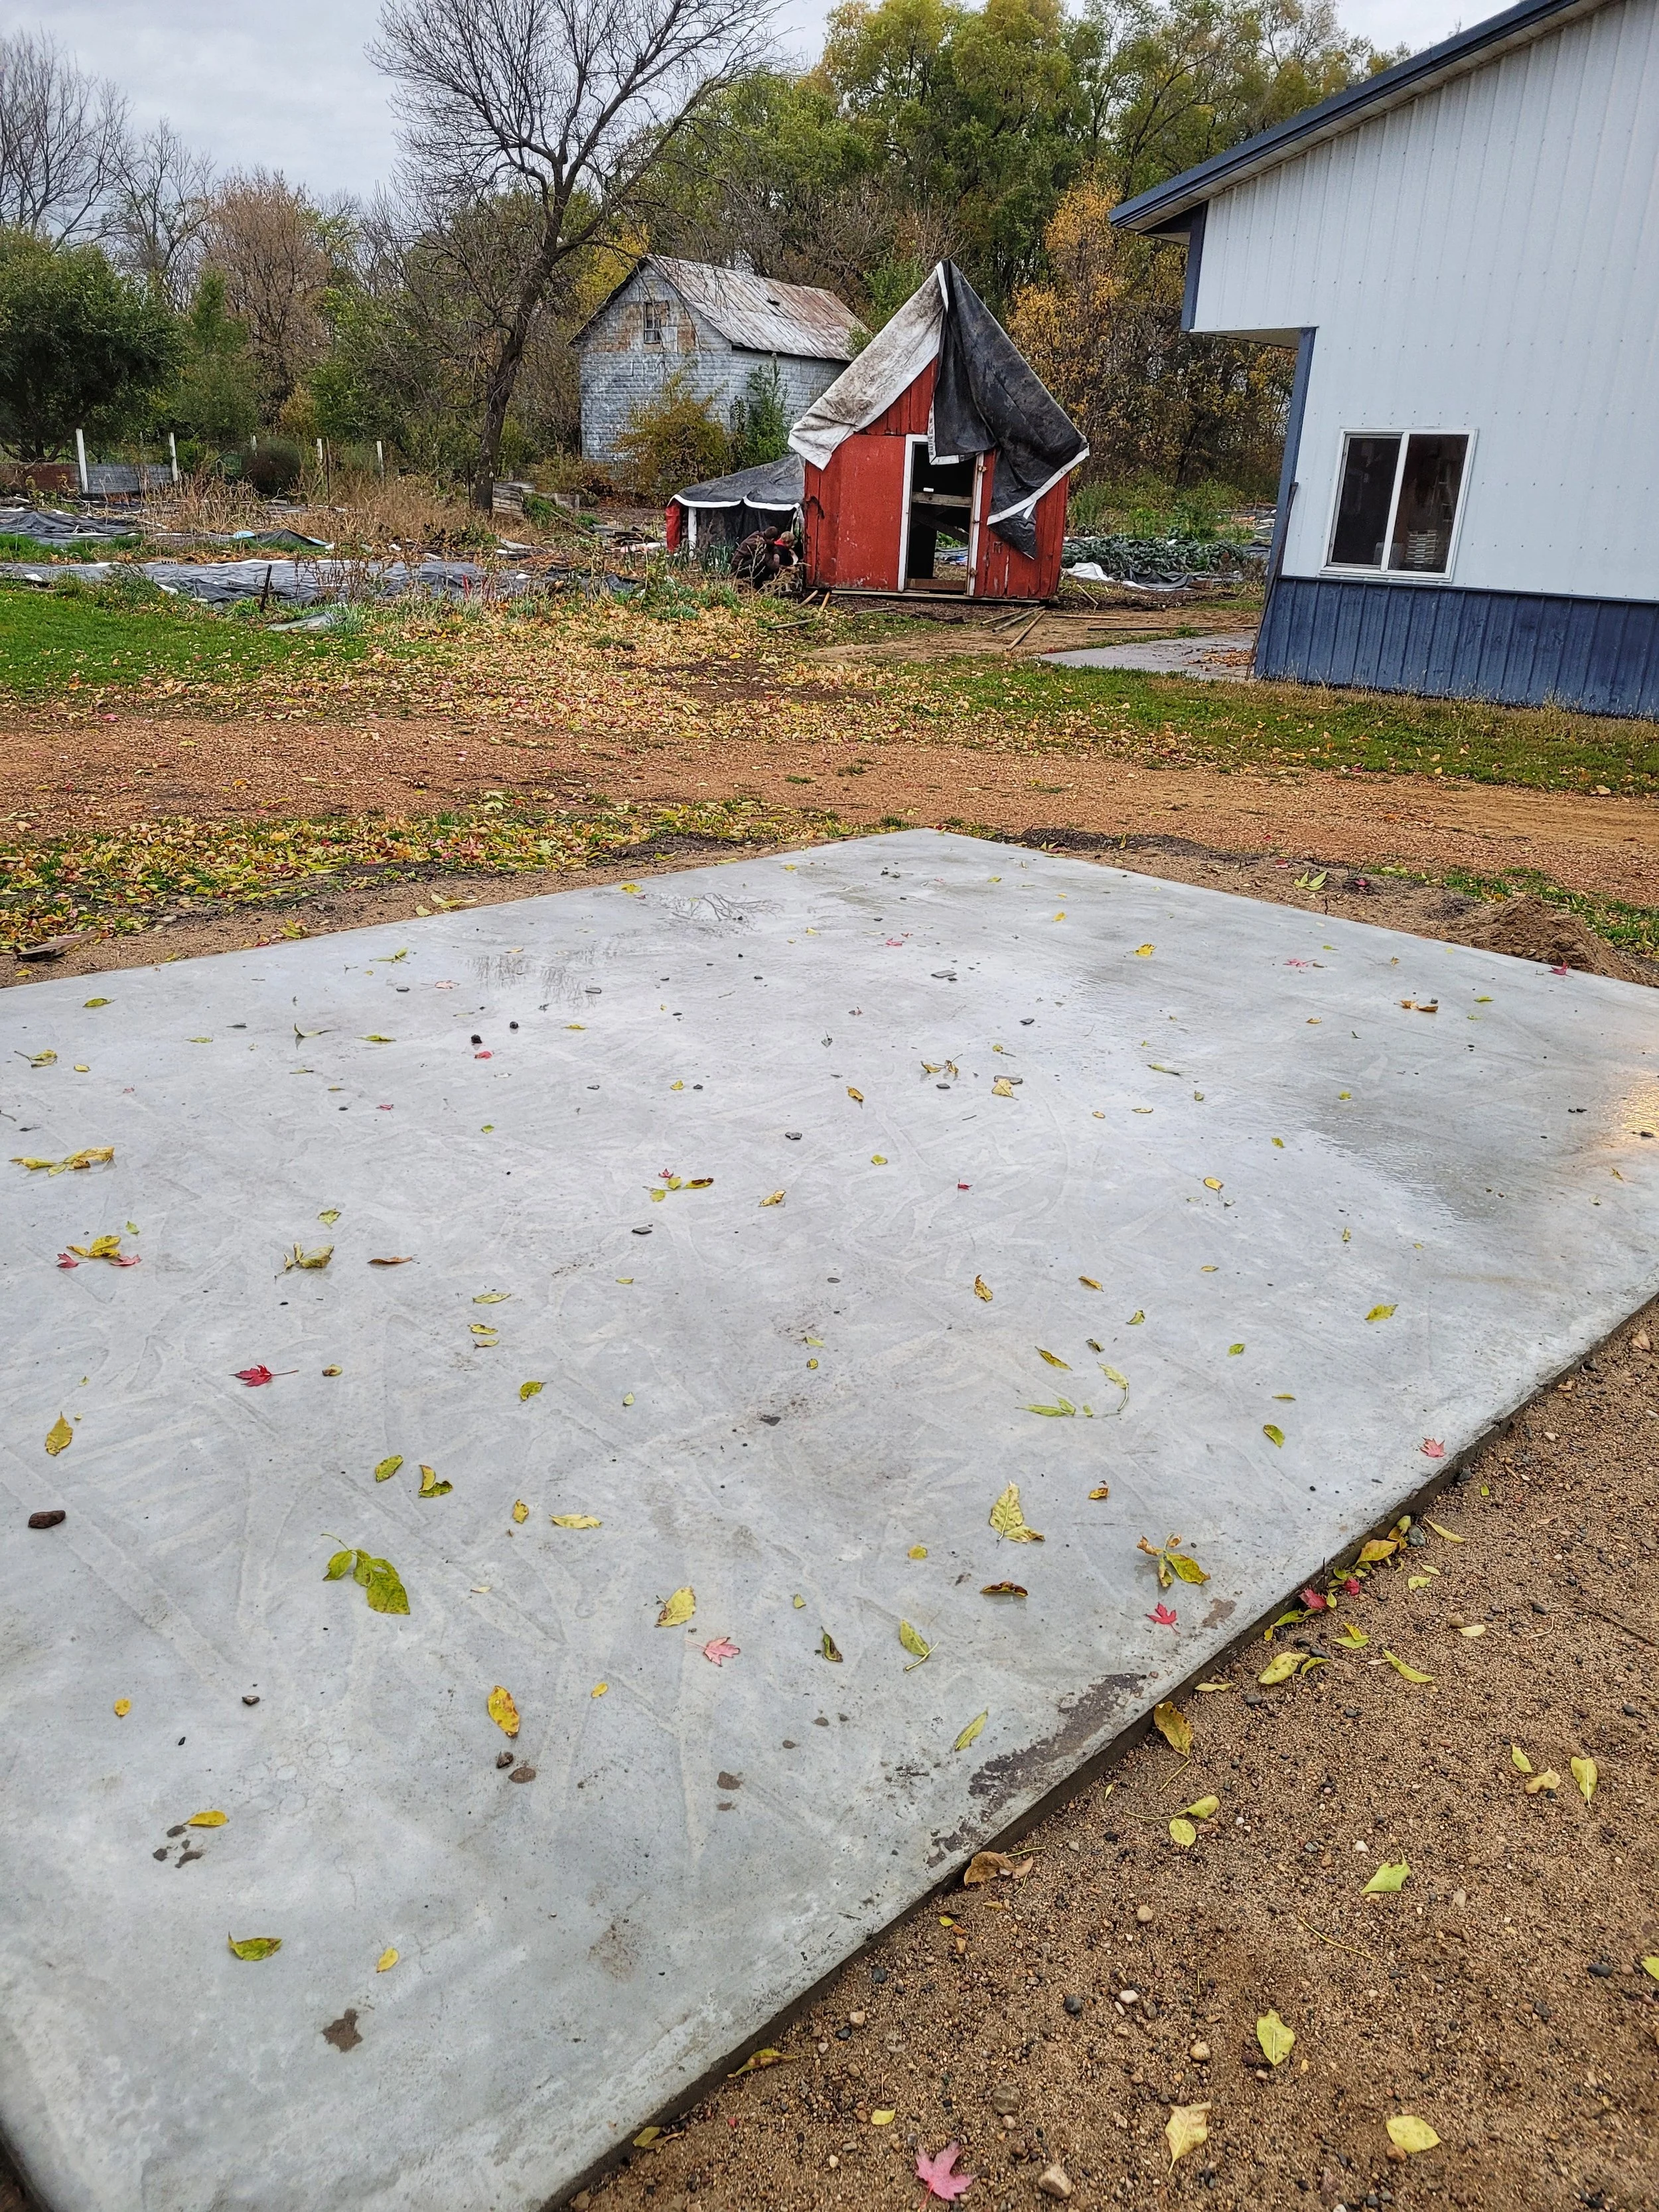
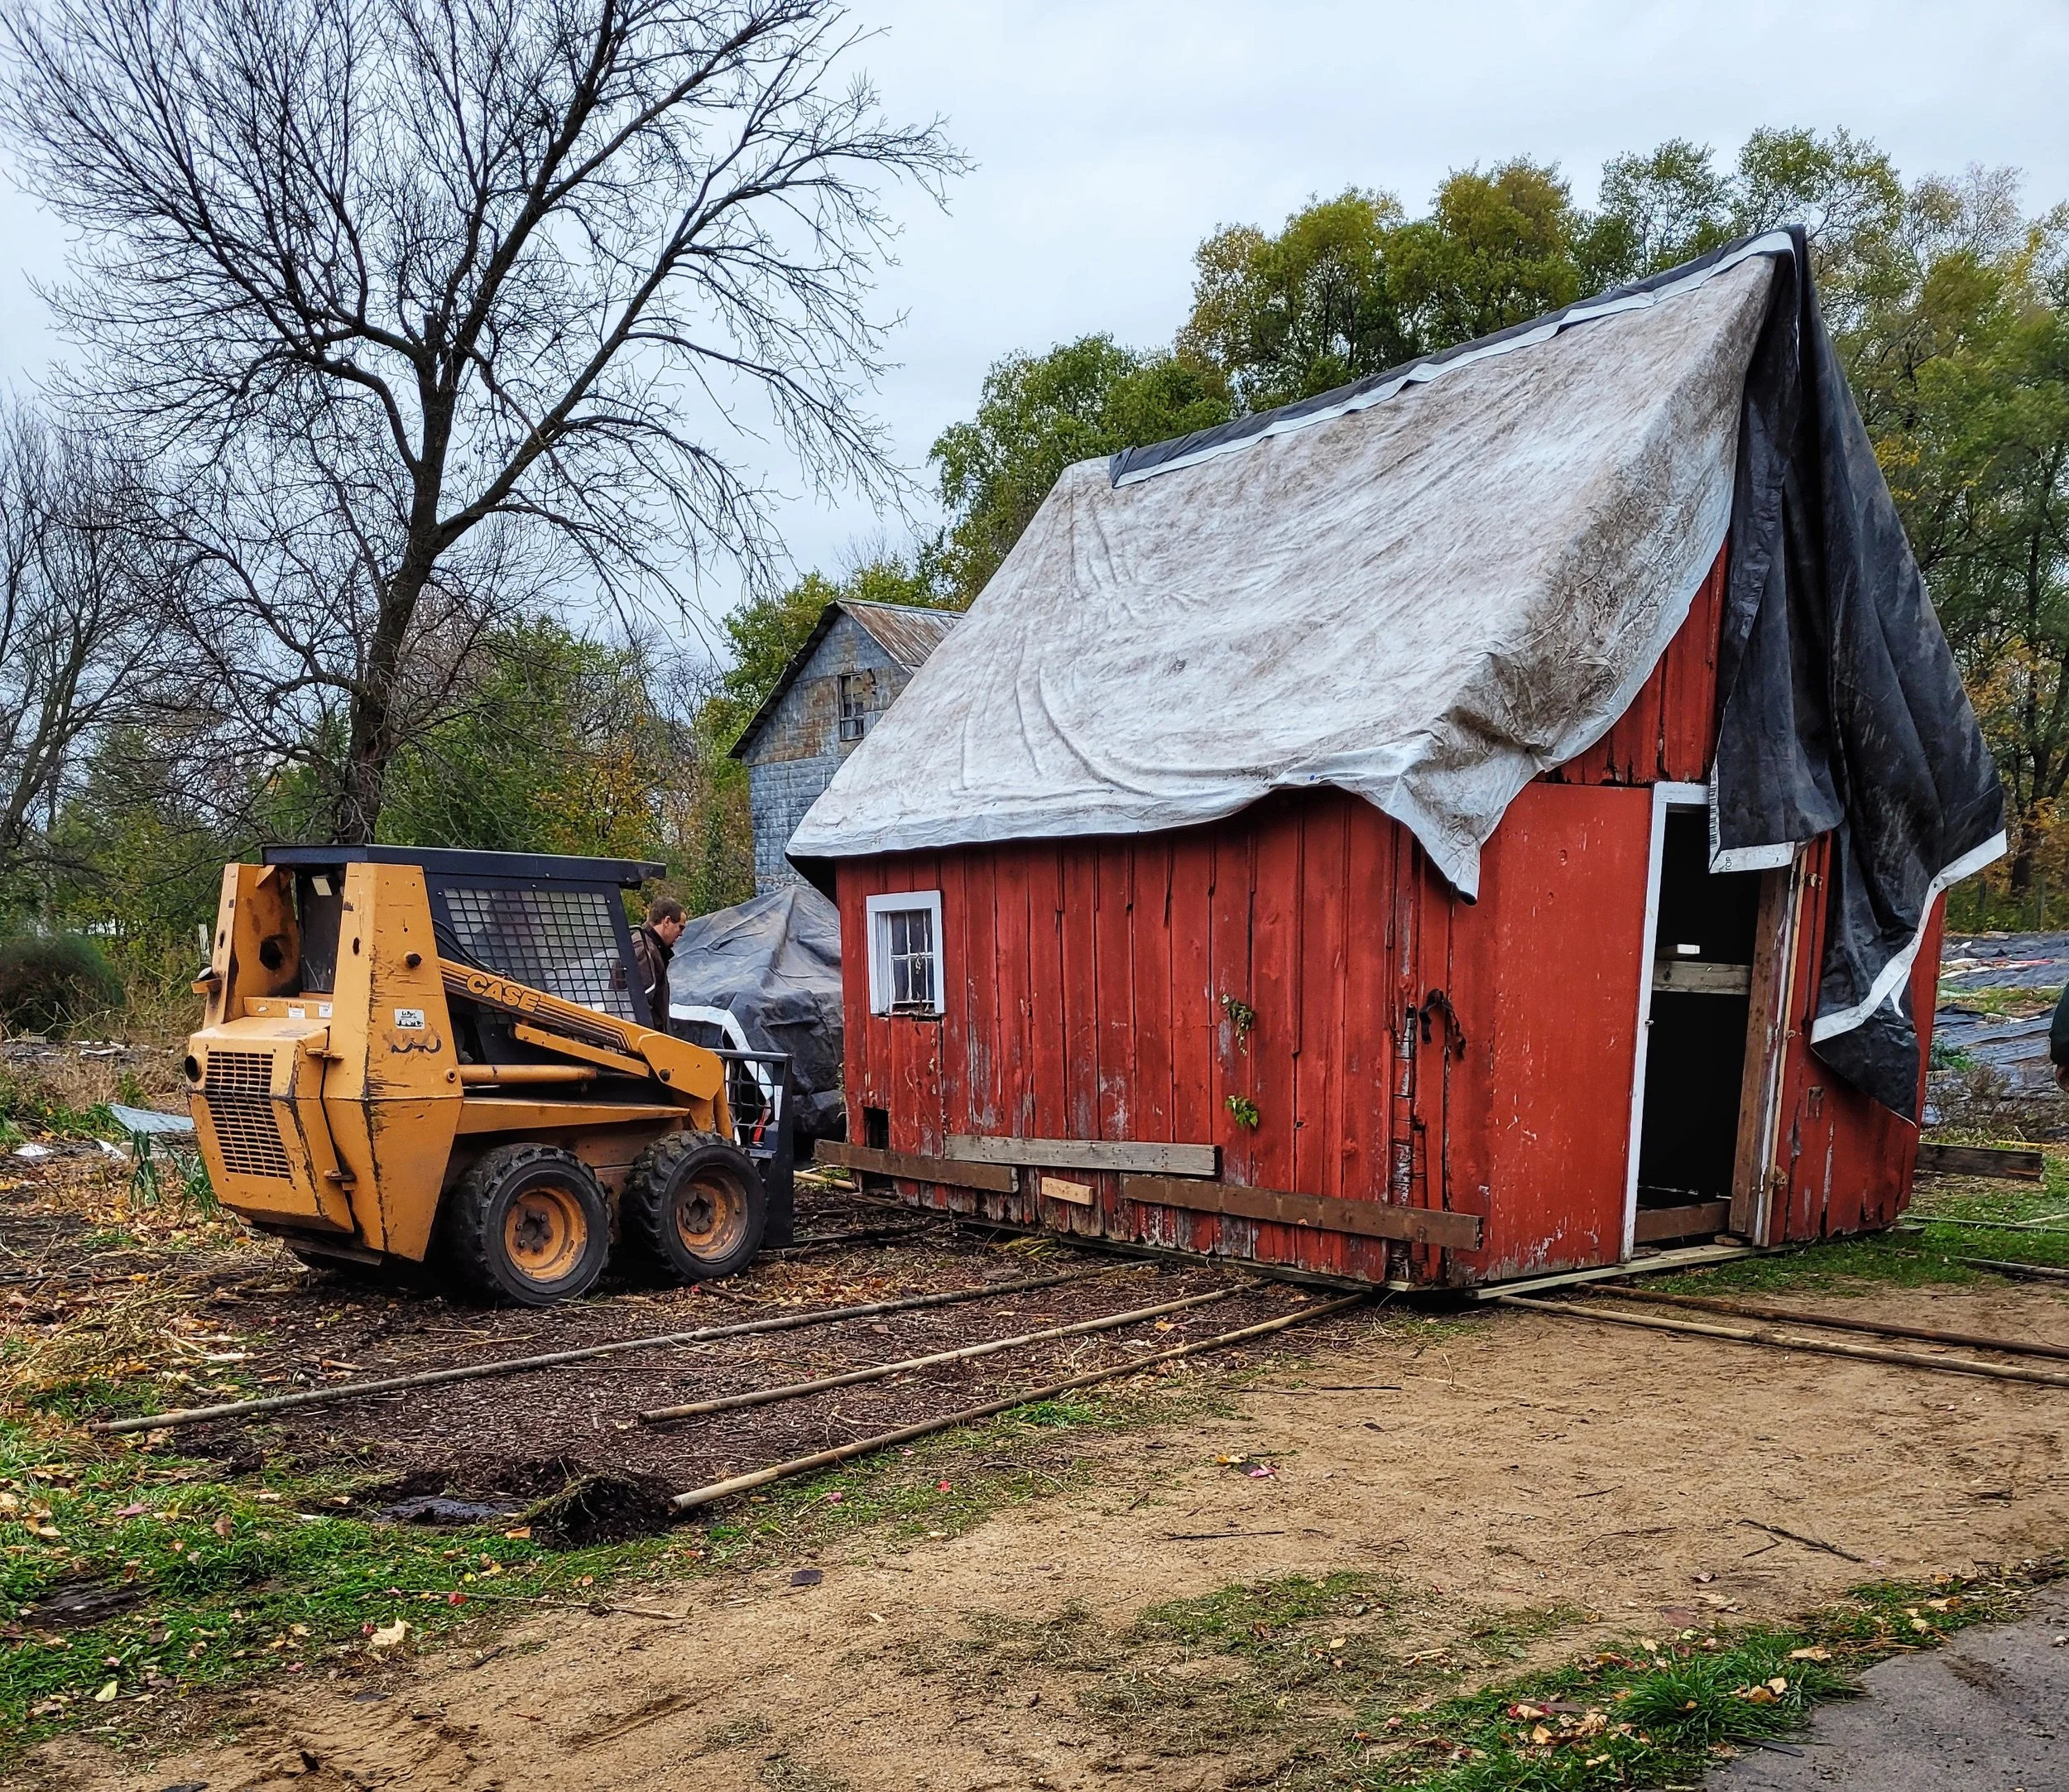
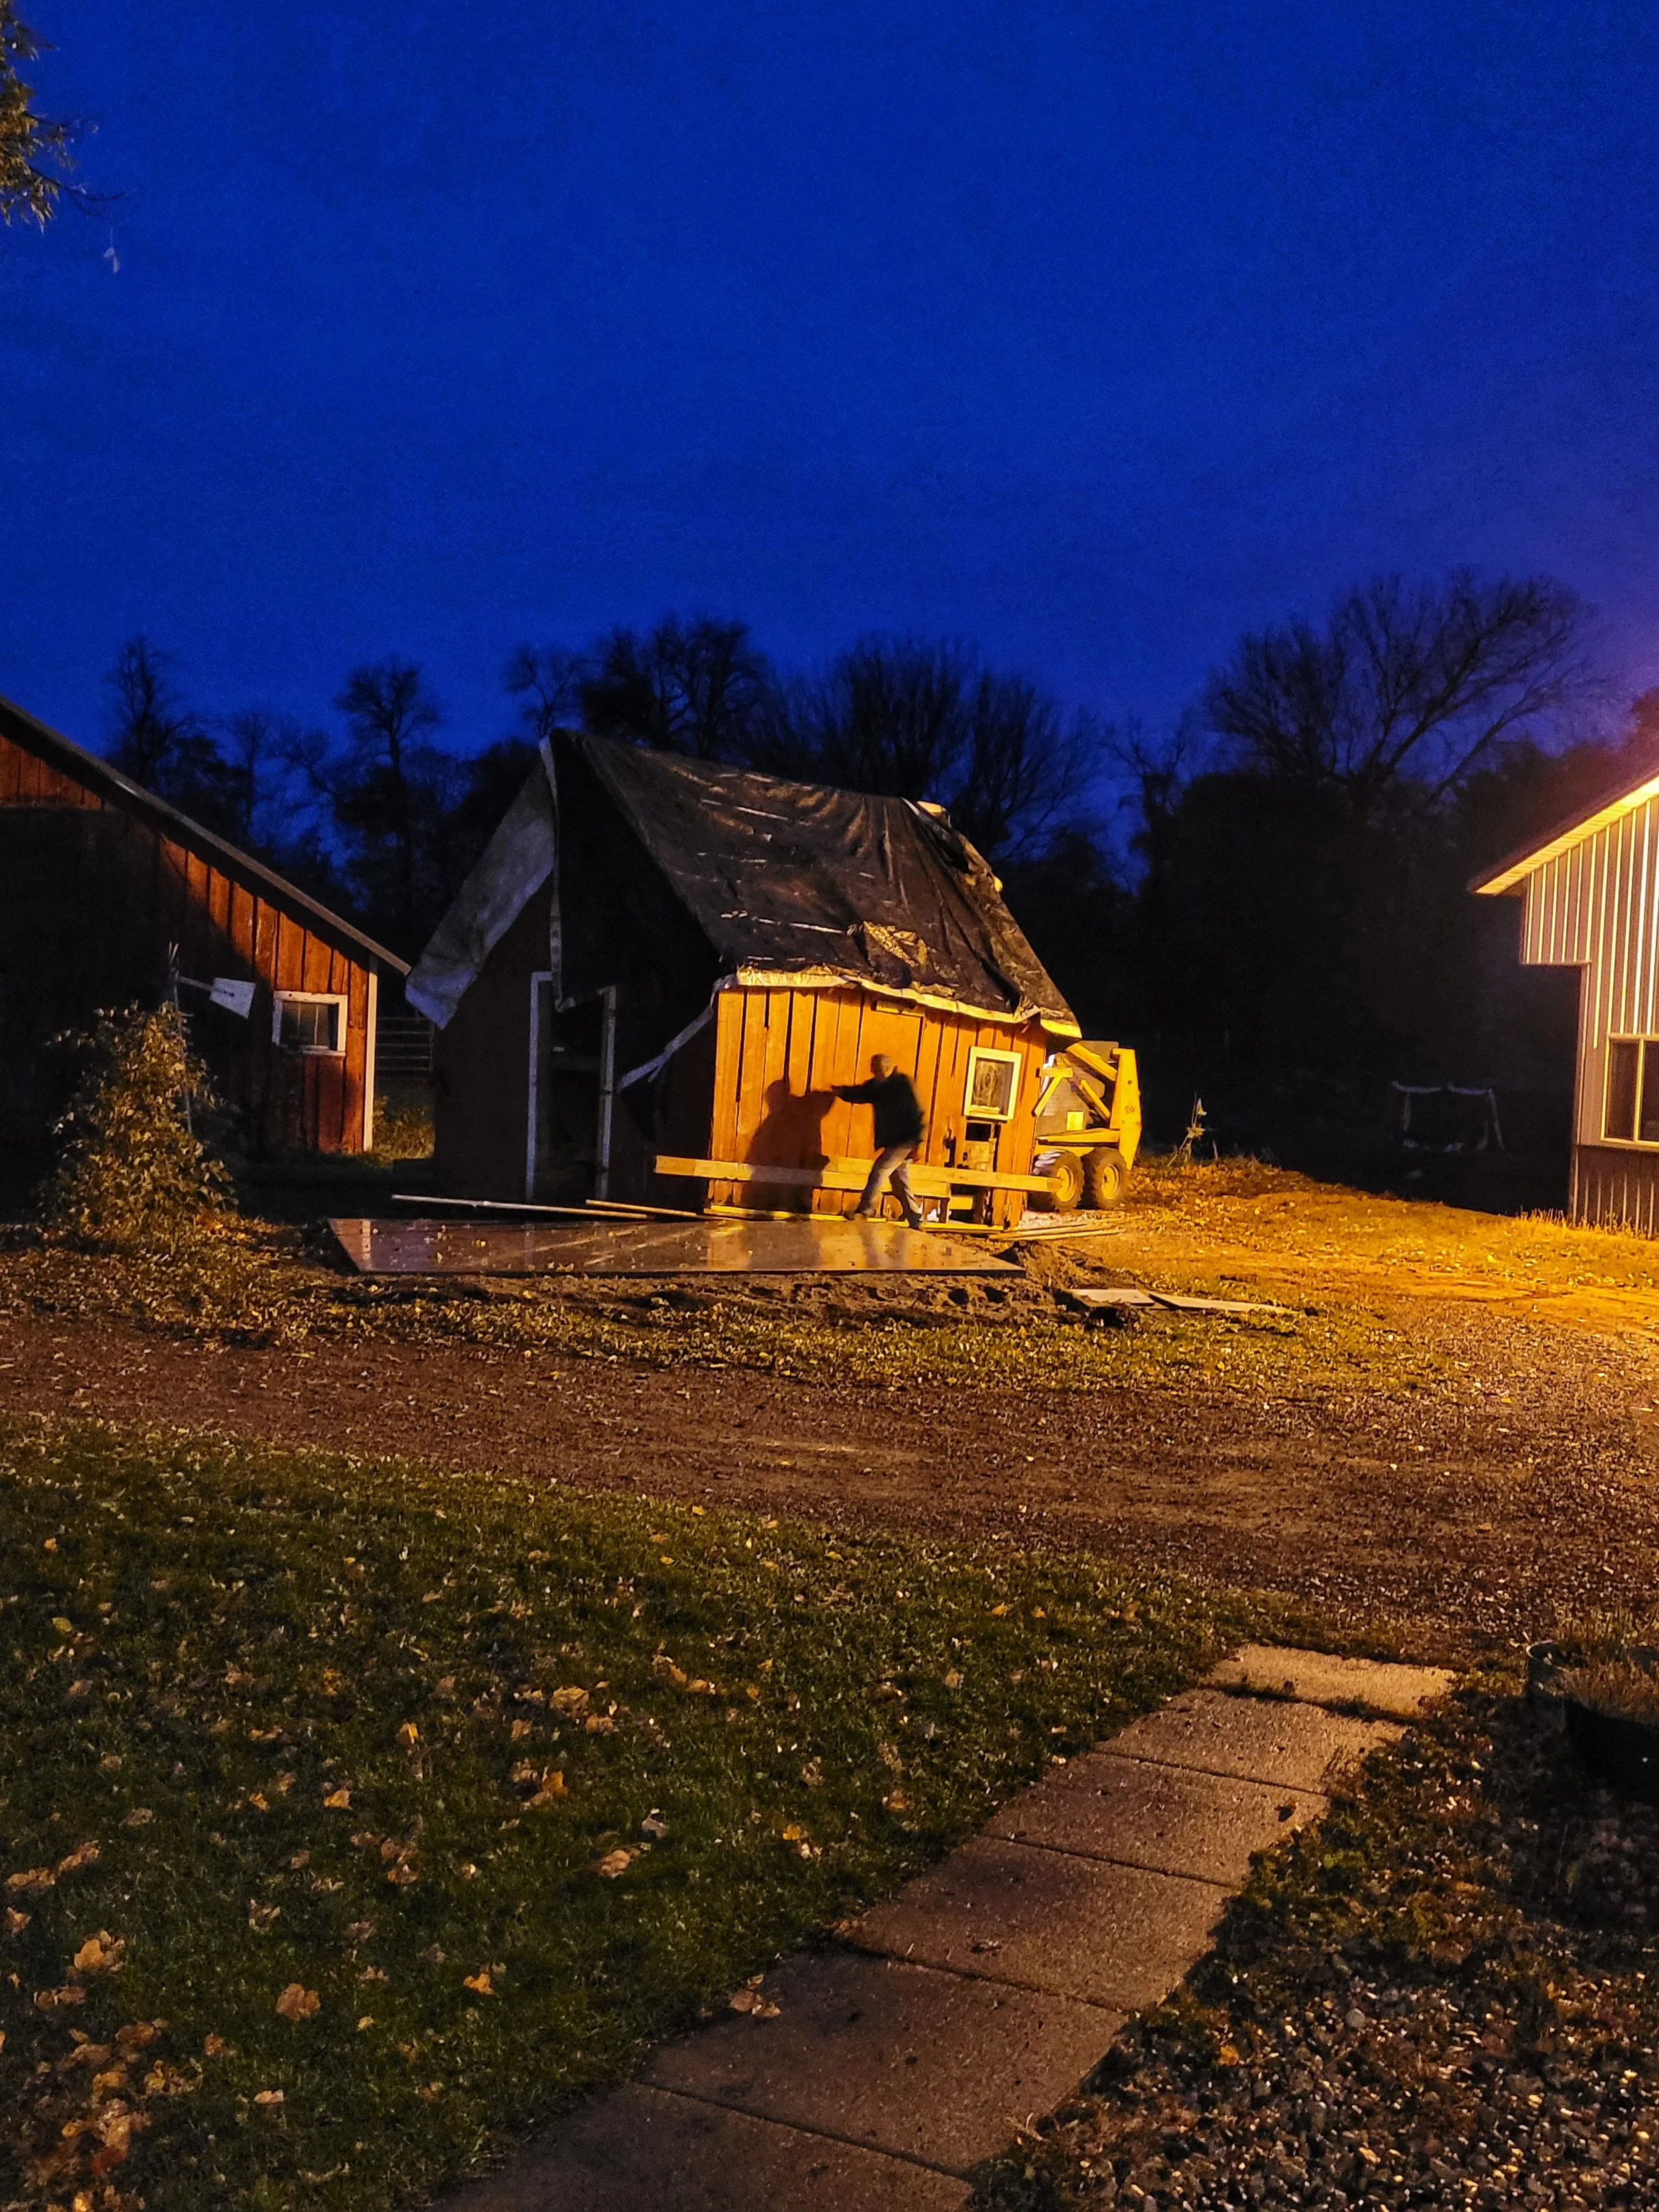
To recap, we relocated the well house building (Part 1) and then made it weather-tight and a permanent structure (Part 2).

And now, the fun part - turning this old building into a beautiful, clean, useful space!

As our thoughts and hopes for the Farm Store grew, we could see how easily we could spend loads of money on making it pretty and perfect by purchasing all the things. But, we decided the better way would be to save our pennies where we could and still make it a beautiful, functional space.

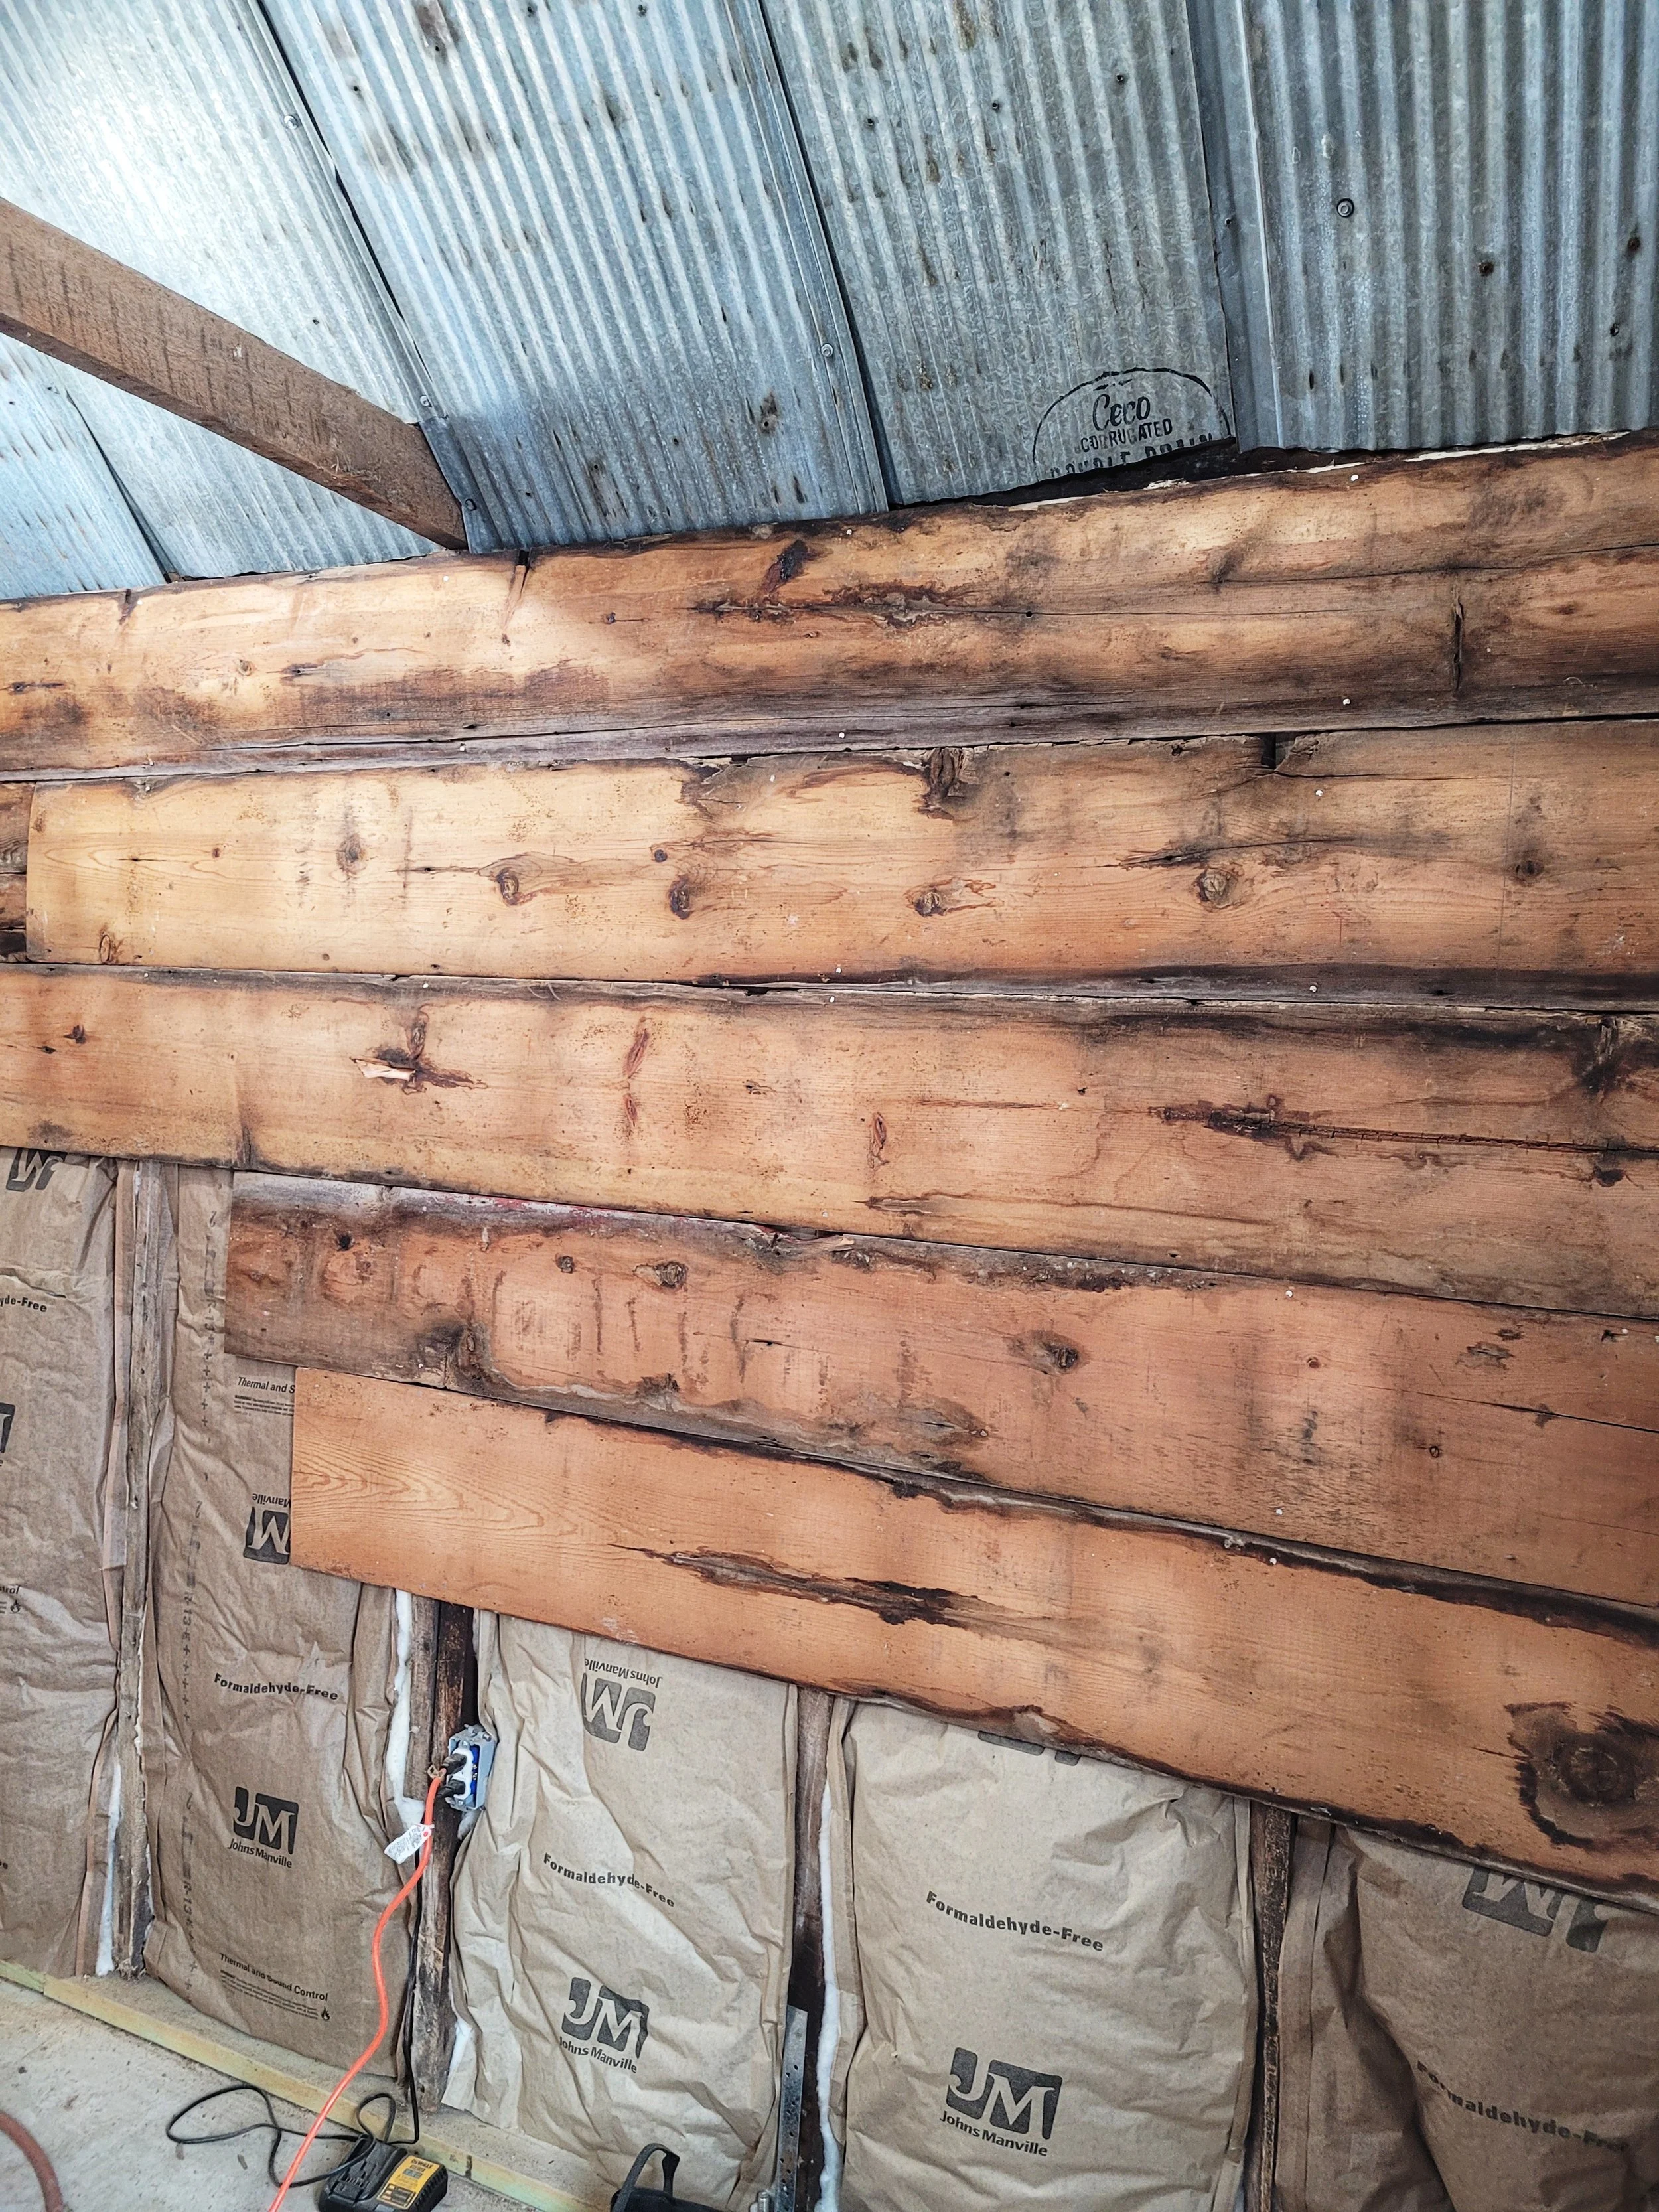
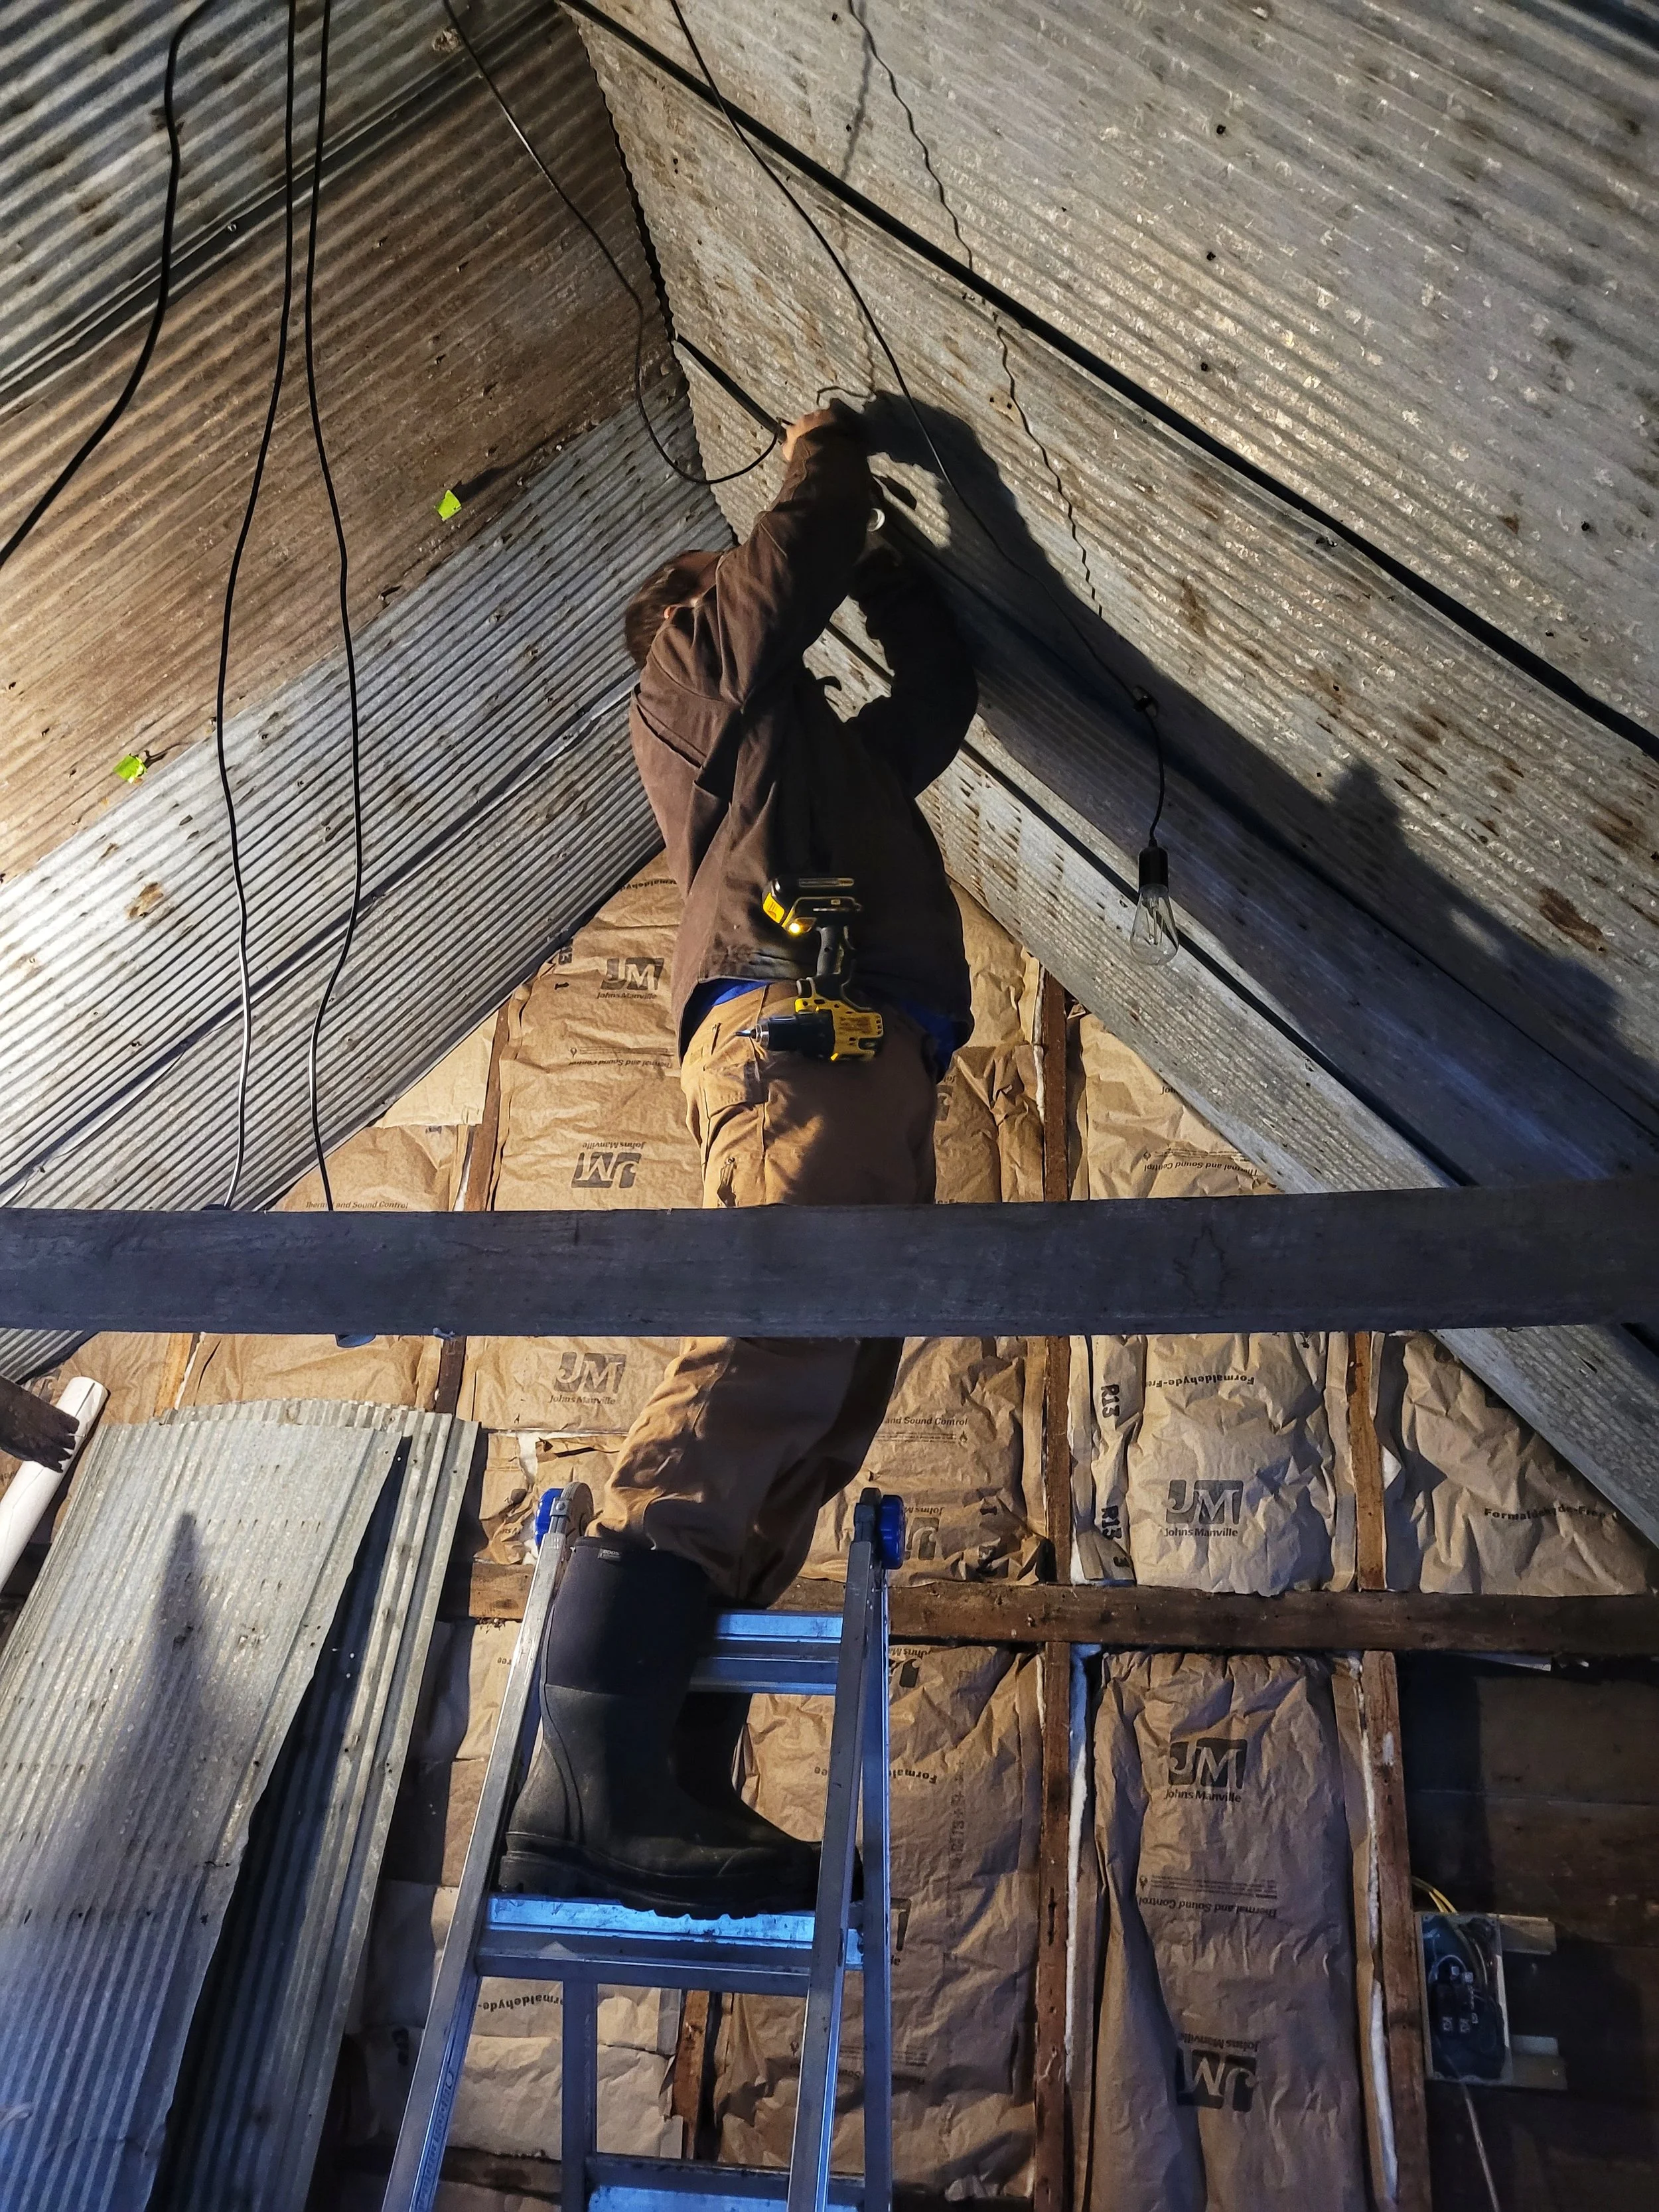
The first decision we had to make was what to do with the wood walls. We had decided to repurpose the usable lumber from the outside of the well house itself and our century-old barn. While we love the look of raw wood, these pieces had lived a hard life and looked a little dirty and dingy, even after power-washing. With trepidation, we decided to whitewash them. We felt a burden to treat this lumber respectfully while acknowledging the fact that without re-use it would have ended as fuel for a bonfire.

The first wall, whitewashed.

The difference a little whitewash makes. Clean and bright while still maintaining some rustic charm.

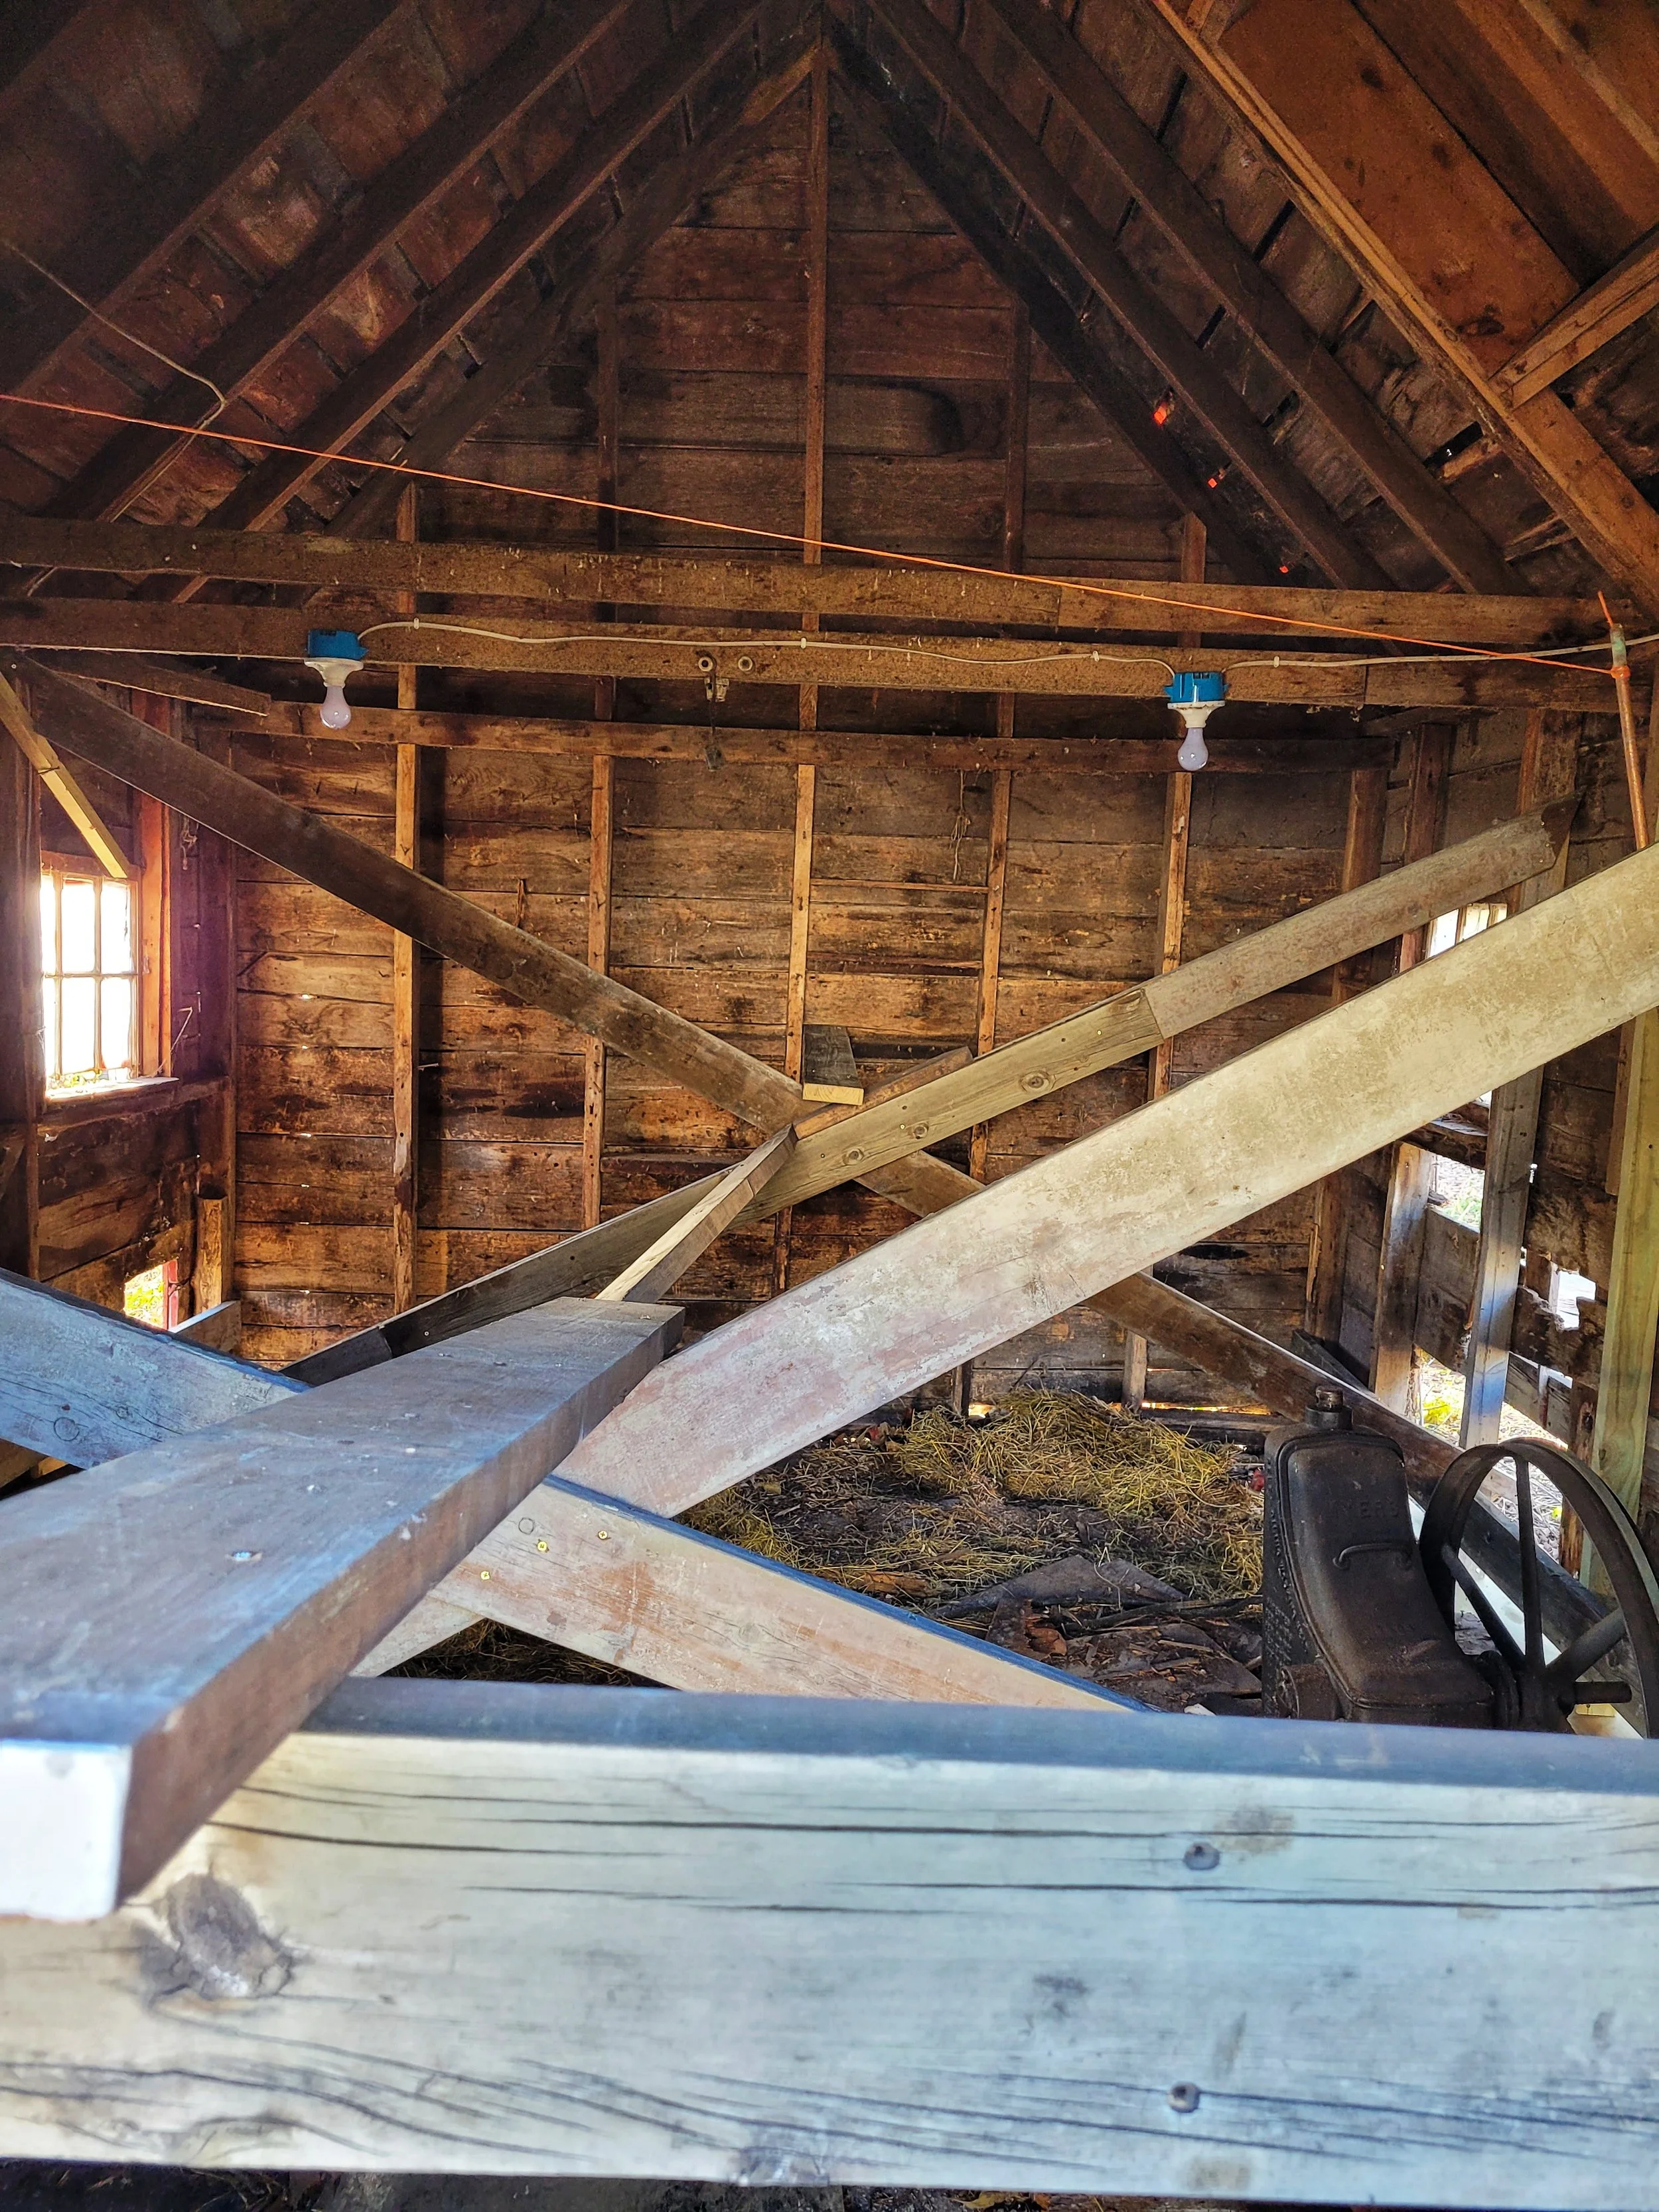
In the meantime, we scoured the farm buildings and attic for items we could use or repurpose in the store. And, for the items we still needed, we scoured Marketplace and garage sales for months with a list and a budget. Slowly, we found what we needed at the right prices and even picked up some things for free.

The outside of the store needed a bit of love as well. Angie has always had a dream of growing perennial herbs and medicinal plants. The exterior of the store seemed like a perfect place to begin the project.

The store exterior. That black behemoth is the original 100-year-old well pump that used to be in the building.

Laying permeable landscape fabric for the future plants.

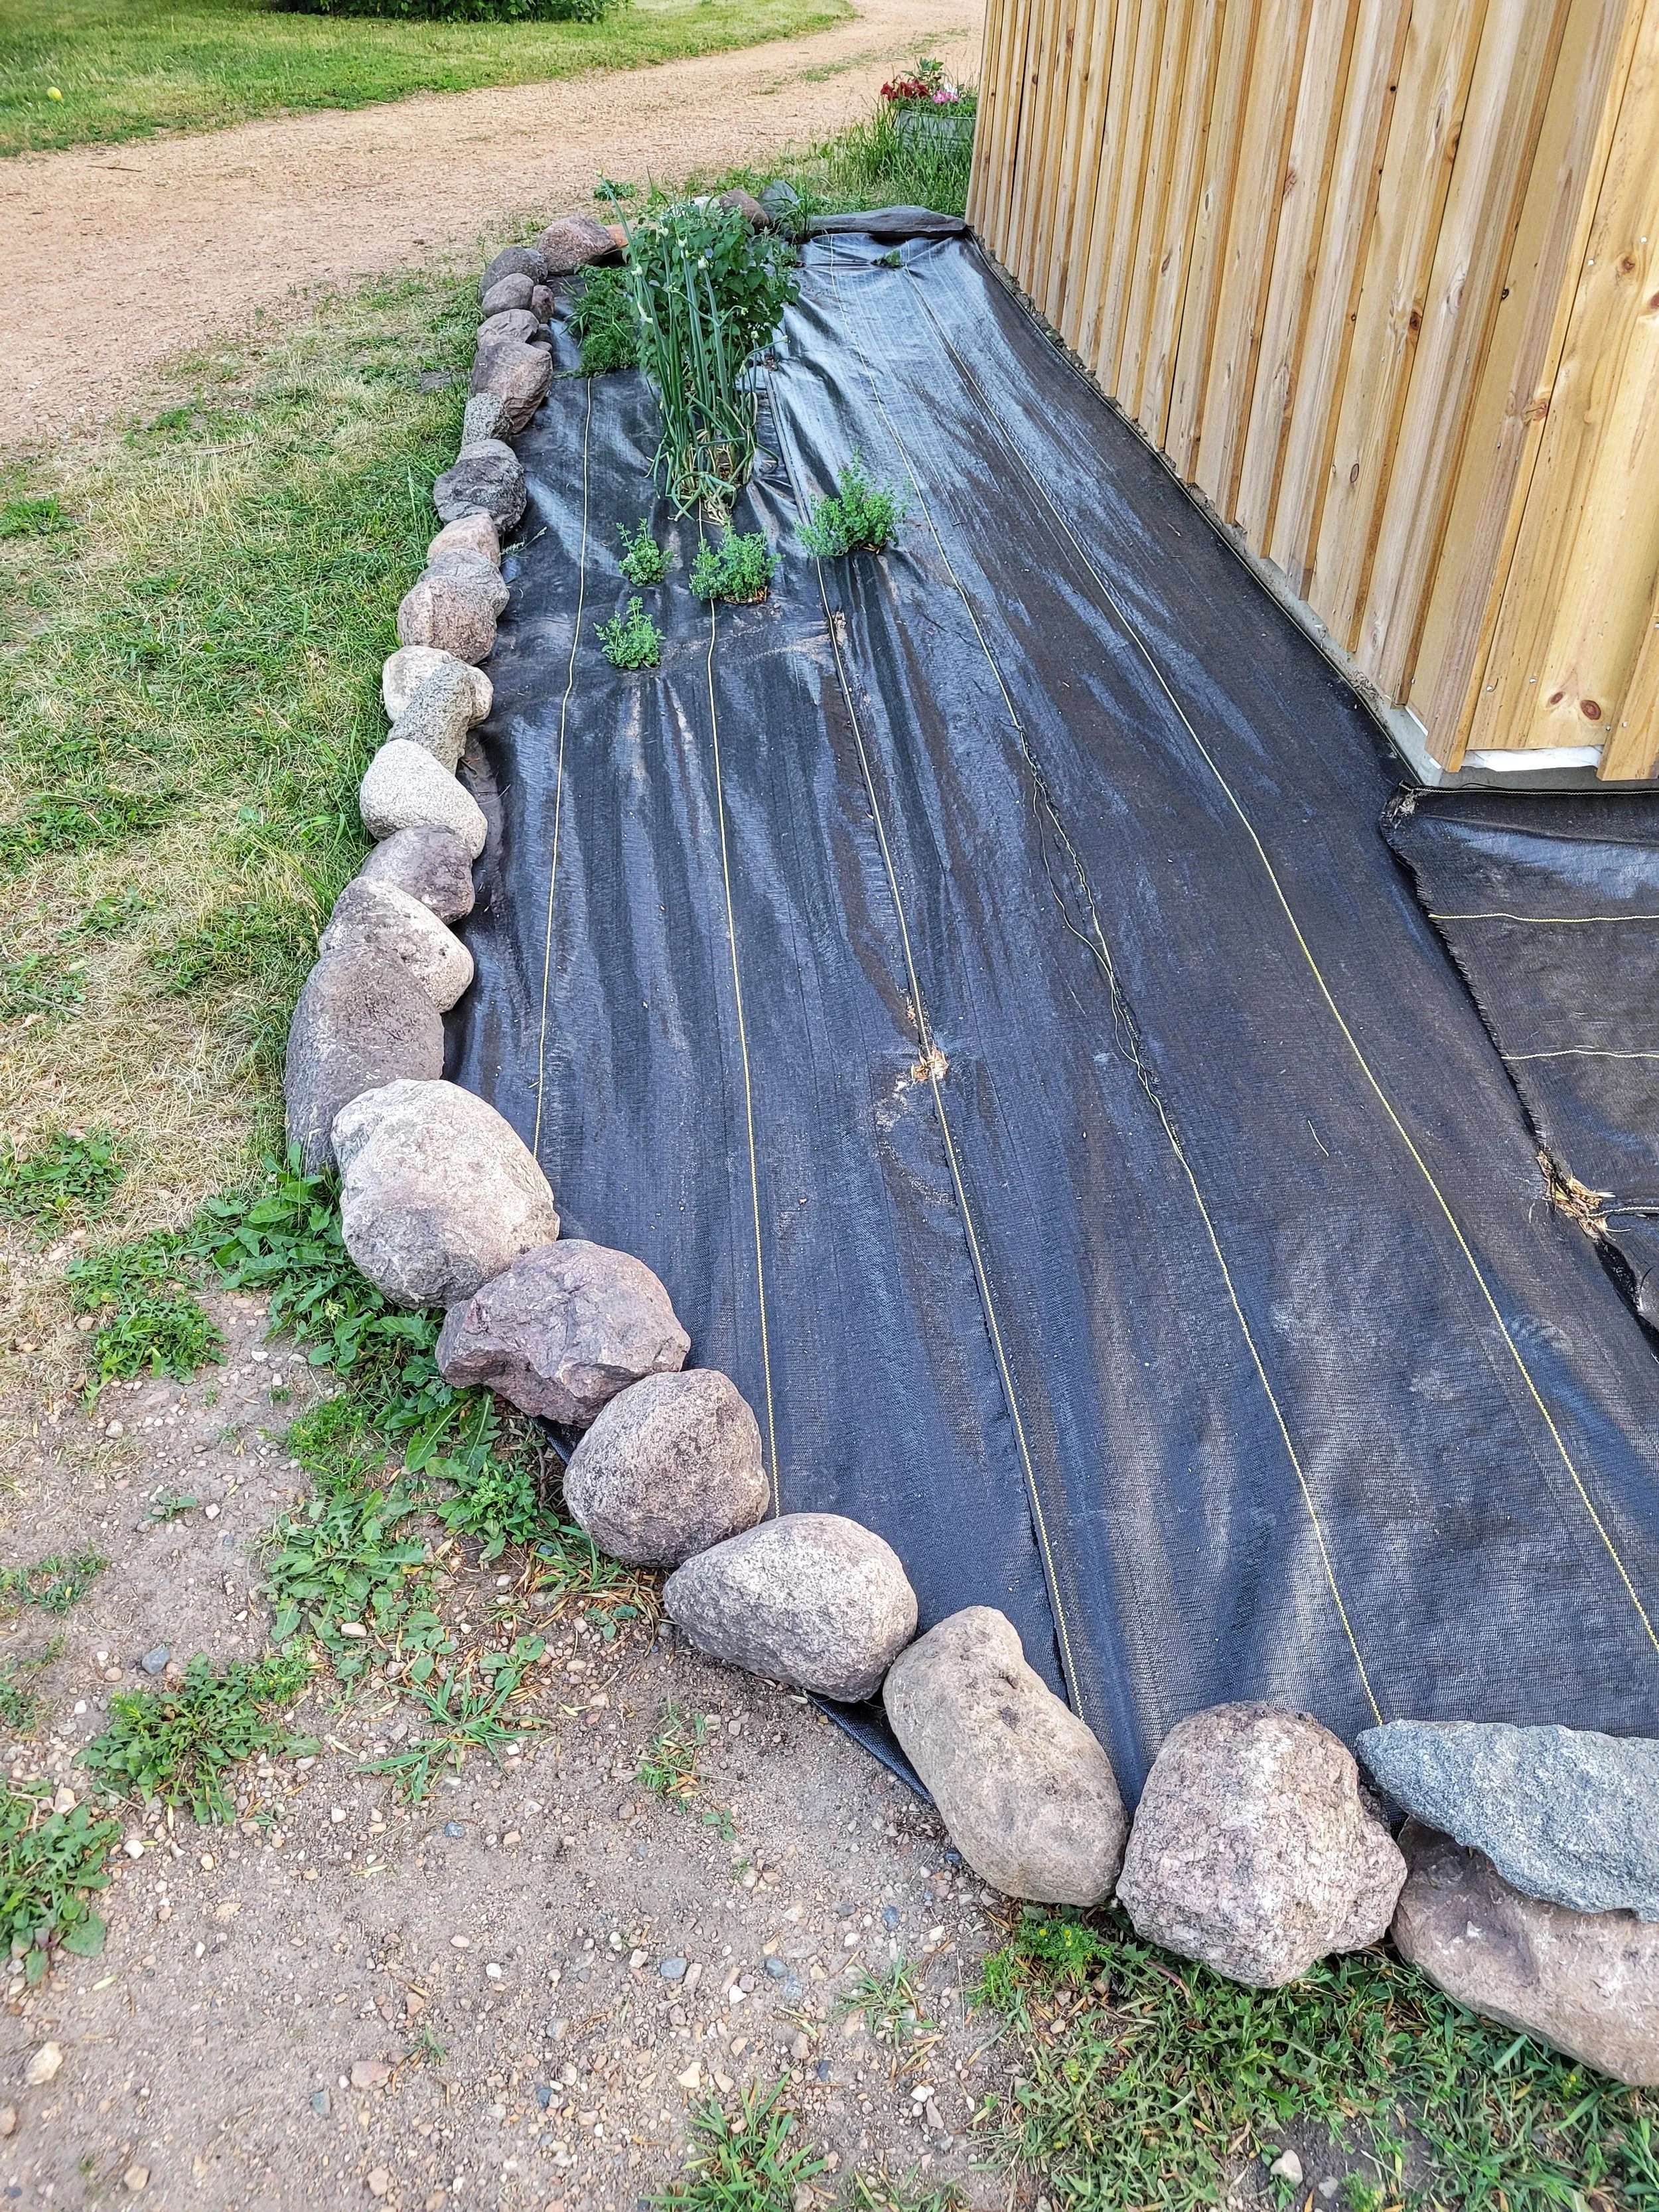
Planted some herbs, many of which we started from seed. Our neighbor generously let us have these field rocks out of his massive rock pile to create a border around the store.

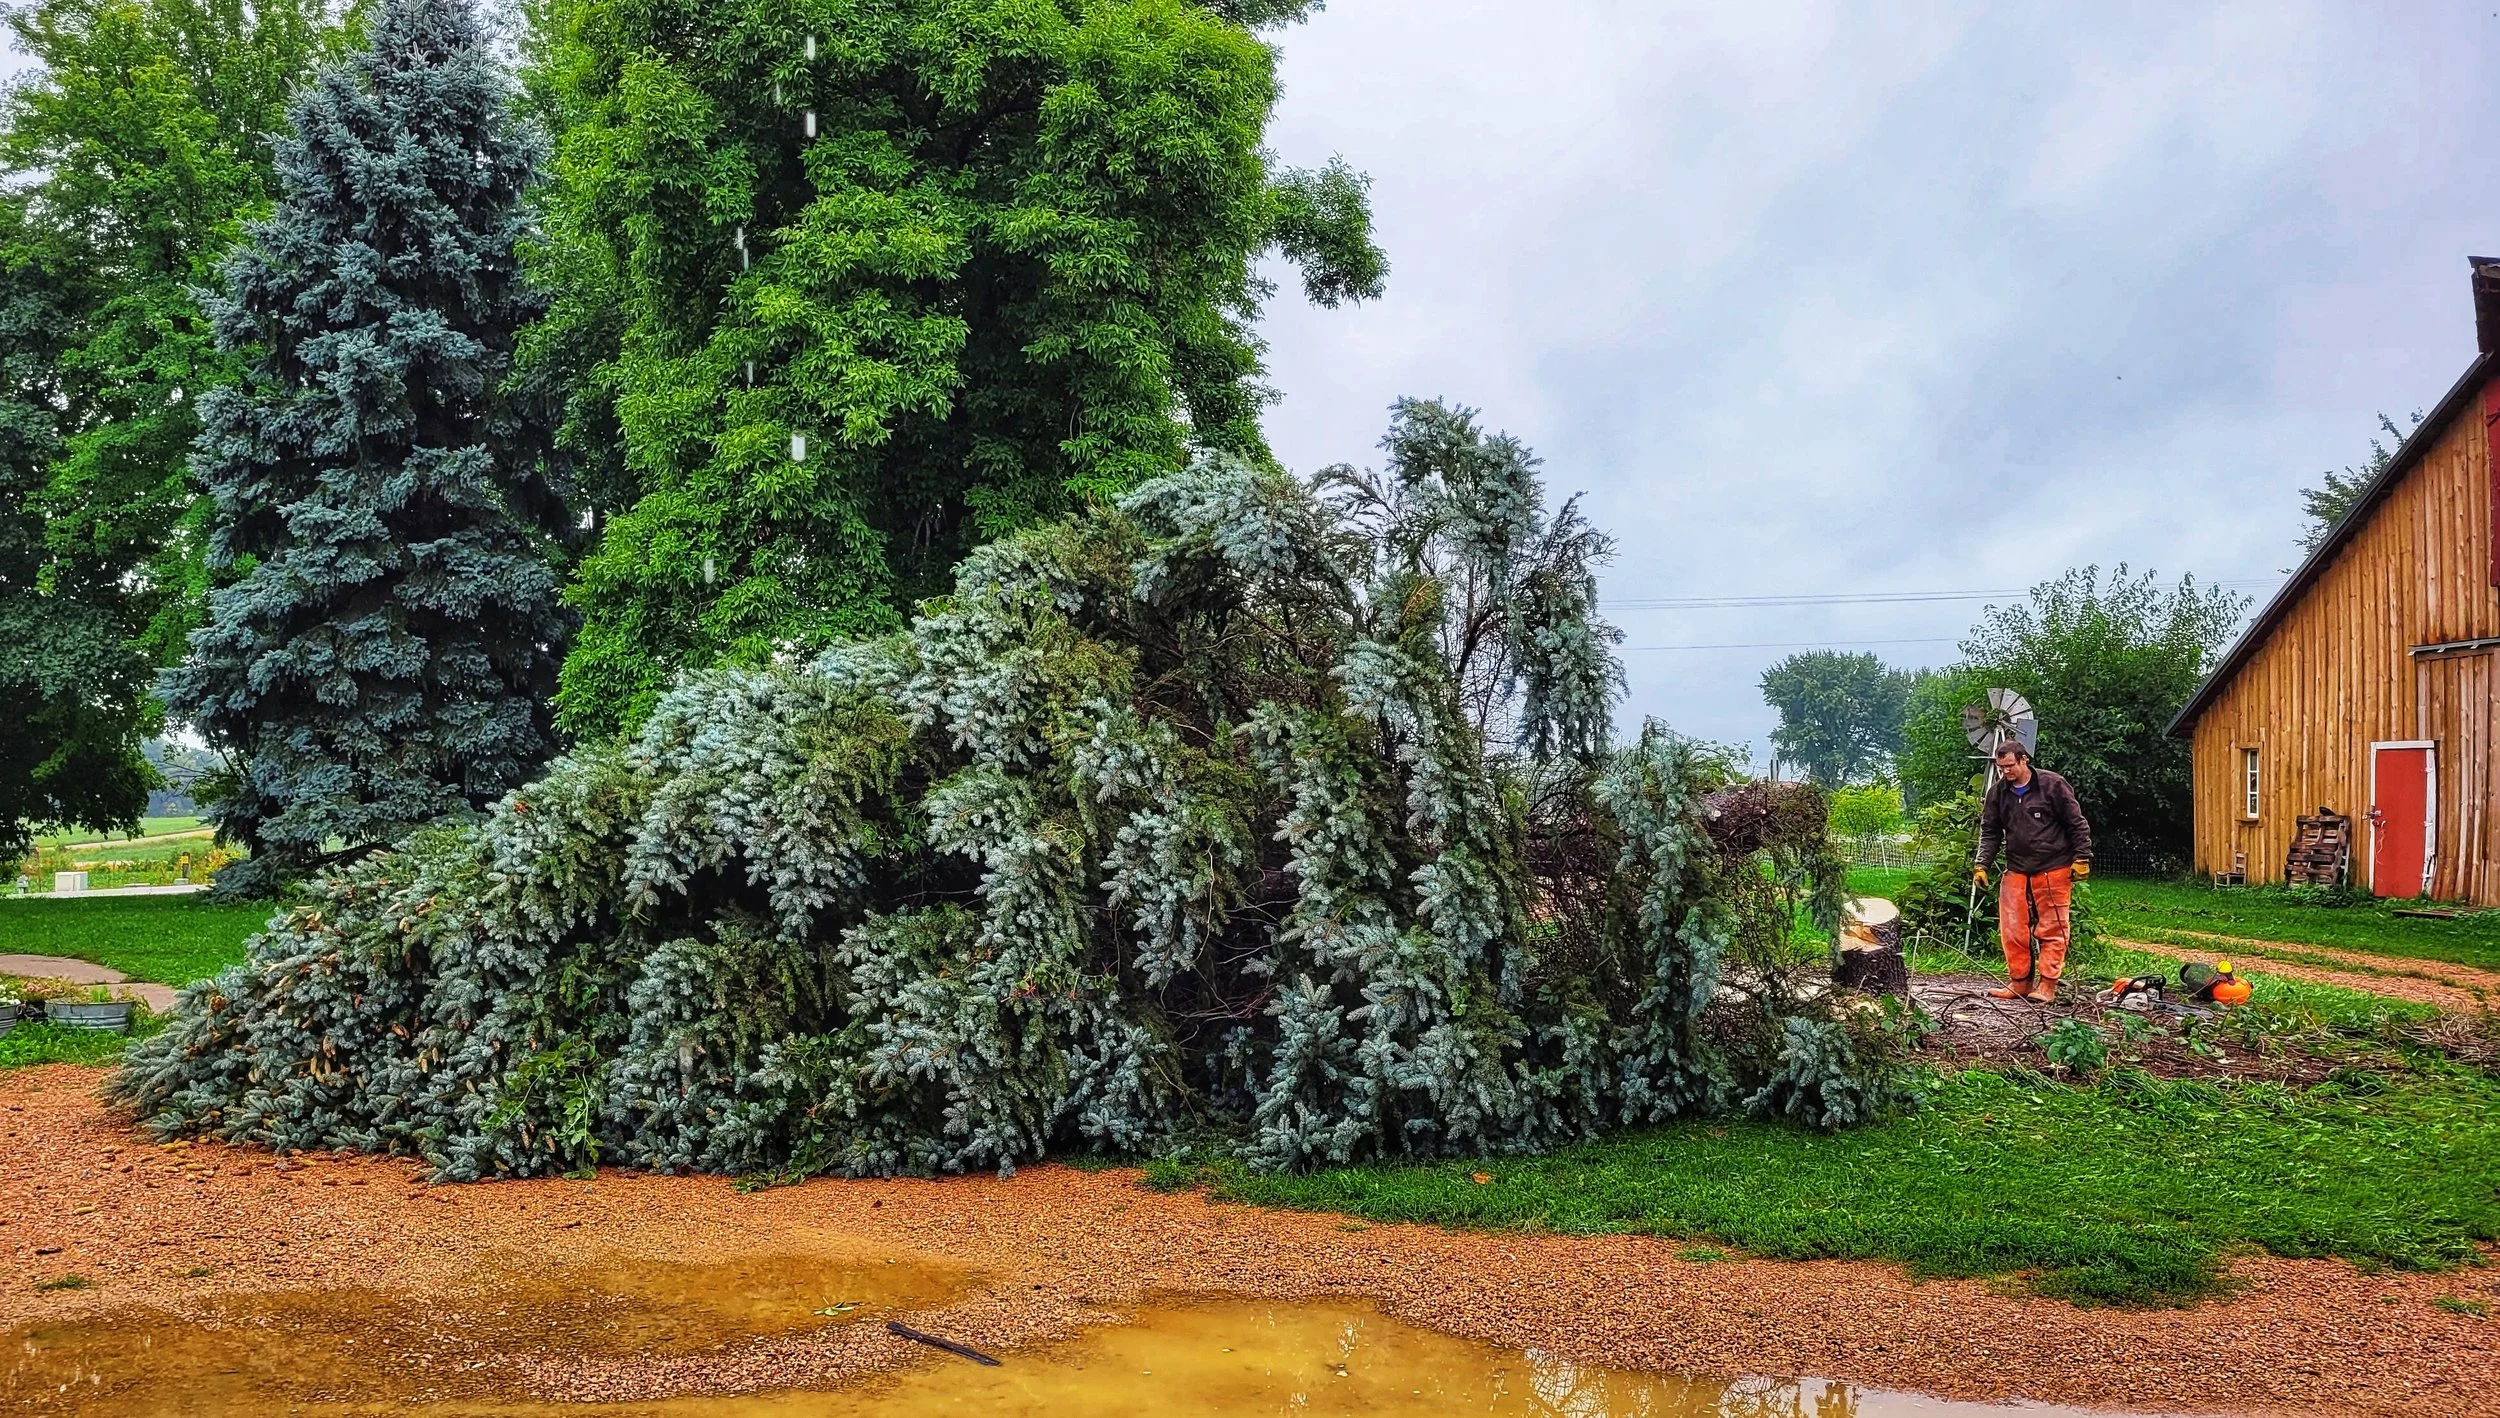
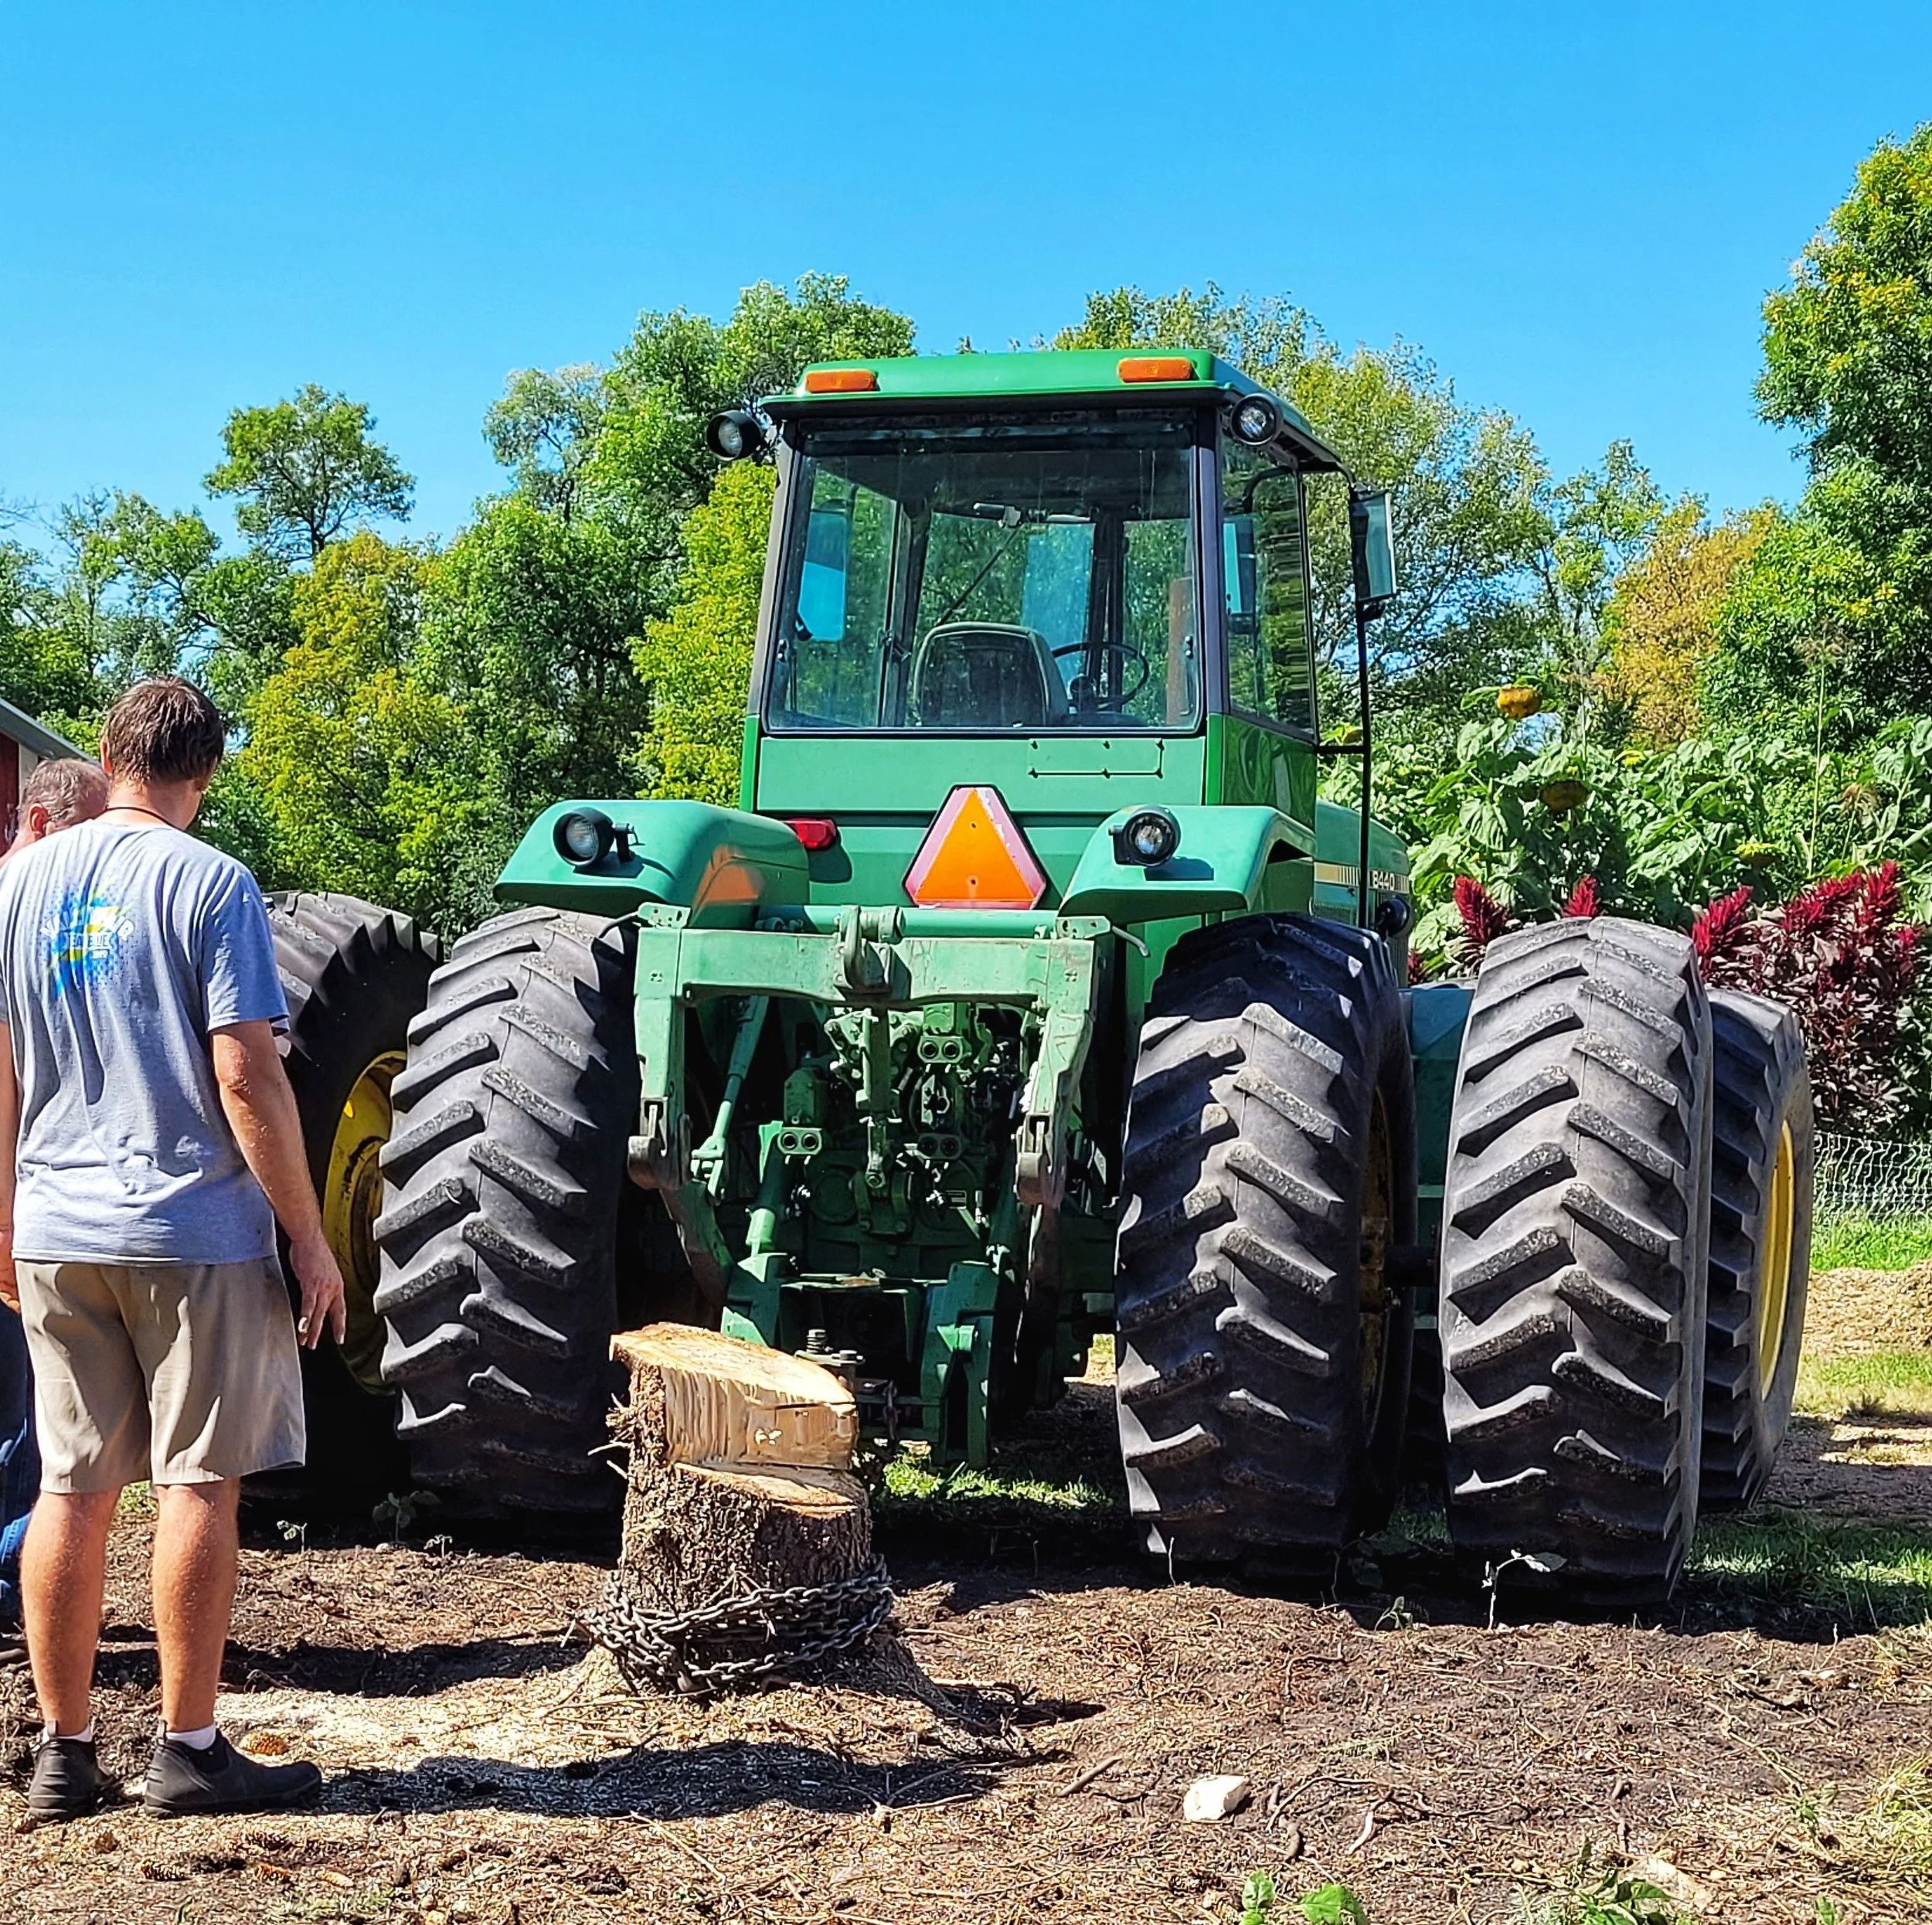
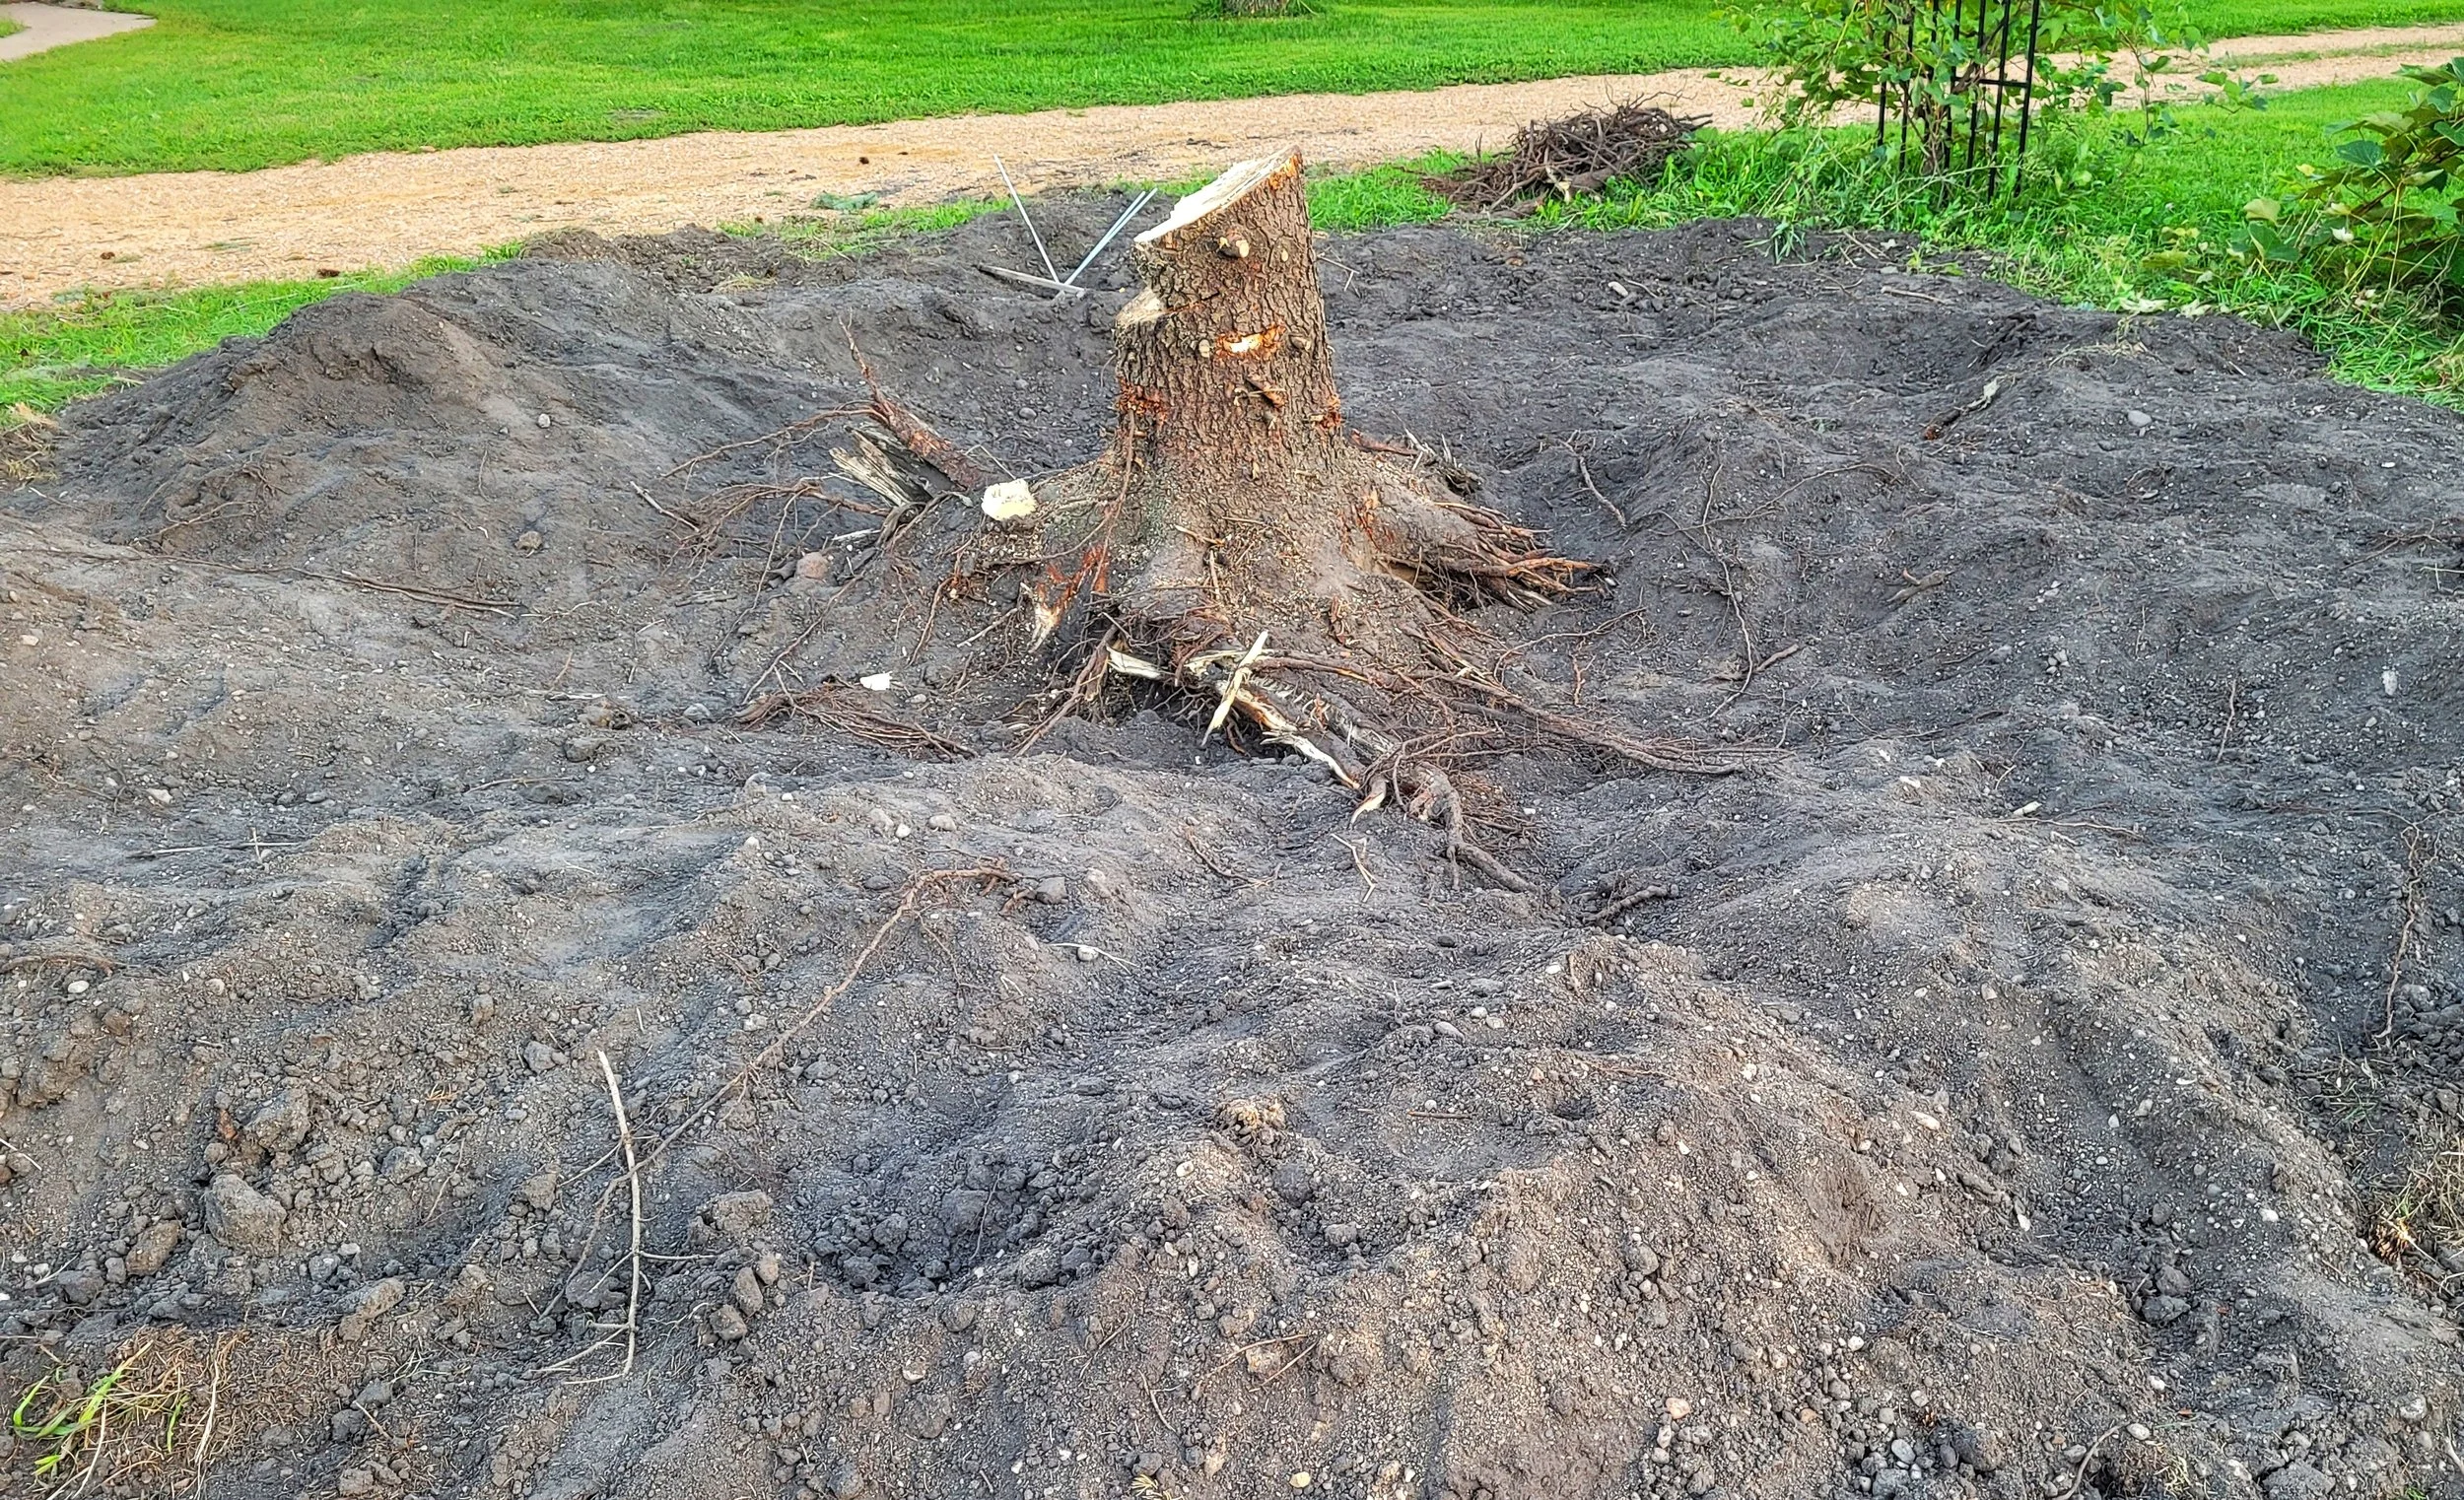
When we first placed the farm store building in its new location, there were two grape vines in front of it. We had planted these vines 9 years ago, right when we moved to the farm. Unfortunately, one of the vines was growing right in the middle of what would be the front door, so we dug it up to hopefully salvage and relocate it. The other grape vine we had big plans for in its original space.
All winter we dreamed of creating a pergola over the front door of the store for the grape to climb on, with fat clusters of grapes hanging down. One morning, Angie’s dad built a pergola in a couple hours.

Just like that, a pergola!

Once the exterior was set up, we moved back into the store. We had been given a cabinet that was saved from a junk pile on the side of the road. Someone had apparently started to strip it to refinish but didn’t finish the project. We couldn’t decide whether to paint it or just seal it as is in all its rustic glory. So, we made a poll and you all answered:

The majority says leave this beauty alone. So, we gave it a good clean, a clear seal and left her as is.

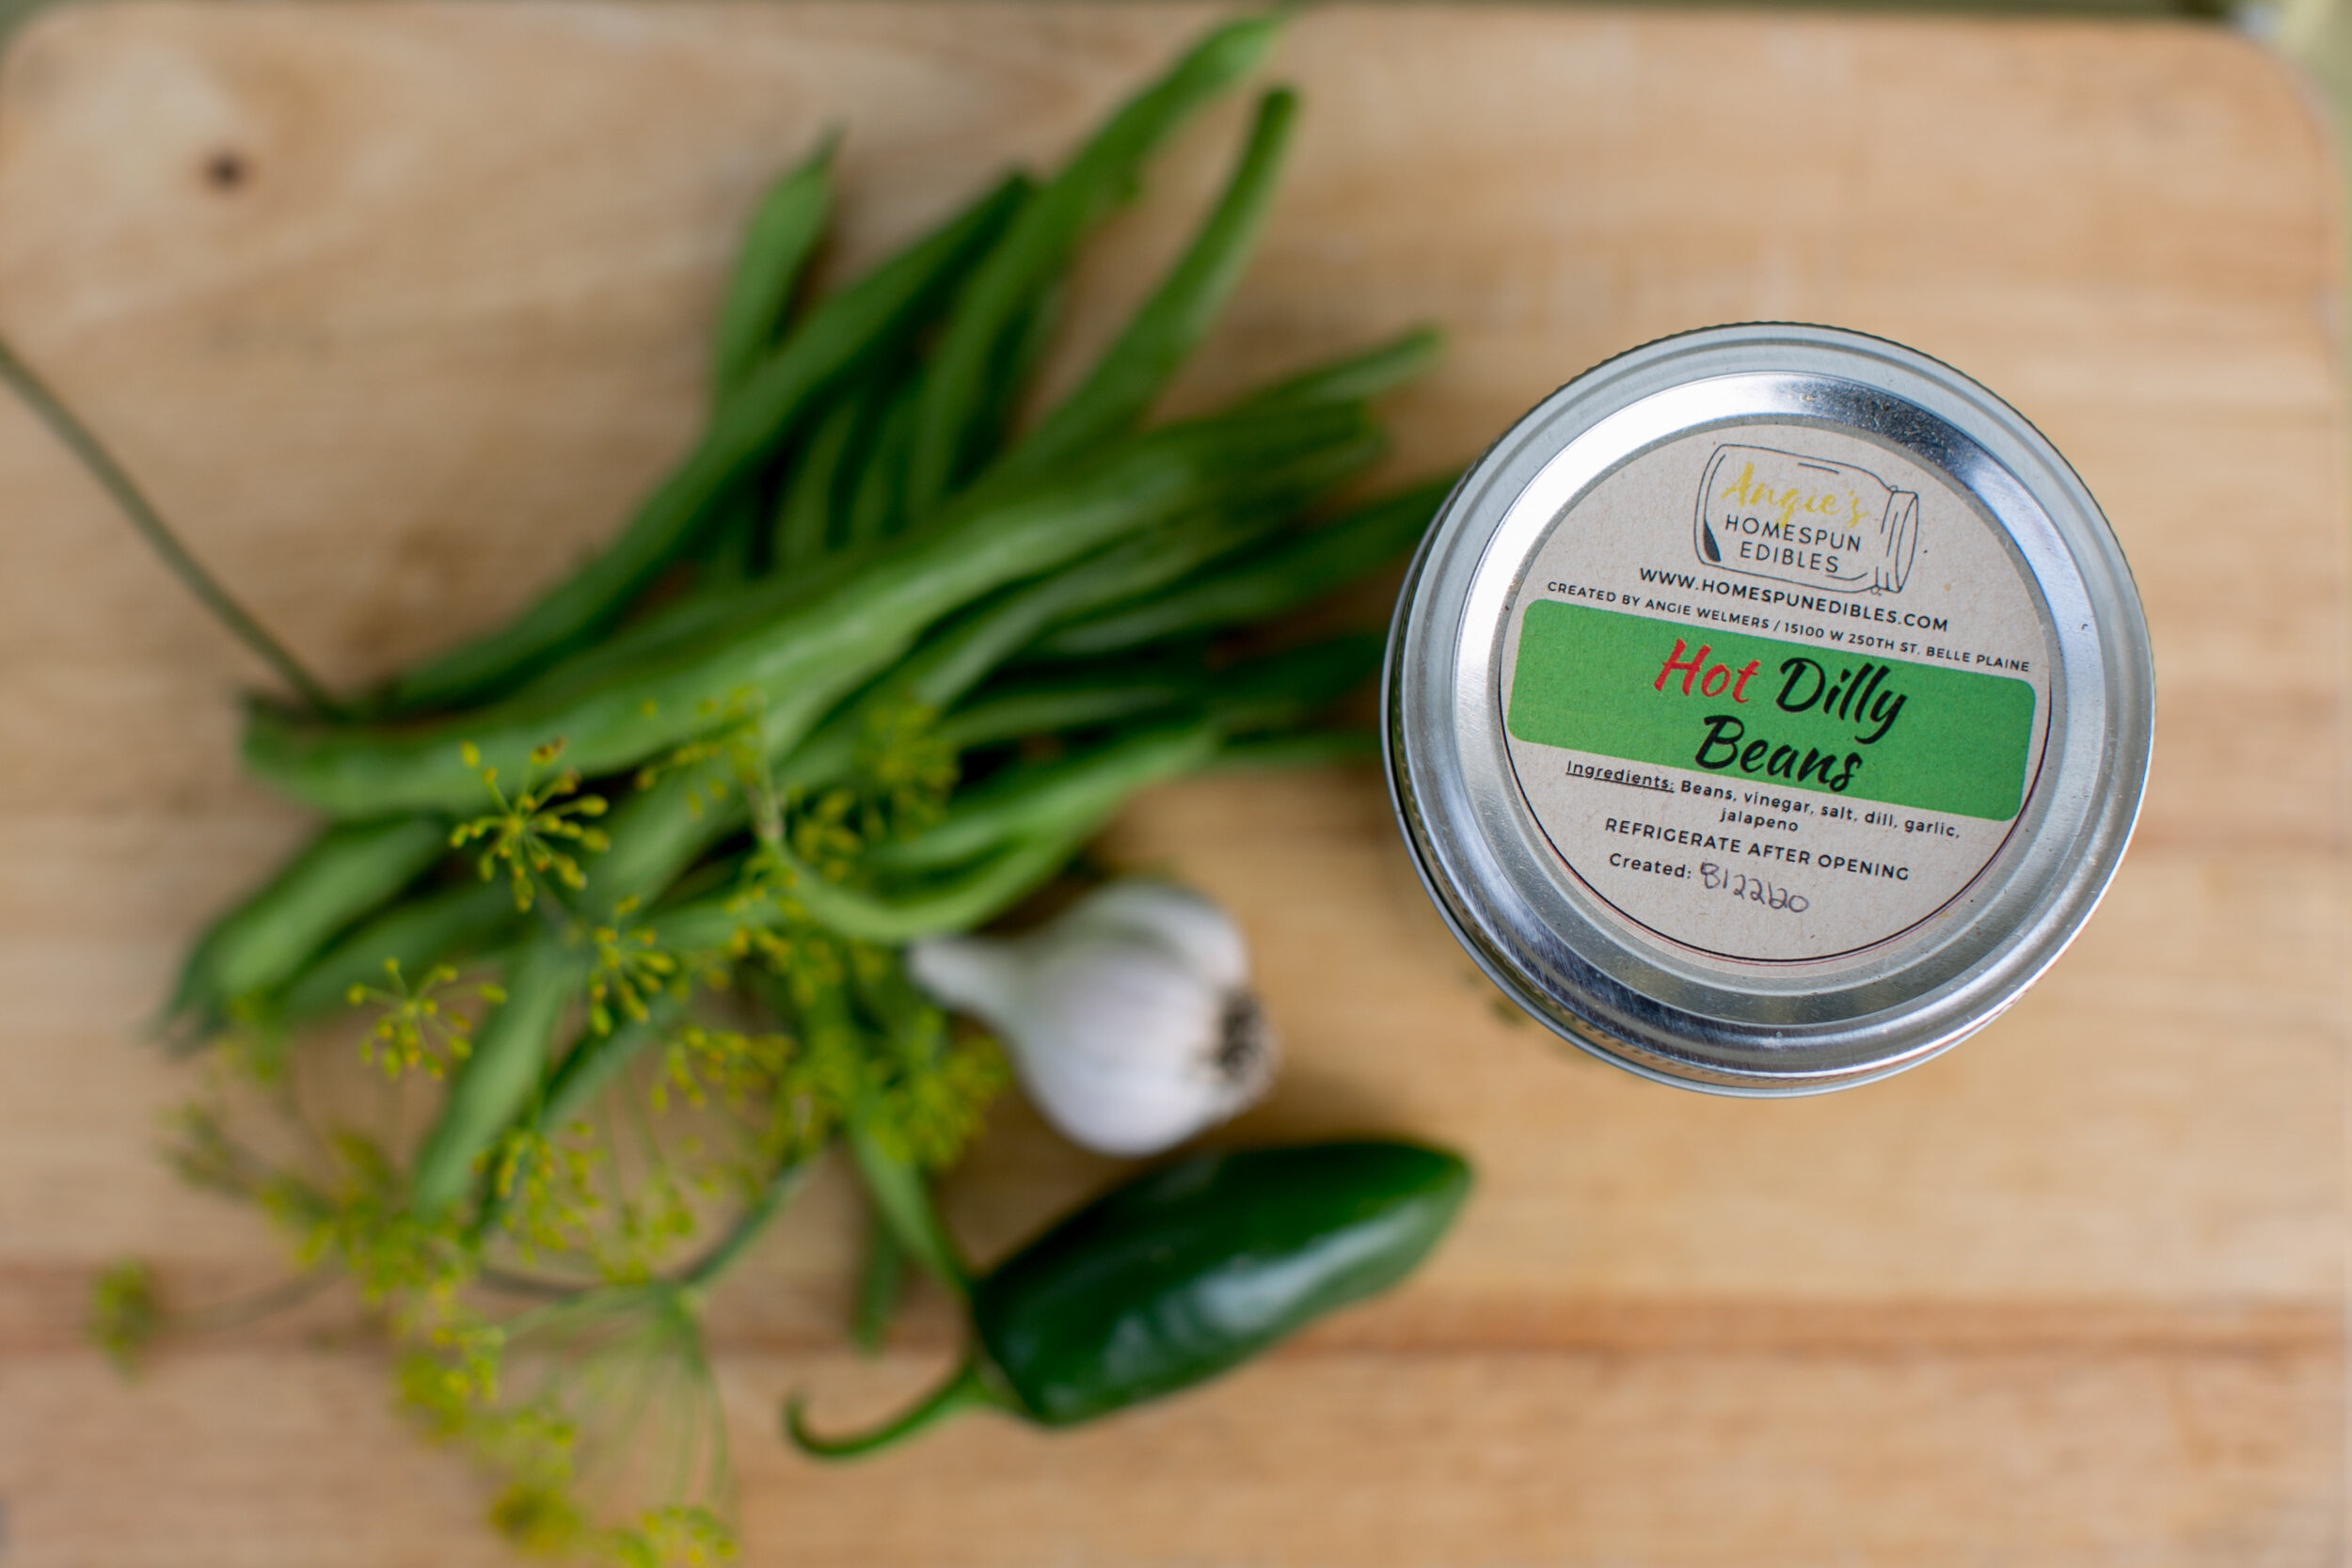
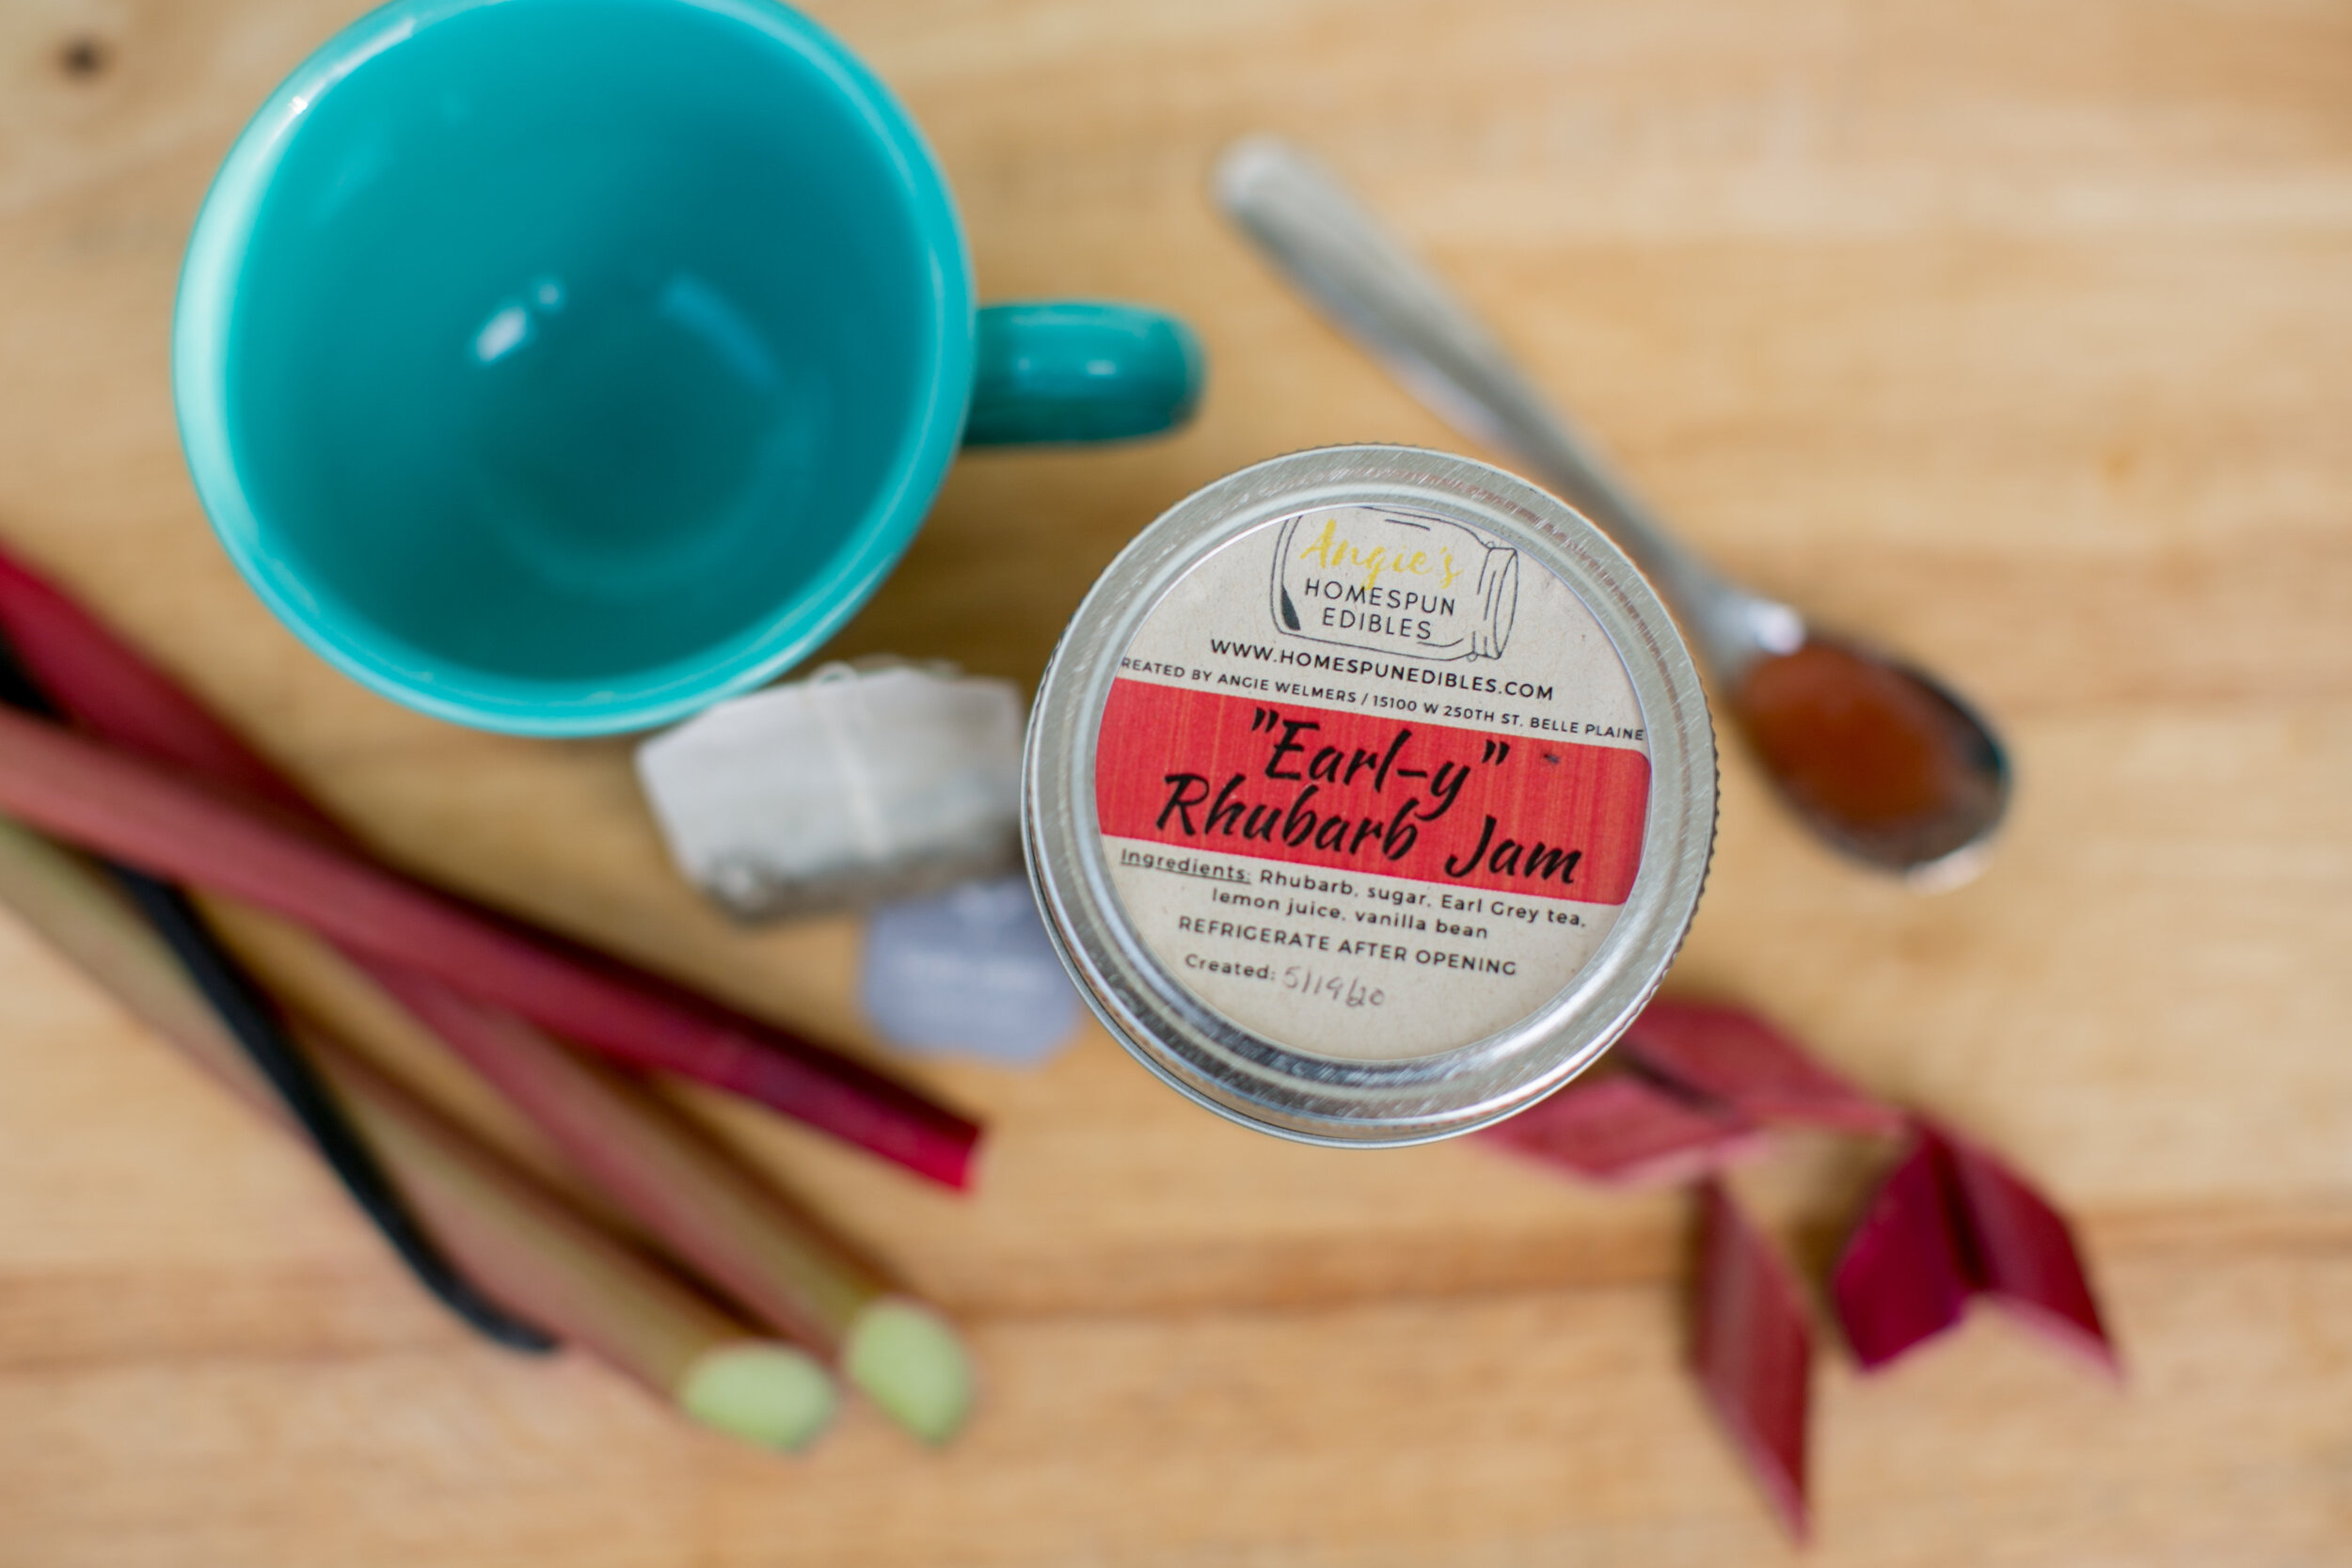
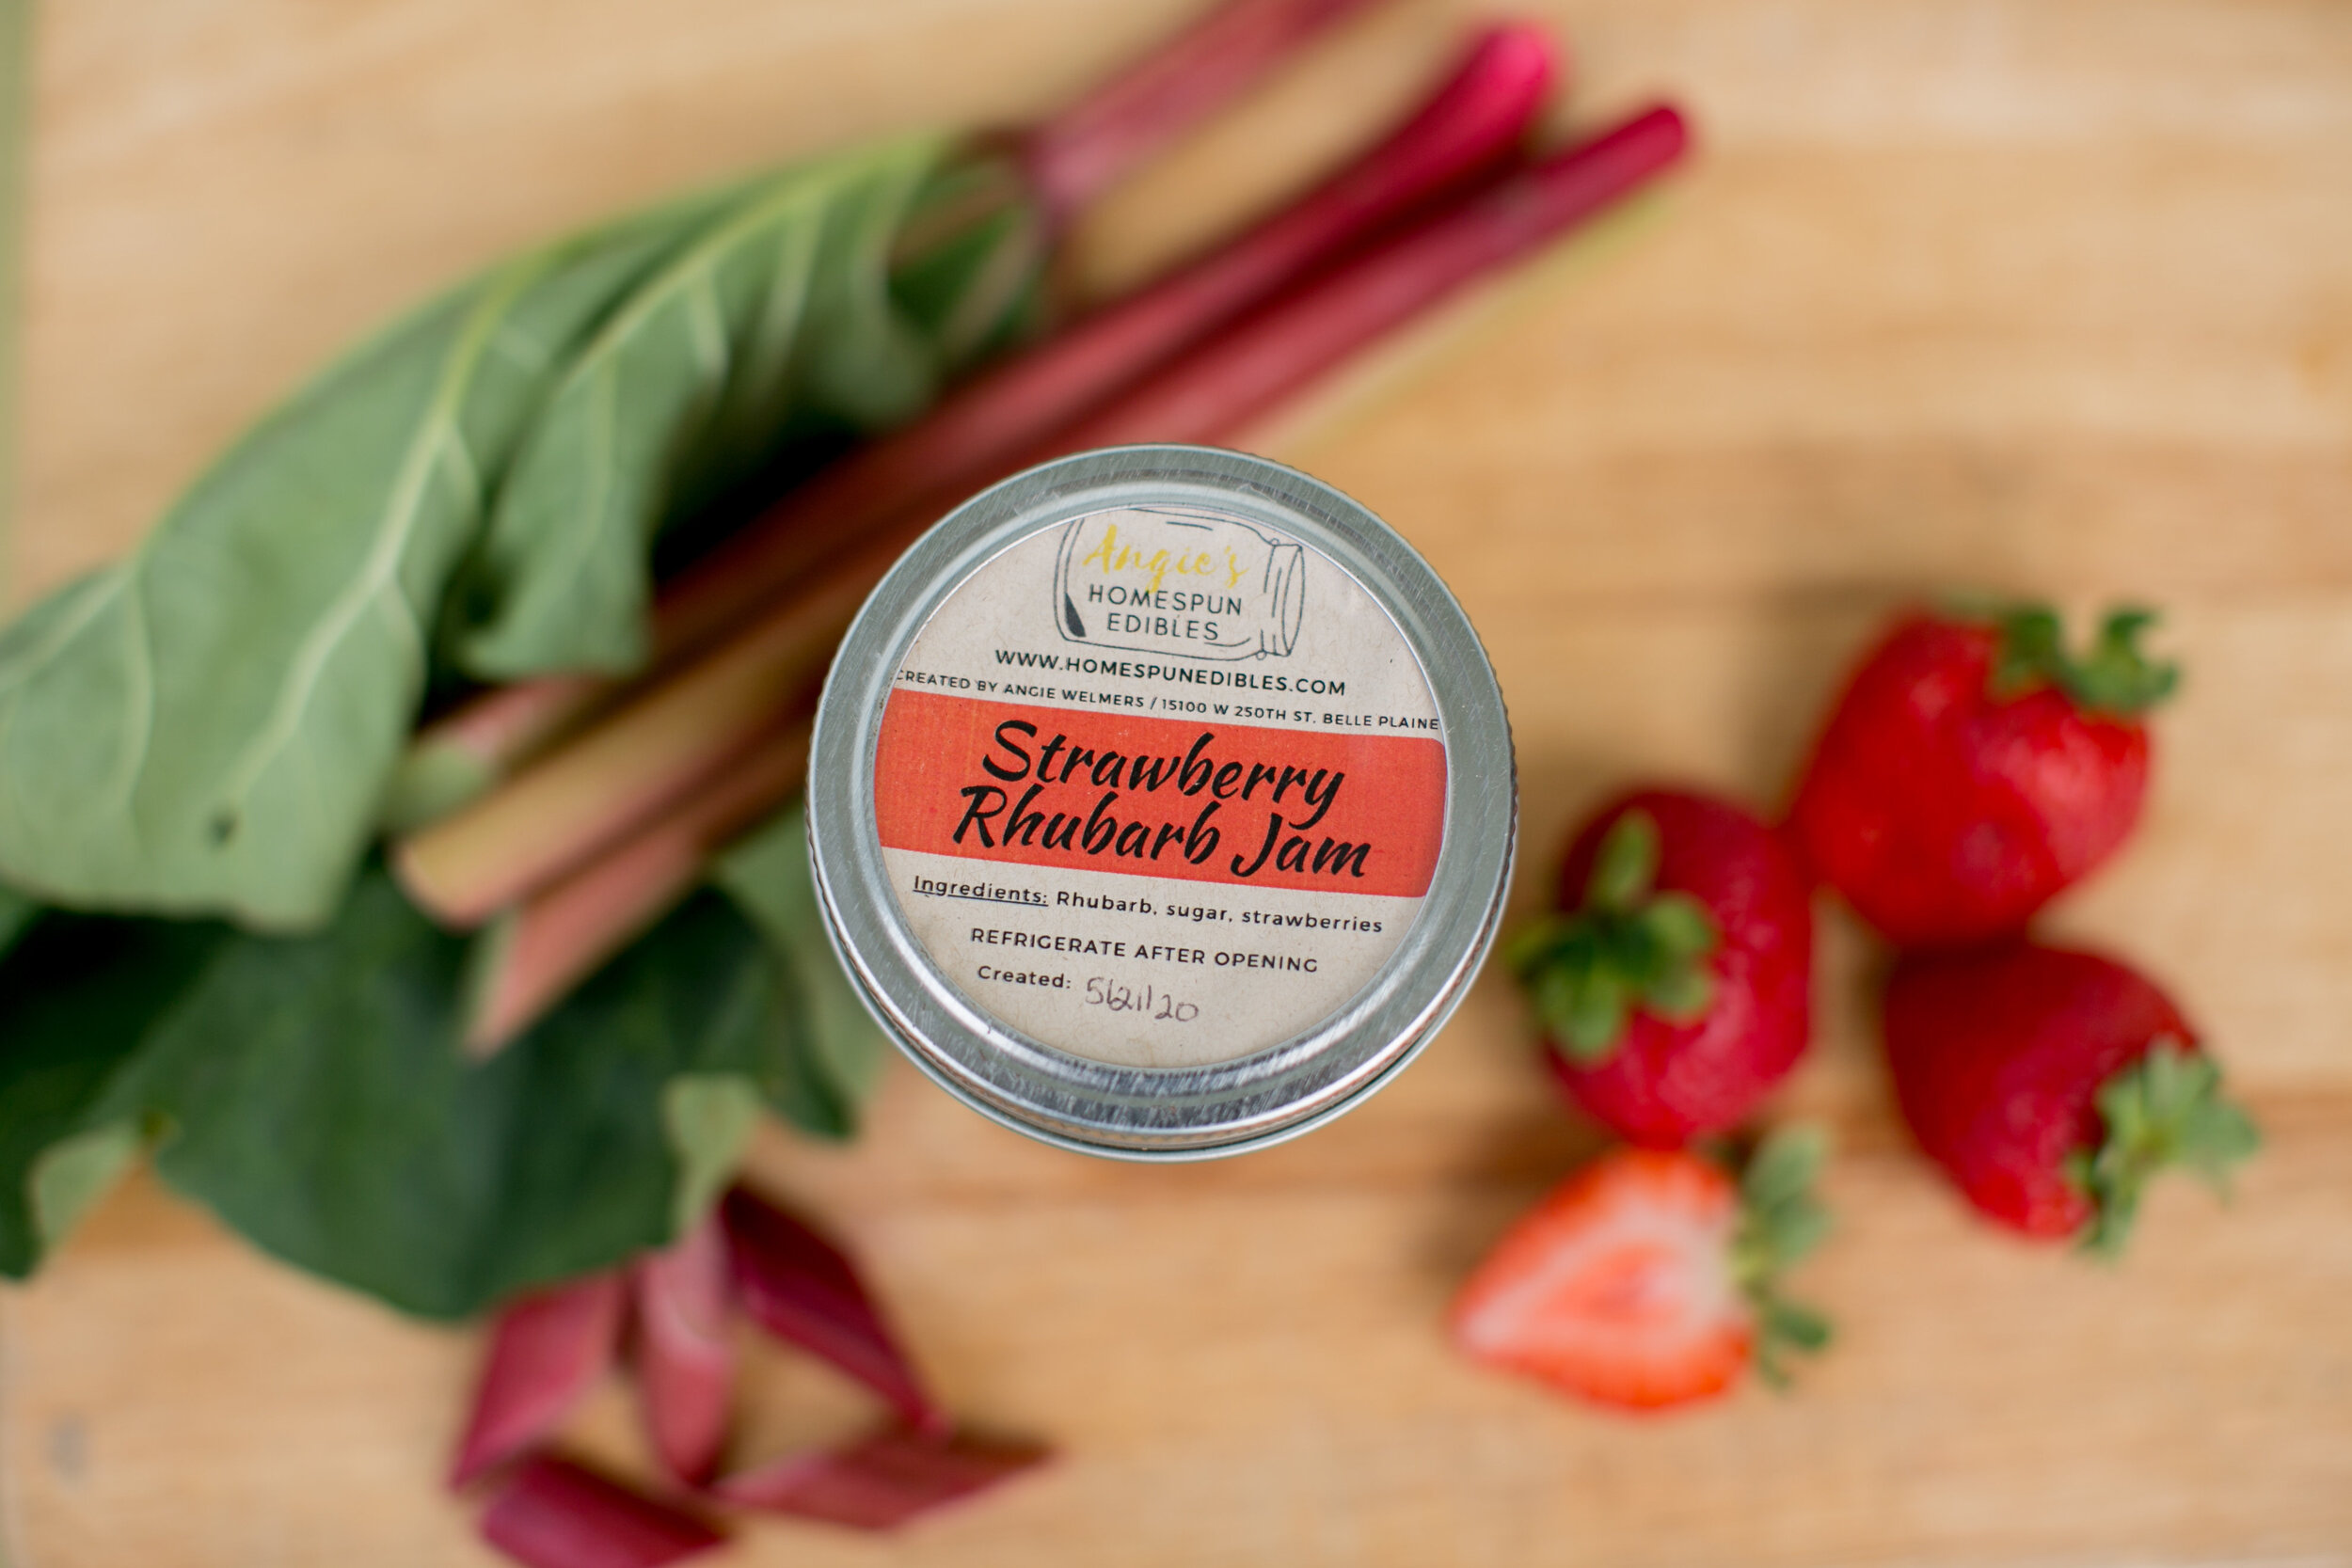
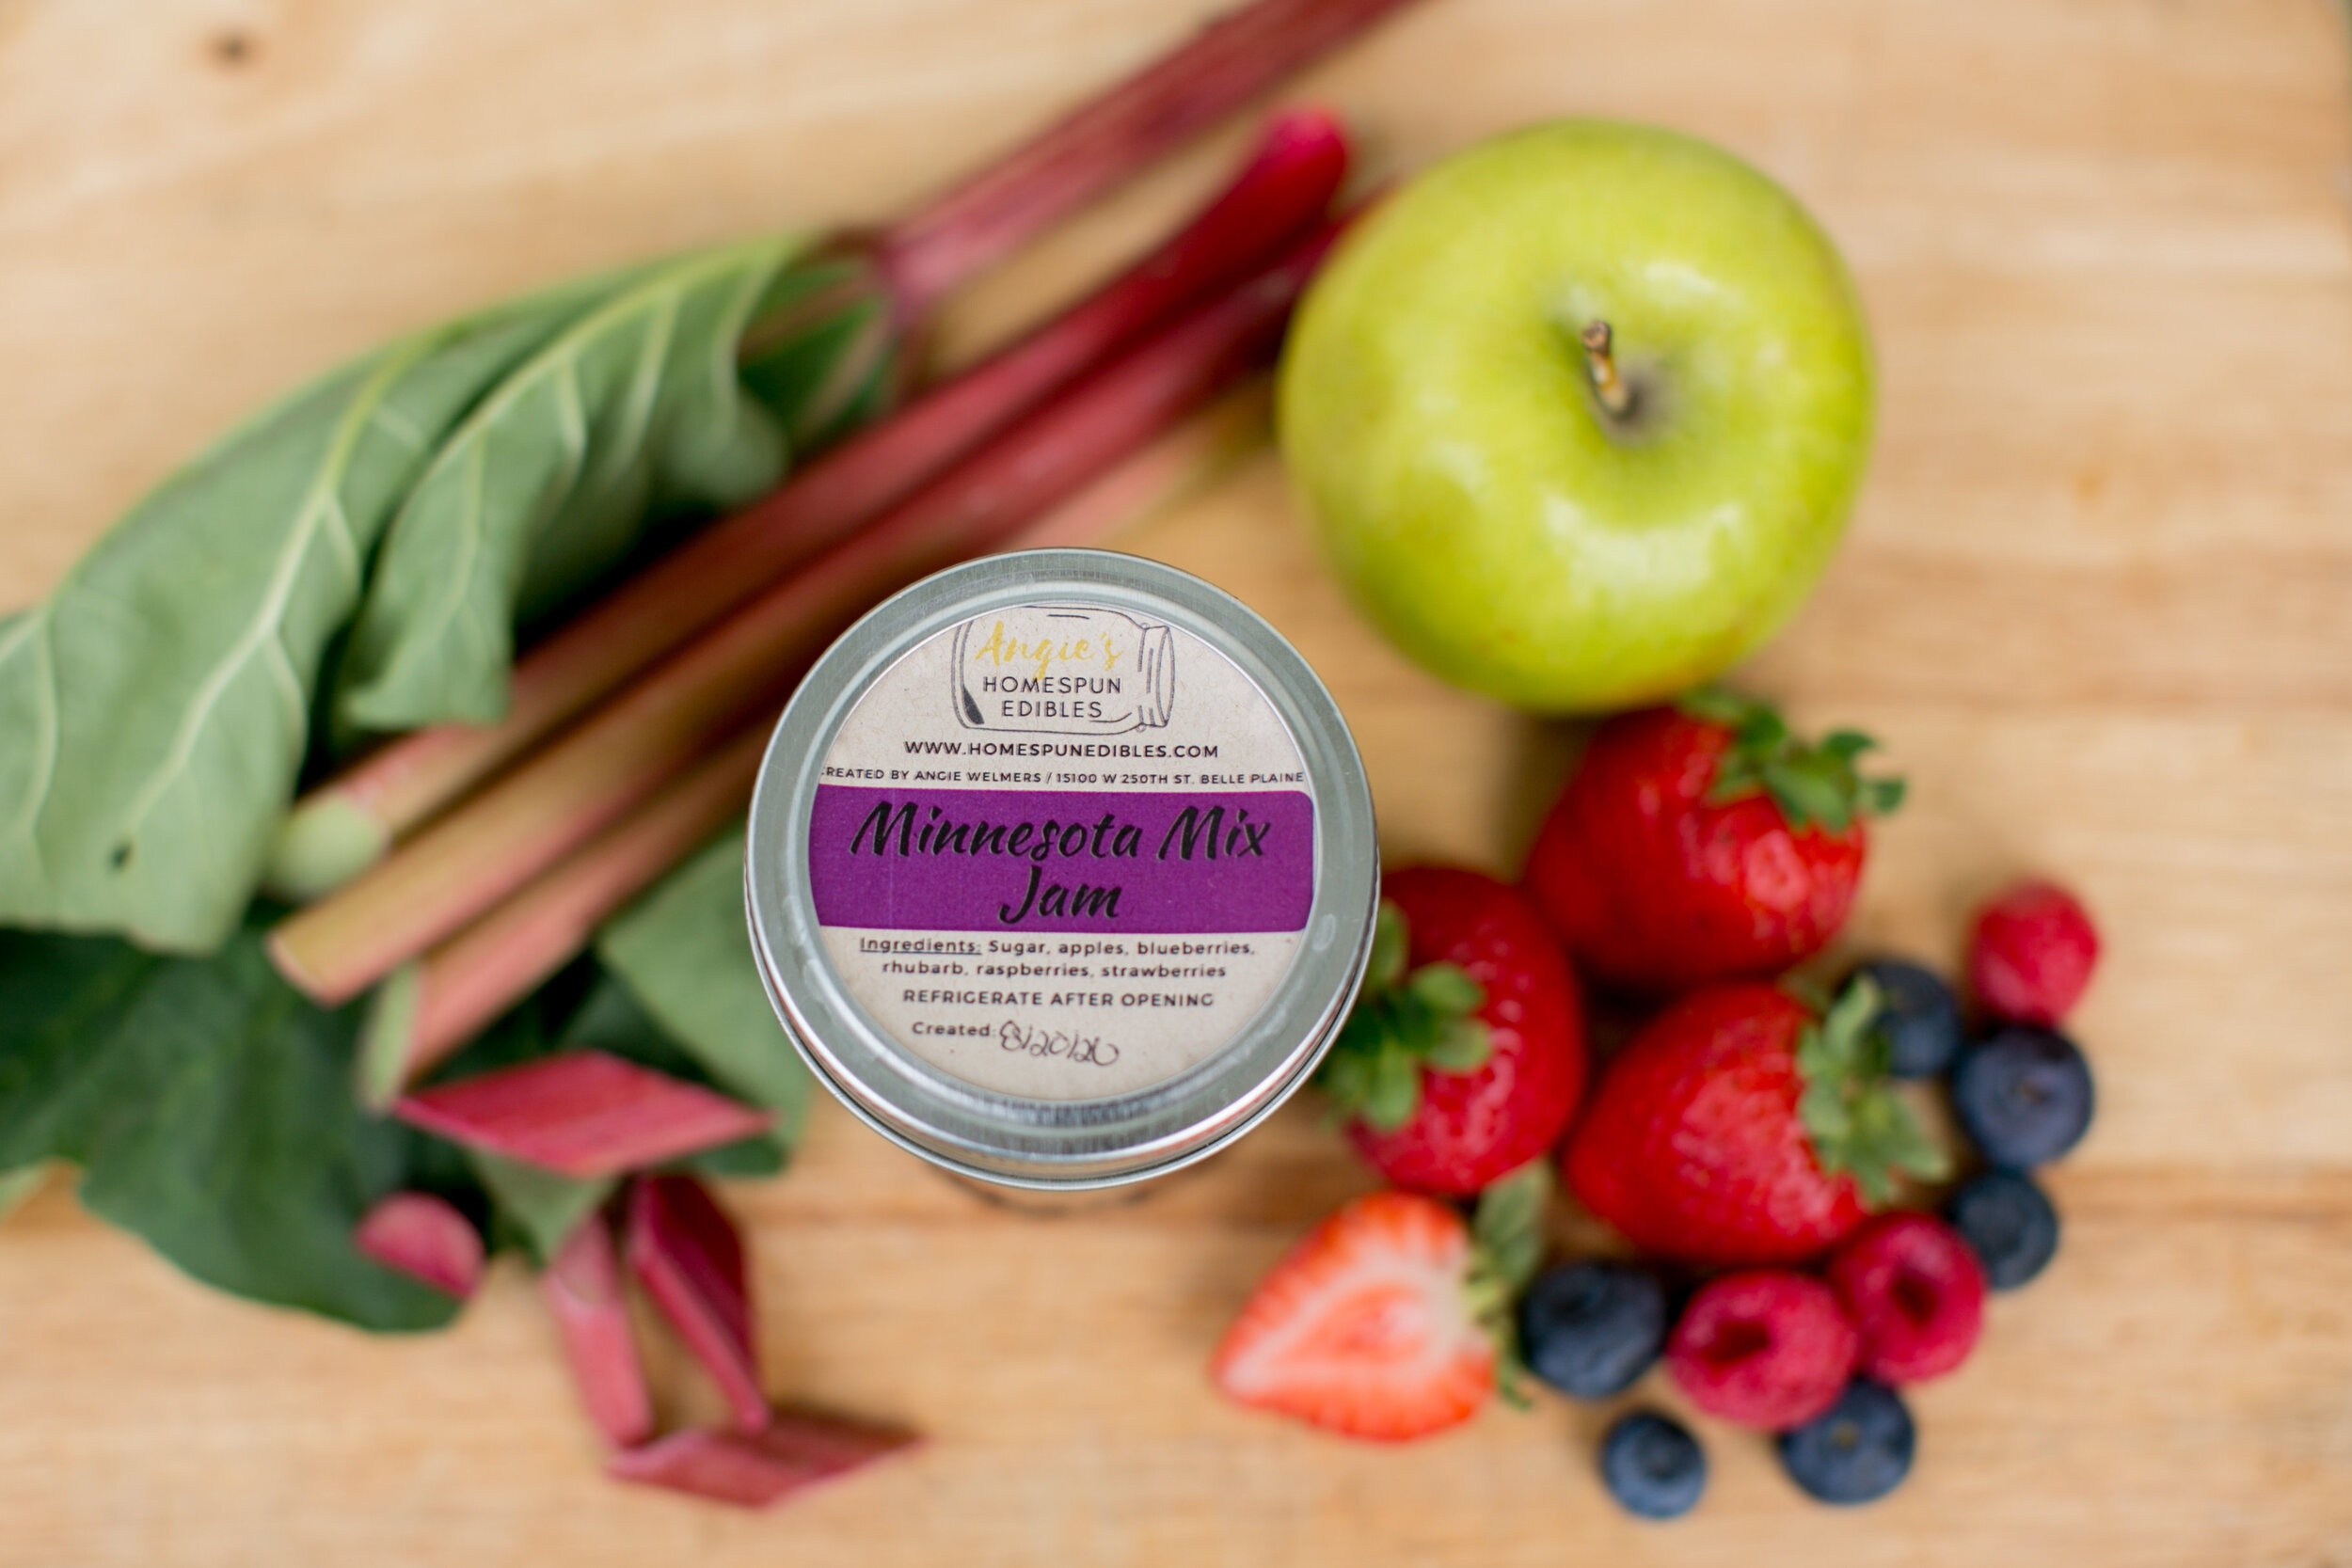
All that was left was to put our pieces into the farm store and load it up with vegetables, eggs, jam and pickles, freeze-dried foods, goat milk soap, and all the rest of the goodies.

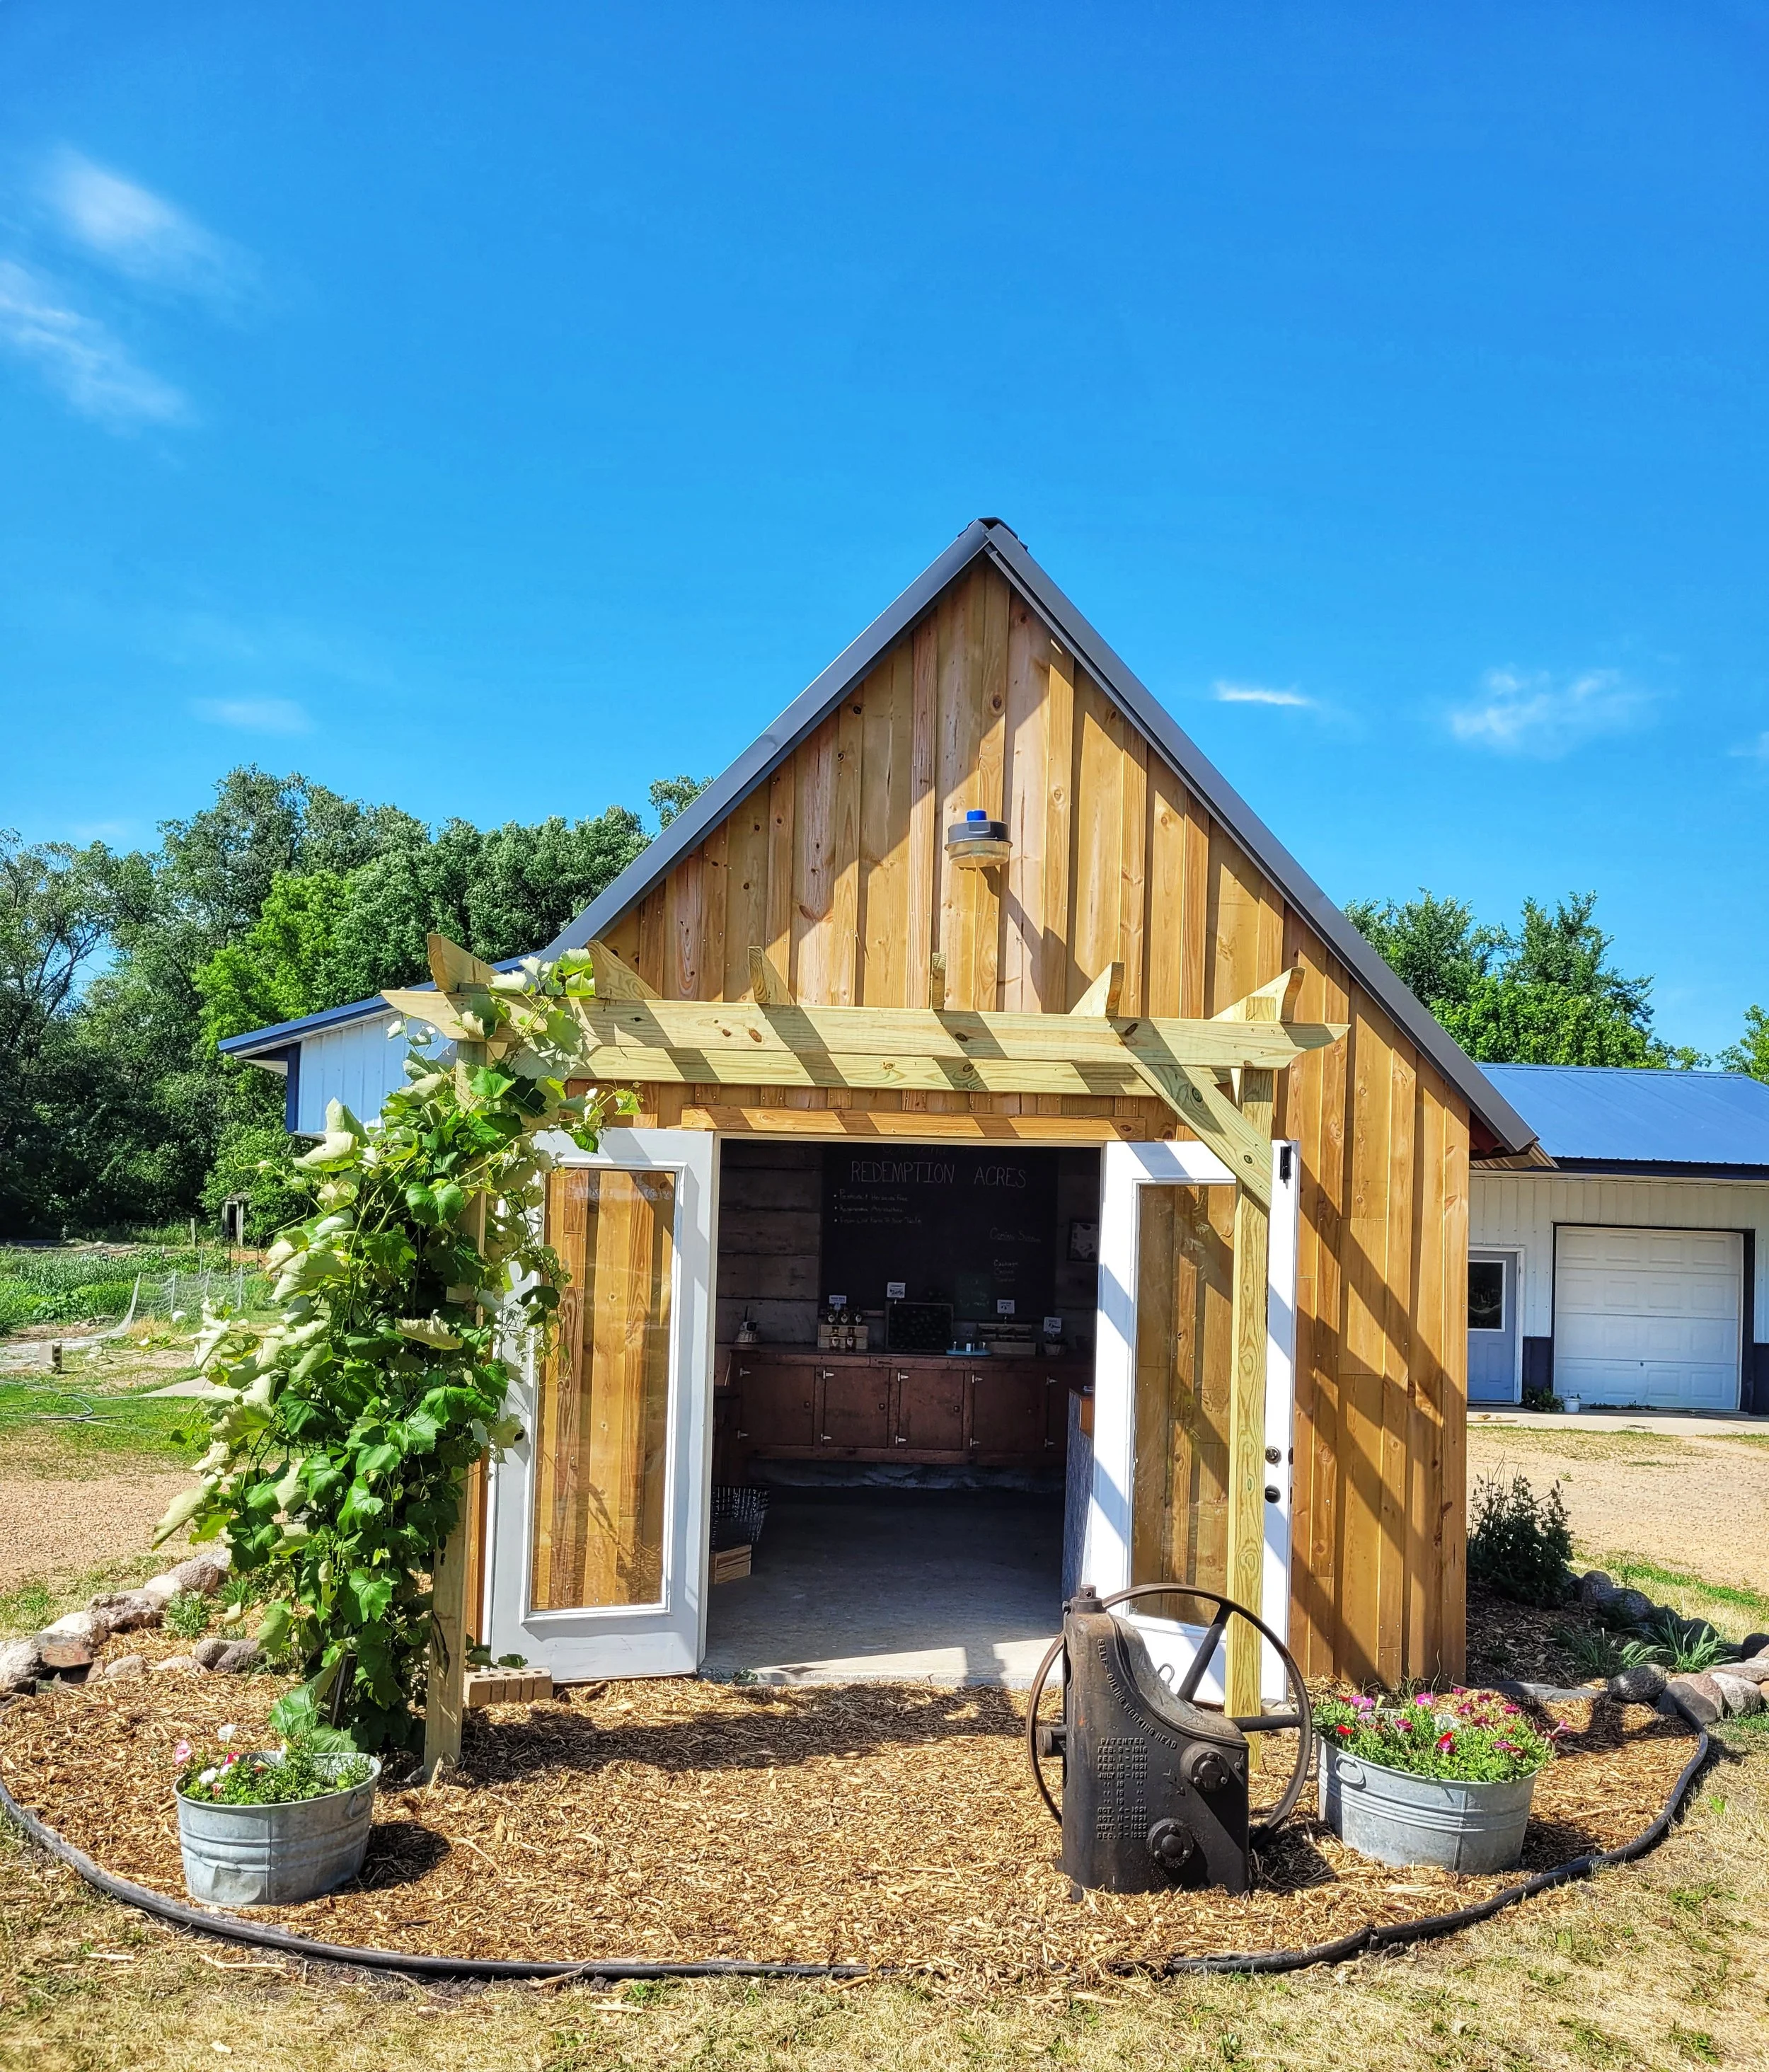
Here she is - the completed exterior. (Well, except for painting the siding. That will come at a later date).

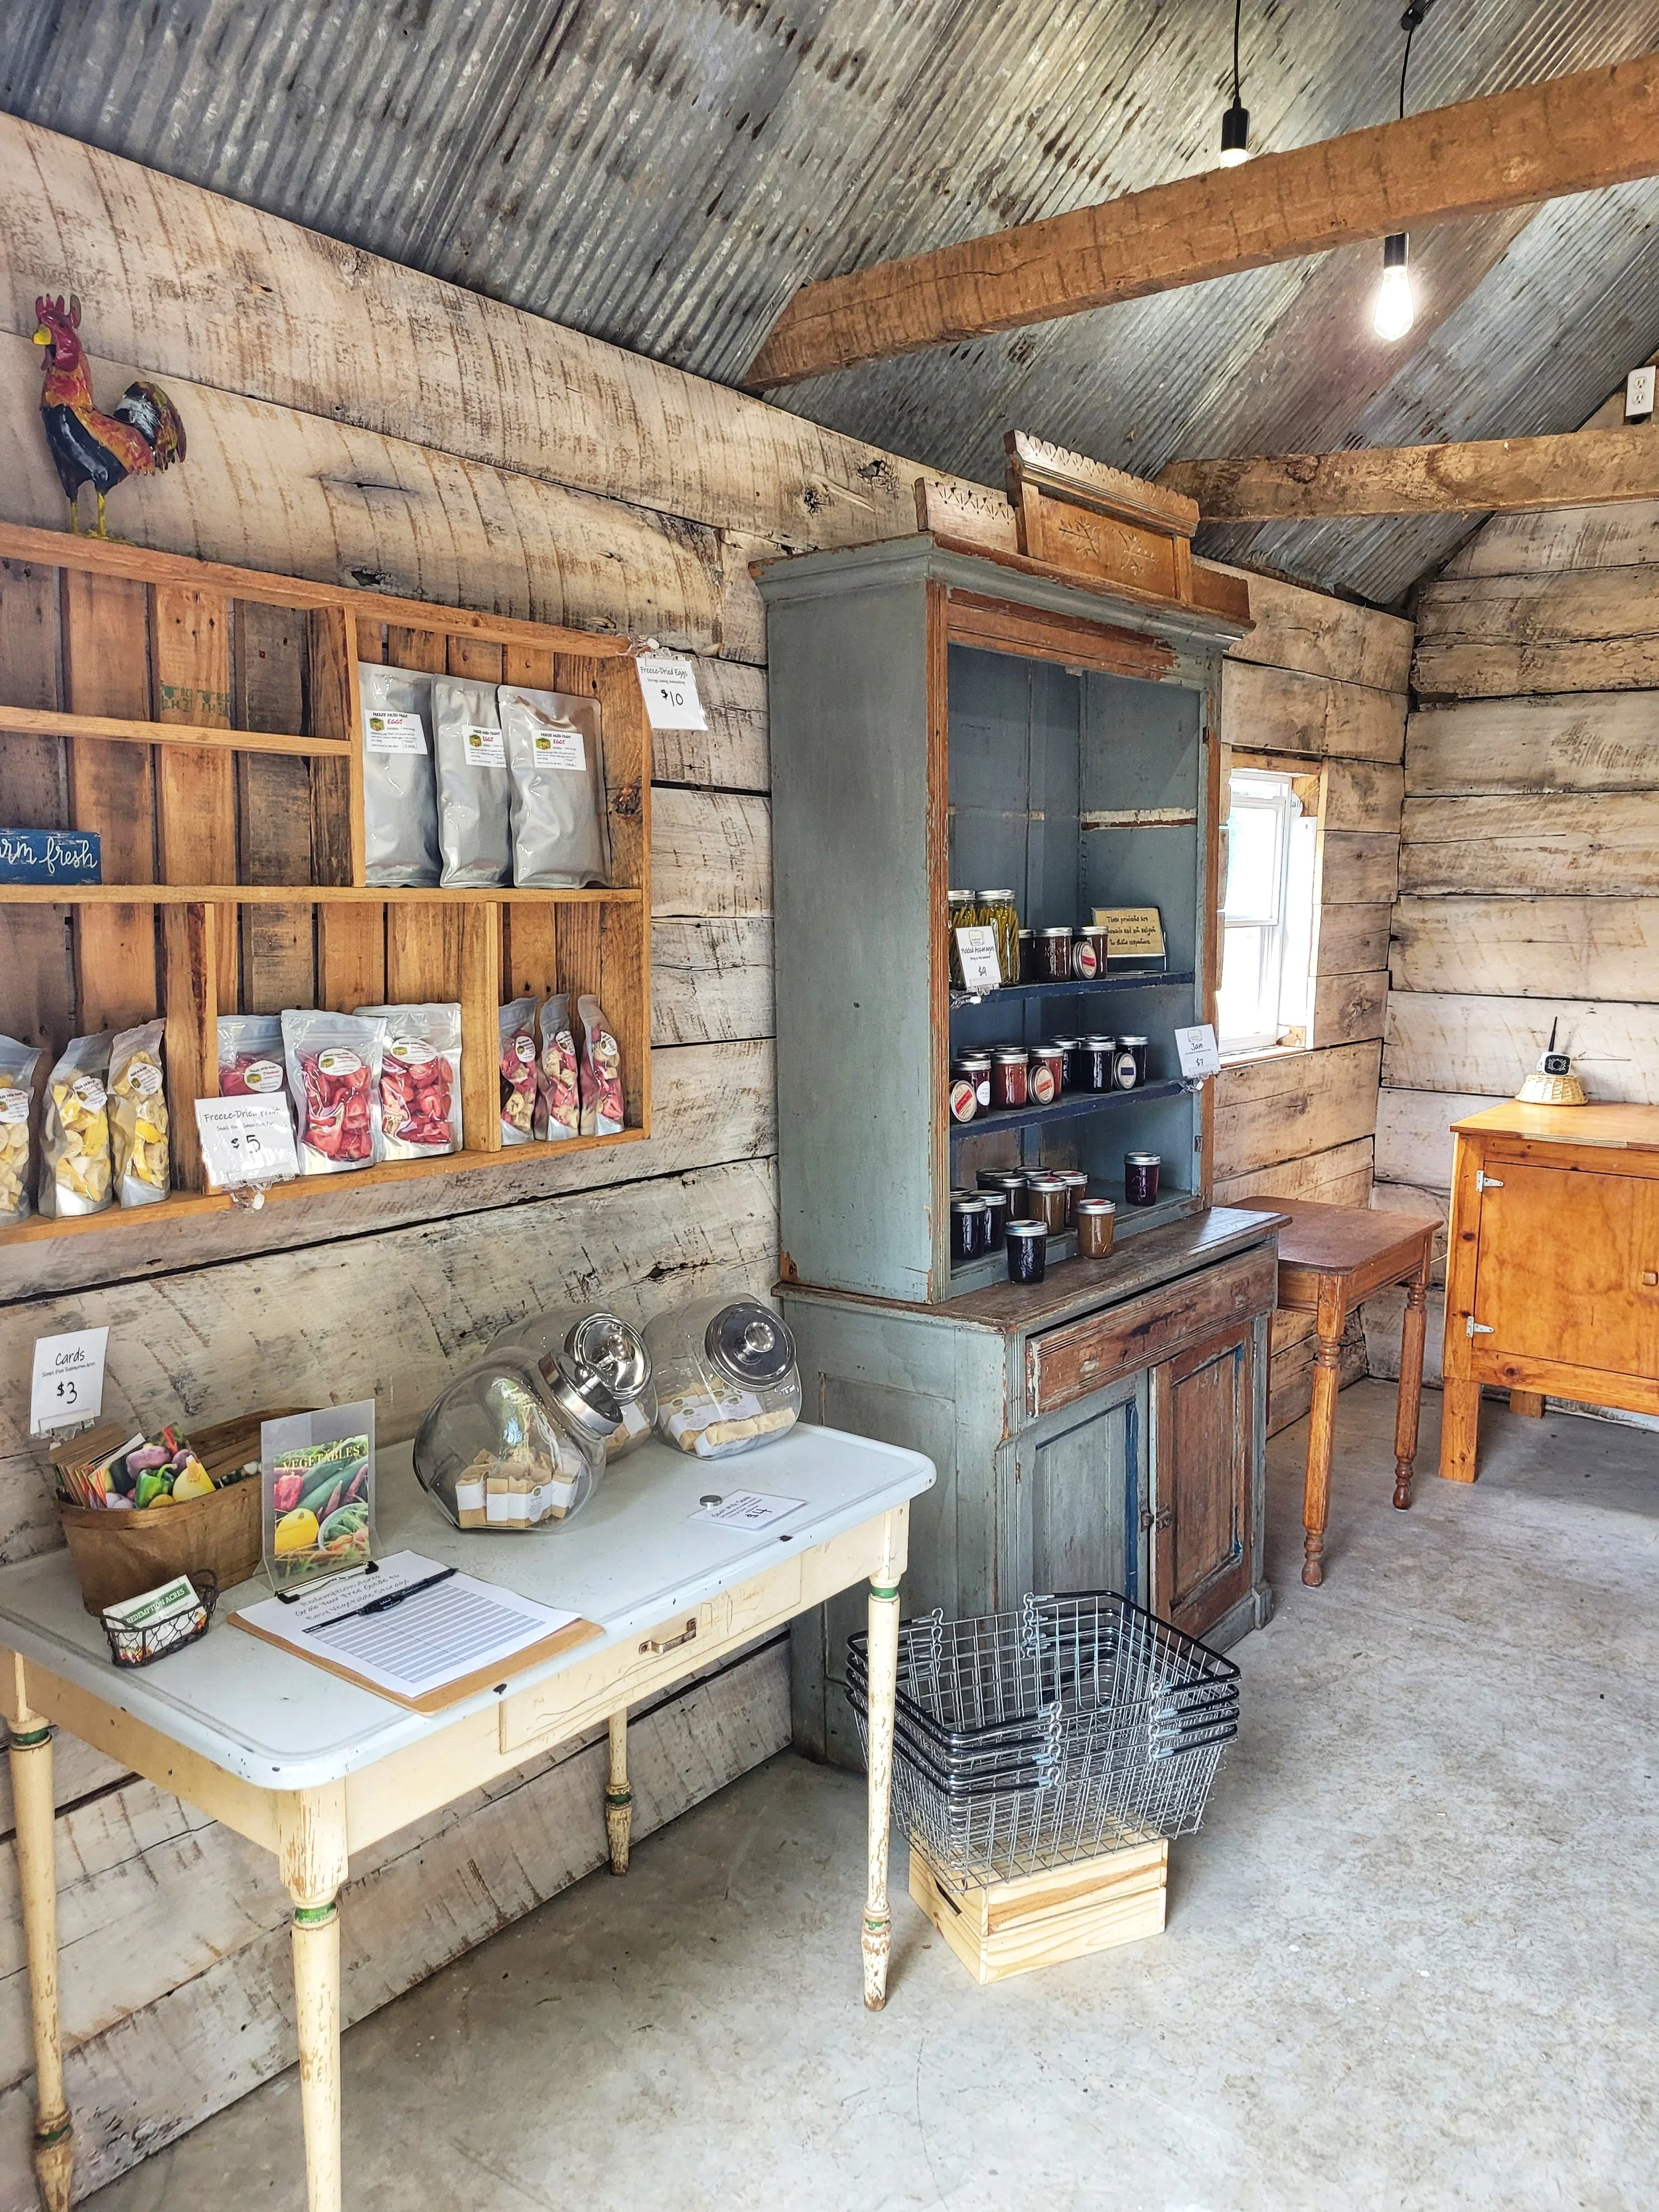
The left interior of the farm store.

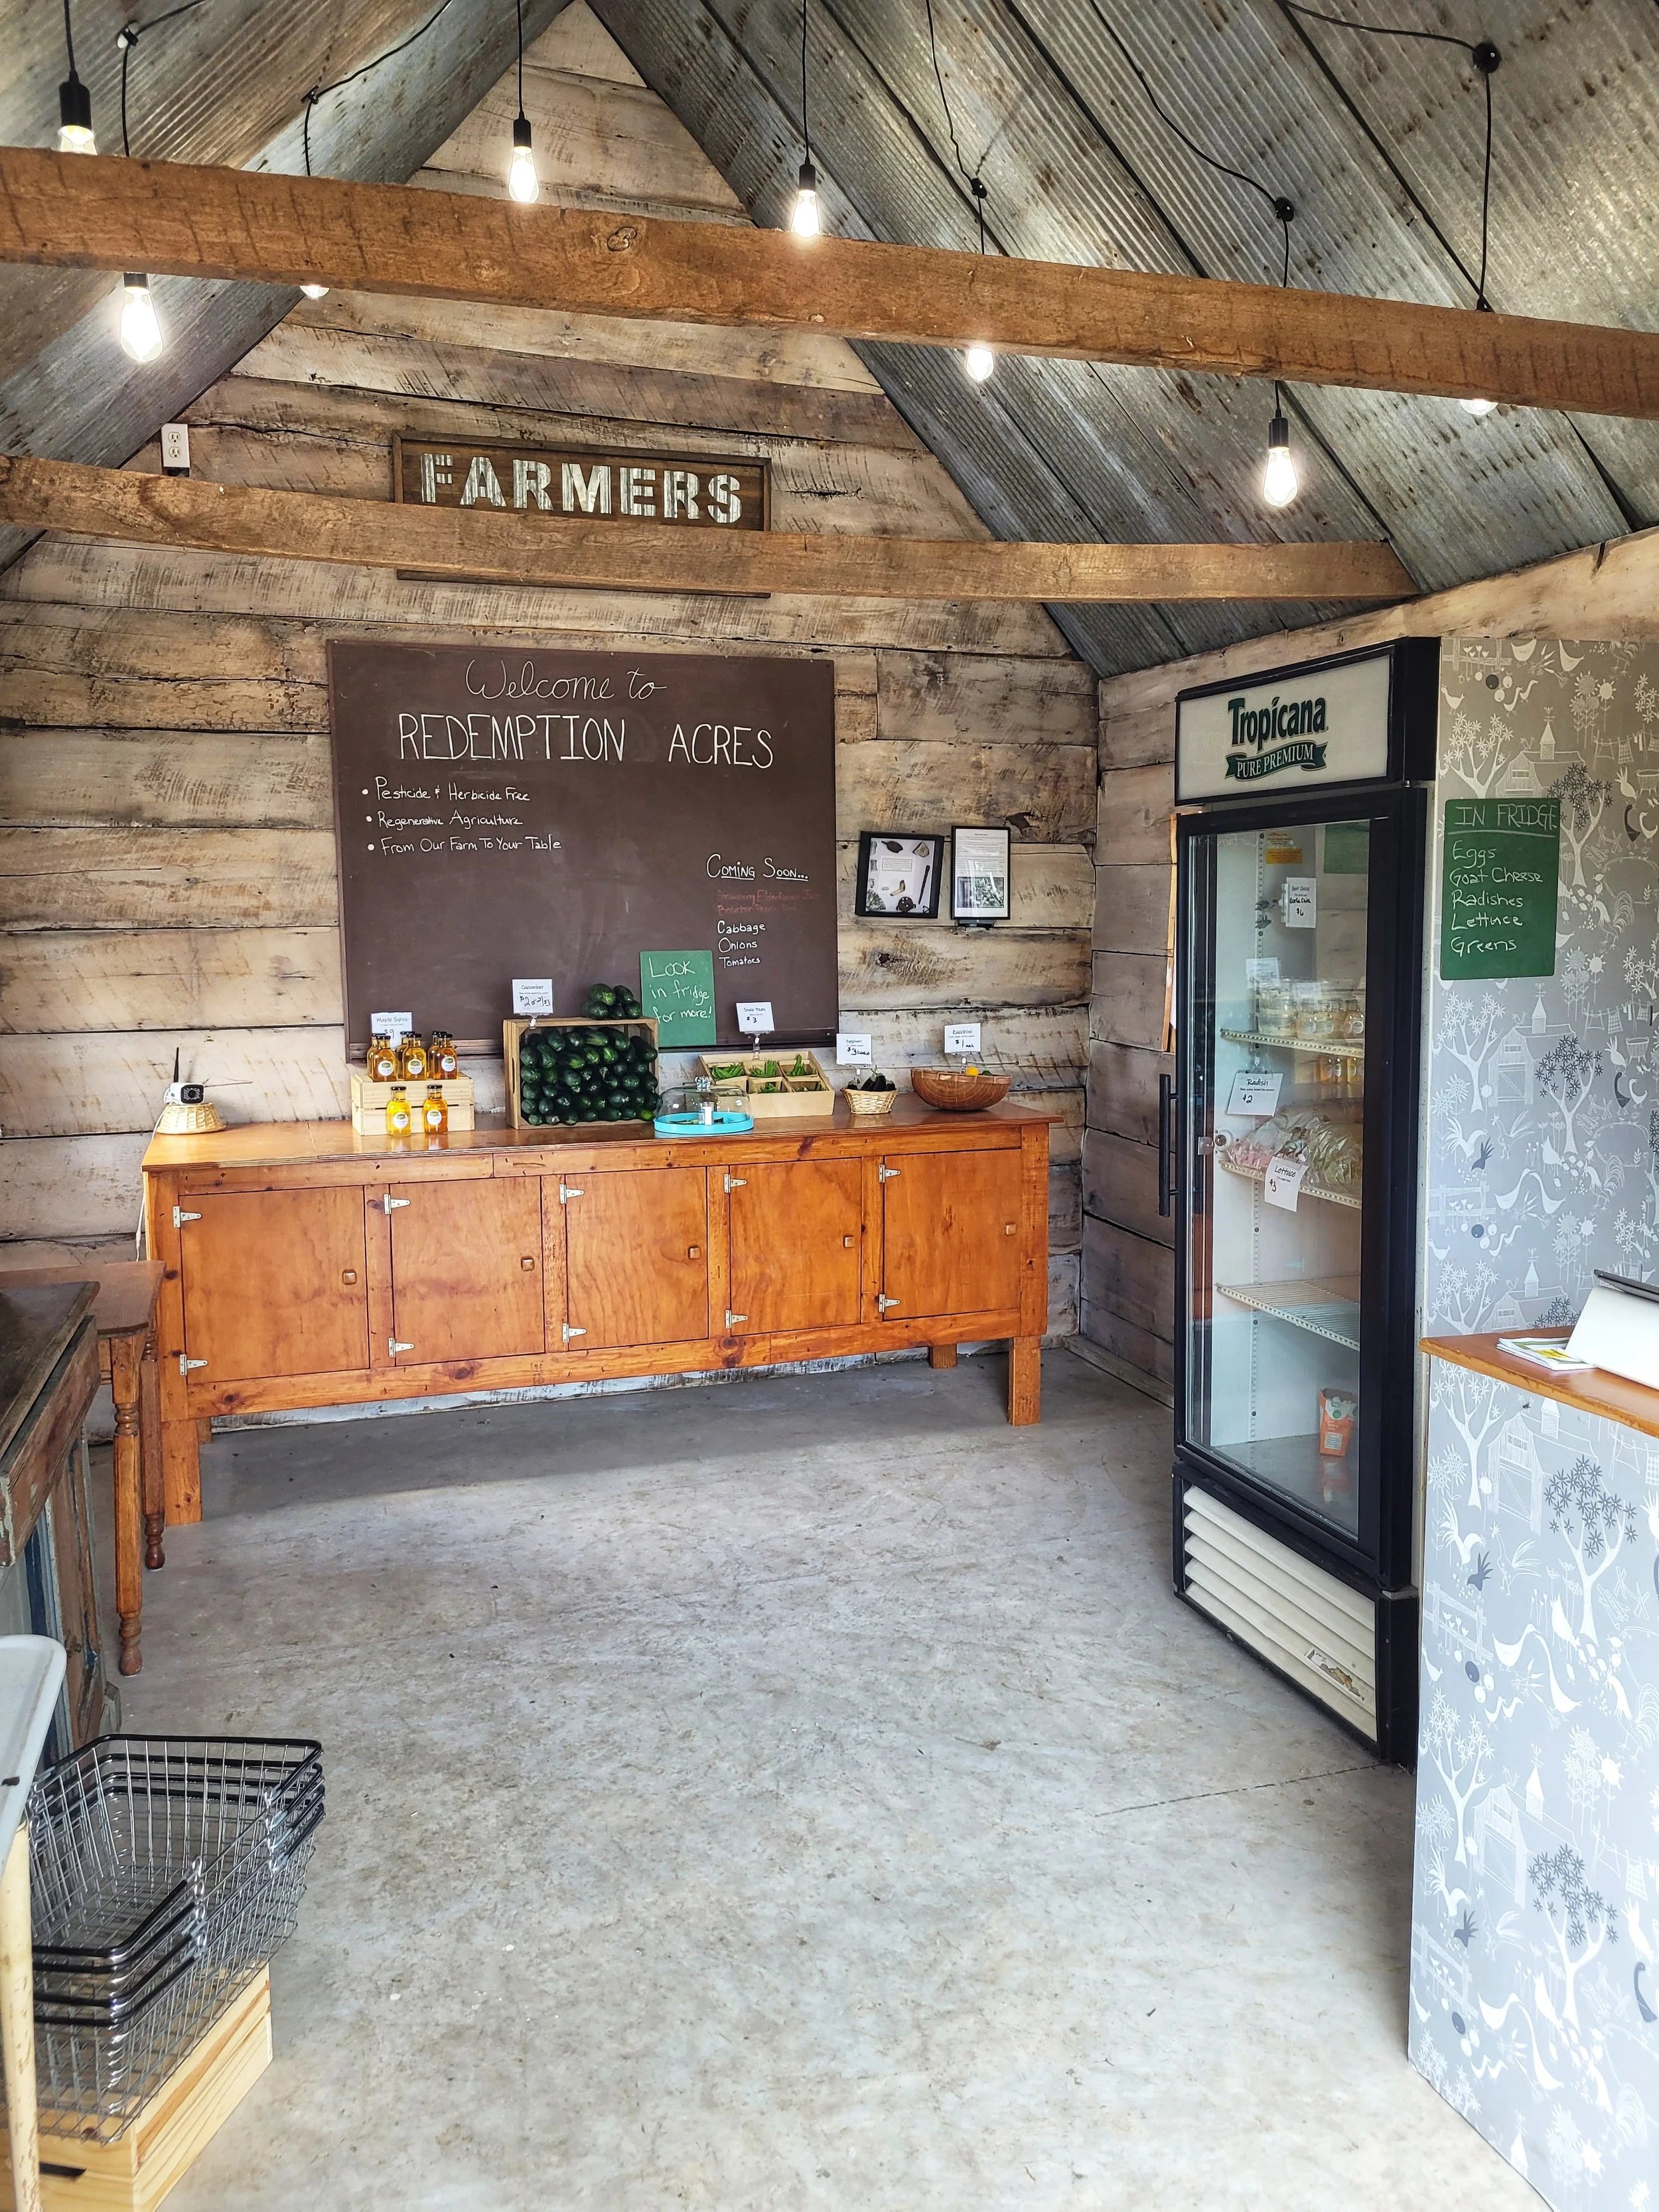
A view inside the farm store.

And there she was - our finished farm store!

We will tweak it a bit as we move forward, but in all, we are so pleased with how this project turned out! It took a lot longer than we planned, but the wait was worth it. We are so thankful for family, friends, and neighbors for helping with this huge project. We couldn’t have done it without them!

The Making of a Farm Store, Part 2

Now that the former well house and future store building had been moved to its new location, it was time to renovate the building. (Check out Part 1 of The Making of a Farm Store for all the details).

First, we removed the outside layer of boards and added house wrap (to keep out the crazy wind we get here) then new pine planks. We chose to keep with the traditional board and batten that is on our old barn. All our farm buildings have two-layer walls: vertical board and batten on the outside and horizontal boards under that.

Beginning the transformation…

Only one board on the roof needed to be replaced on this side. We also added new windows as the old ones were missing glass and did not open.

Next, we put felt paper on the roof to keep the inside water tight temporarily as we waited for the steel to be delivered.

The other side of the building was in much worse condition. Many of the boards and a couple studs were rotting away, so reconstructing this side was a longer process. We did say a prayer of thanks that the building moved well with this much damage.

A little worse than expected

Then, the steel arrived for the roof. Bernard put it up in just a couple of hours, because he’s an amazingly hard worker. We were relieved as winter was quickly moving in. It was mid-November at this point in the process.

The winter snow arrived, and Bernard quickly installed a door and installed siding on the front of the building with some family help.

Winter set in and we had to wait to continue.

At the end of February, we decided we could bundle up and work a couple hours at a time before our fingers froze. So, we began installing insulation on the walls and the ceiling. It’s important to us to keep the building as weather tight as possible so we can use it comfortably most of the year.

Once the spring months arrived, we set to covering the interior walls. Of course we saved the pine siding from the exterior. And, of course we flipped it over, cut off any rotten parts, and used that for a couple of the interior walls. The other walls were covered in old barn siding from our century-old barn (which we have also been residing).

We also used some old tin for the ceiling that was saved from our barn roof several years ago.

We are SO HAPPY with how the farm store is turning out! If you’ve been to the farm this spring, you’ve already had a sneak peek at the interior.

Next time, we’ll give you all a look at the interior and how we finished it out.

The Making of a Farm Store, Part 1

We have been sitting on this announcement for months, waiting until the pieces were in place to share it with you. Although, we did drop a hint or two on our Facebook page last fall.

WE ARE OPENING A FARM STORE!

Yes, we’re yelling in excitement!

Since we moved to the farm 9 years ago, we’ve talked about having a store of some sort for people to come and shop, meet neighbors and make connections. It seemed like a far-off dream that may never become reality.

Then, through a set of circumstances, we discovered we would have to tear down the well house (the building covering our well). Our 100-year-old well pump needed to be replaced, and it couldn’t be done with the building there.

Suddenly we wondered if this was the perfect solution: could we move the well house and remake it into a store? After brainstorming, planning, measuring and dreaming, we hatched a plan we weren’t sure we could execute.

You see, the well house building is also over 100 years old, perhaps as old as 1890. It had been resided and reroofed at some point, but it basically stood as it had been built all those years ago.

Our first task was easy: choose a site for the new store. The front of the farm is packed with buildings and trees. There was only one workable solution - right in the middle of our tear-shaped driveway. Unfortunately, that meant removing a large evergreen tree.

Timber! Making way for the new farm store.

So, Bernard got to work trimming the lower branches then felling the tree. We moved the trunk to our firewood area to dry, where it will be used to heat our home in the coming winter. Then, we mulched the branches, which was a family effort. The mulch is used in the vegetable garden paths, so nothing went to waste.

Mulching was a family effort. (Well house in the background)

Getting that tree stump out was a Herculean effort. First, we tried to dig it out. Then, a neighbor came over with his skid steer and tried to push, pull, or dig it out. It wouldn’t budge. Next, the same neighbor drove his large tractor over, hooked up a large chain and pulled. The chain snapped. Another neighbor offered to grind the stump for us and that did it!

Trying to remove that stump was an unexpected challenge!

Throughout the tree excavation process, we found many, many pieces of old life here at the farm – pieces of pottery, tools, cutlery, and even an old bone pipe. Pretty cool! (You will be able to view some of them in a display case inside the store.)

Treasures hiding in the dirt kept our kids busy for days.

One load of soil later and a few minutes with the skid steer, and we had a level surface.

Level ground in new store location.

Next step, concrete. We had the help of a good, knowledgeable friend for this process, which made it go smoothly.

Teamwork. So thankful for friends!

While the new foundation cured and hardened, it was time to work on the well house itself. The roof desperately needed to be replaced, so Bernard went ahead and removed the asphalt and cedar shingles to lighten the building’s weight before moving it.

Working around the fall vegetables to remove the roof of the well house.

The well house had to be braced in as many places as possible, since it was never made to be moved. We also had to figure out how to move it either around or over the existing well pump. After throwing around many ideas, we chose to cut a hole in the back wall just a hair bigger than the size of the pump.

Hundred-year-old well pump (on the right) inside the well house.

We thought the best way to move the building was to take a tip from the ancient Egyptians and make a roller system. So, we moved debris and used jacks to raise the building. It was actually just sitting on a bit of cement, no bolts to keep it secured or anything. Some of the sill plates had rotted away, so those had to be replaced and the wall shored up.

It didn’t look too bad for a 100-year-old farm building and foundation.

Thankfully, we had hundreds of feet of pipe we had saved from replacing the well pipes several years ago. It certainly came in handy!

Placing pipes and starting the rolling process.

Once the entire building was up off the ground, several adults got on one side, and pushed with all their might. The building inched forward, and then rocked back. We tried again and again, adjusting, moving pipes, making leverage points. Those couple hundred feet to the new foundation seemed miles away.

So close yet so out of reach!

Simply put, century-old buildings built with old growth oak are HEAVY. Thankfully, once again, our neighbor came to the rescue with mechanical muscle. Three men and a couple hours later, just as night fell, the well house landed on its new foundation.

We are so very thankful for family, friends and neighbors helping us with this project!

Nearly there - they finished in the rain on a chilly fall night.

You may ask – why not just tear that old building down and put up a new one? There are several reasons. First, we are unable to put up any new “indoor” square footage on our acreage as we already exceed the current standards. However, relocating and repurposing a current building seemed the perfect solution. Second, we despise waste, whether that’s an old building, saved pipes, or excess produce. We will find a use for as much as we possibly can before we consider the trash heap. Third, we’re suckers for old, historical things. What could be more amazing than saving a part of this farm that has been worked since post-Civil War days?

Stay tuned to the next posts for more on our well house turned farm store.

Quinoa Salad Recipe

When it’s too hot to cook, or we have a busy week ahead and I need to make my time in the kitchen stretch, I fall back on some super simple recipes.

These recipes must be simple, quick to prepare with little hands-on time, and use whatever I have lying around in my kitchen or in the gardens.

Our favorite chef salad recipe hits the mark in the early season when lettuce is in its prime.

A bit later in the season, I fall back on this crowd-pleasing Quinoa Salad.

It’s full of flavor and gets even better as it sits in the refrigerator and melds together. This salad can be used as a side or a main dish. It easily multiplies up to feed a crowd as well.

Here’s my Quinoa Salad recipe.

Ingredients:

2 cups quinoa
4 cups water
1 tsp. sea salt
1 Tbl. Greek seasoning
1/3-1/2 cup Balsamic Vinegar
2-3 Tbl. extra-virgin olive oil ( or avocado oil)
1-2 Redemption Acres cucumbers, halved lengthwise and chopped into half-circles
1 pint Redemption Acres cherry tomatoes, halved
6 oz. crumbled Feta cheese (or goat Chevre)
sea salt & pepper, to taste

Directions:

- Cook quinoa according to package directions or follow this process: Combine quinoa, water, and 1 teaspoon salt in large pot. Bring to a boil over medium high heat. When boiling, turn heat down to low and cook for 10 minutes or until water is absorbed. Let sit for 5 minutes, covered, off the heat. After 5 minutes, lift the lid and fluff with a fork. Transfer to wide bowl or large platter to cool.
- While quinoa is still warm, add Greek seasoning, balsamic vinegar, and olive oil. Place in the refrigerator until cool.
- Just before serving, add cucumber, tomatoes, and cheese. Toss gently to combine.

Tips:

- Add cooked, diced chicken with the vegetables and call it a meal! I like to make this early in the week and enjoy if for lunch all week long!
- The quality of your balsamic vinegar makes a huge difference here! Get the best you can - ideally, imported from Italy. Trust me, it matters.
- Pump up the veggies! Add arugula, spinach, snap peas, radish, red onion, chopped broccoli or kohlrabi…whatever you’ve got around.

I hope you enjoy this quinoa salad! Comment below and tell me - what are your favorite quick summer meals that feature seasonal produce?

Angie's Top 10 Tips to Savor Homemade Preserves

Perhaps this is the year you tried your hand at canning and made some delicious, homemade jam (go you!).

I’m hearing from a lot of people that chose to preserve some food through canning in the last couple of years, either to pass the time, or to finally try something they’ve always wanted to do, or simply so they could ensure their family had food put by for seasons to come.

Or, perhaps you grabbed a jar of homemade jam at a market or craft show this year. Maybe a relative gave you some of their bounty or a gift and it’s sitting in your pantry waiting for a special occasion to bring it out.

I’d love to share with you my Top 10 tips to grab that jar off the shelf and use it for more than just toast.

  1. Swirl it. Add a spoonful into yogurt, oatmeal, or vanilla ice cream to punch up the flavor (try it with Blueberry Vanilla or Cherry Almond).

  2. Bump up Breakfast. Top your pancakes, waffles or French toast with a spread of jam (try it with Pear Ginger or Harvest Butter).

  3. Dip it. Mix one jar of jam with 8 oz. crème fraiche. Serve with graham crackers for a fun afternoon snack (try with Minnesota Mix or “Earl-y” Rhubarb).

  4. Dessert. Dollop some jam onto shortbread cookies or spread between cake layers for a special dessert (try it with Passionate for Raspberries or Plum Cardamom).

  5. Cocktail. Spoon a heaping spoonful into your favorite cocktail for a jam-tini (try it with Strawberry Rhubarb or Strawberry Elderflower).

  6. Lunch time. Spread on a grilled cheese or turkey sandwich for a grown-up version of a classic (try with Honey & Spice Tomato).

  7. Up those greens. Create a unique salad dressing by mixing 1 part jam, 1 part vinegar, and 2 parts oil, then top a bed of greens or salad (try with Strawberry Basil).

  8. Meat! Brush onto baked or grilled salmon, chicken or pork chops for a yummy glaze (try with Bourbon Peach).

  9. Charcuterie. Add to a cheese plate as a classy condiment (Dilly Beans and Pickled Asparagus also work here).

  10. Easiest Appetizer Ever. Place 8 oz. softened cream cheese on a pretty plate, pour over one jar of jam, serve with crackers and you’ll always be prepared for guests (try with Red Pepper).

I firmly believe jam is for more than just toast. So, go ahead, grab that jar and enjoy it to the fullest!

(If you’re looking for some preservative-free jam and pickles, I’d love to help. Check out our shop here.)